

Review Summary
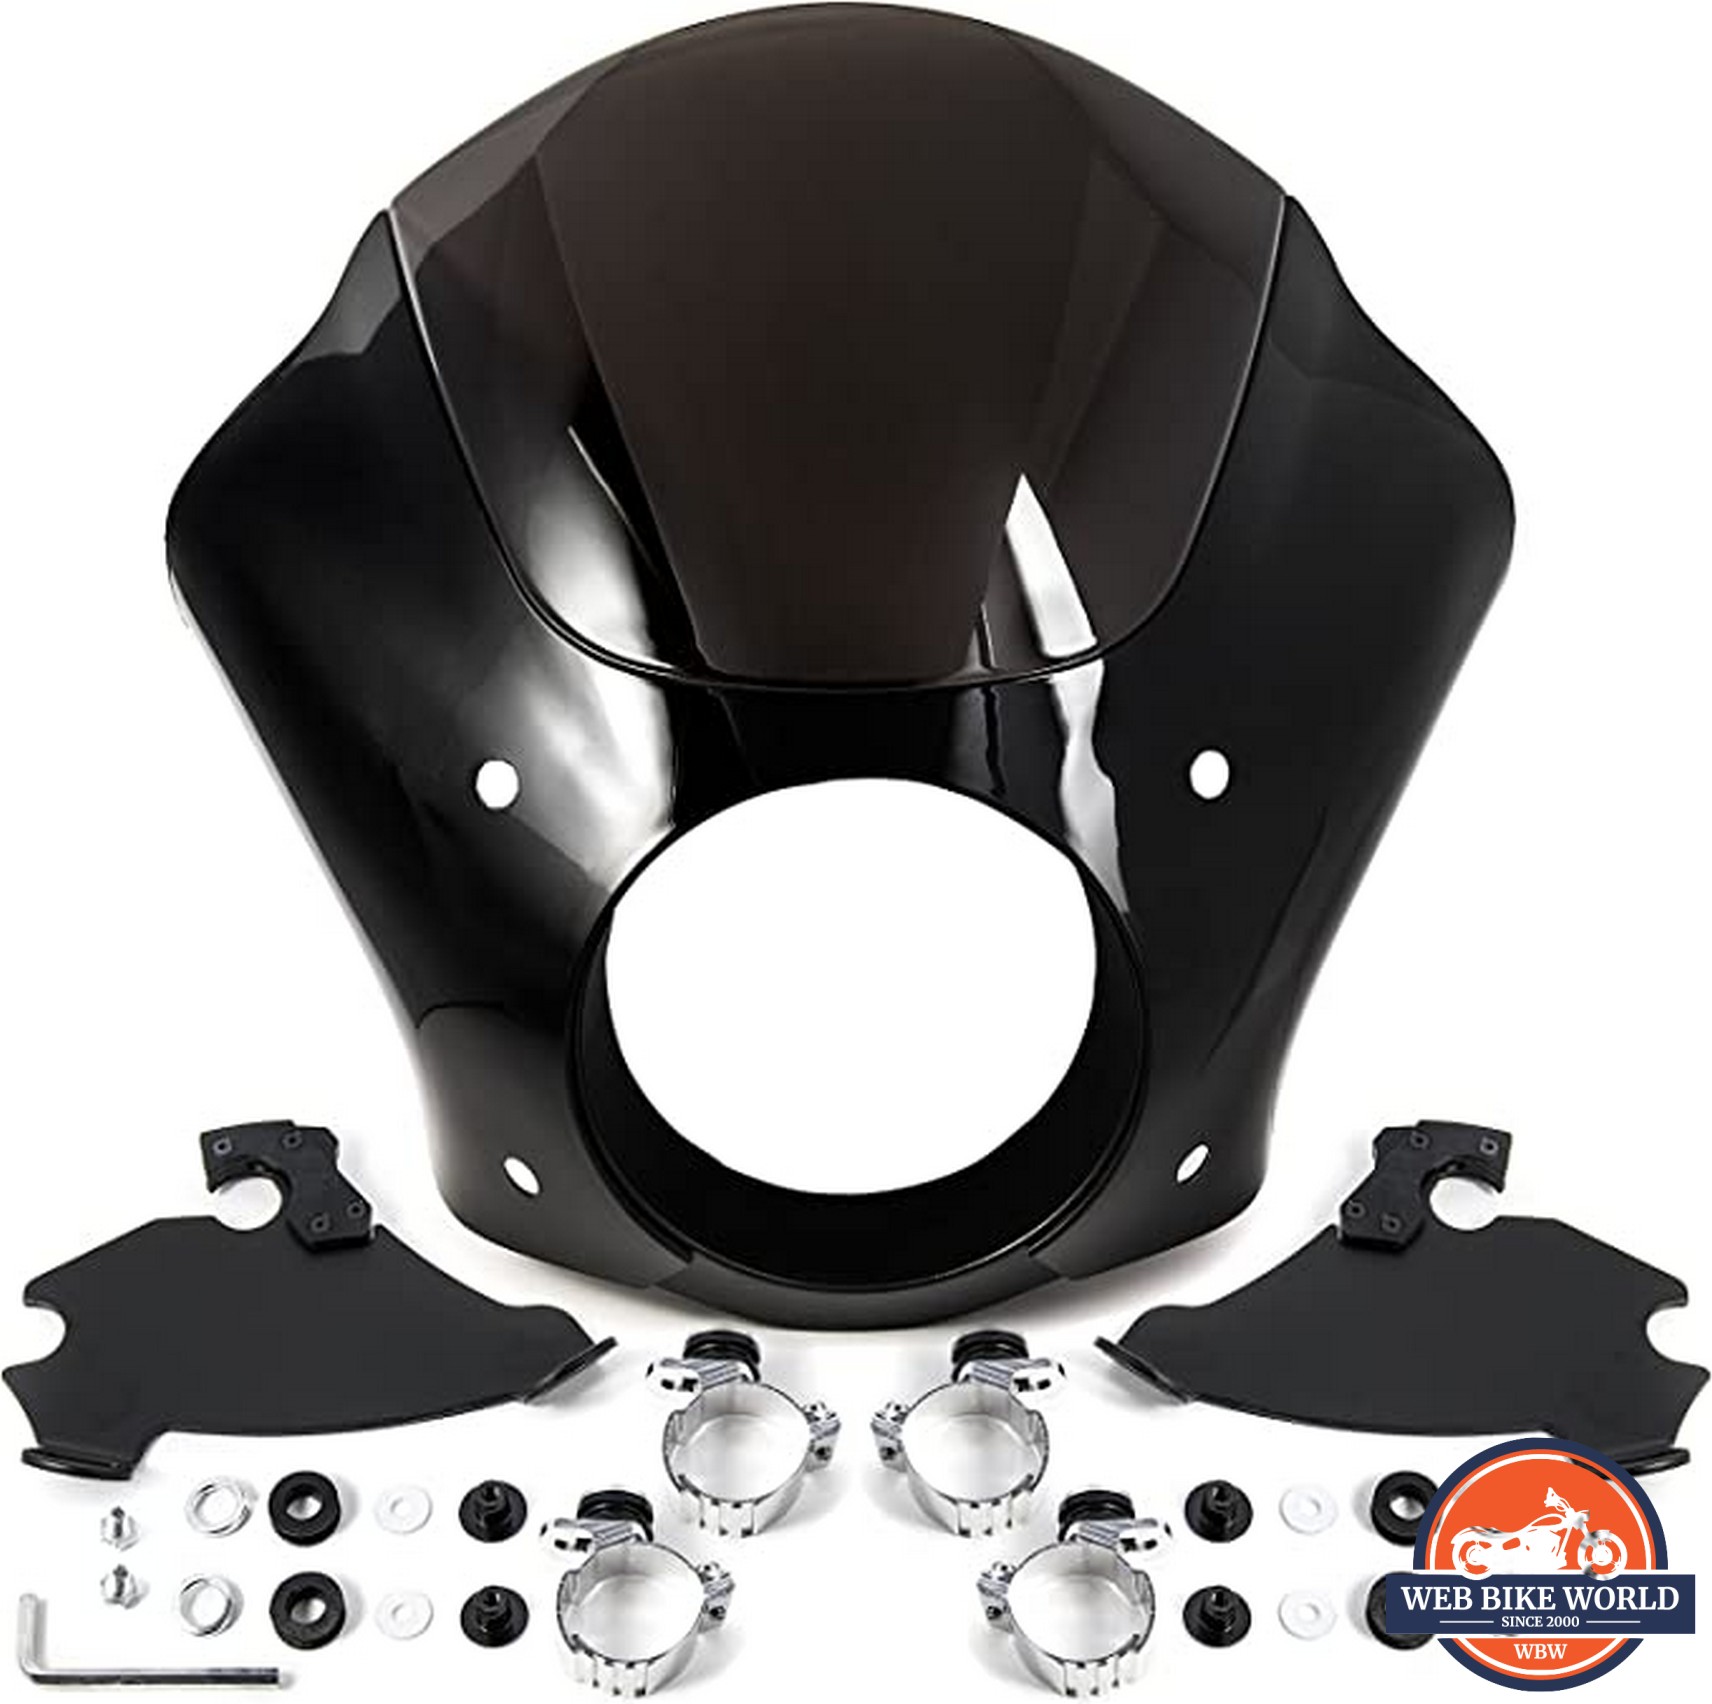
- The Krator Quarter Fairing is made entirely out of plastic and is not a perfect fit
- Installation can be difficult due to poorly drawn instructions and cheap hardware
- Defects from the manufacturer are not uncommon
- Effectively minimizes wind turbulence
- Good options for riders that are on a budget
Motorcycles can be very intimidating for new riders.
As a beginner, your first ride will be extremely nerve-racking. Your mind is full of instruction & lessons you’ve learnt at your safety riding course (which you definitely took, right?).
Am I in a blocking position? Am I riding defensively, as if no one can see me? There are so many skills & habits a new rider needs to be conscious of.
If you’re in the city, add on the anxiety of overcrowded streets and you’ve got a recipe for all-time high stress levels. With everything seemingly working against you, the last thing you’d expect is a 1-on-1 battle with Mother Nature.
Throughout your countless hours of research and how-to Youtube videos, not once did you consider how unnerving the feeling of wind pushing you back could feel. You think to yourself “Wind battering? Pfft. A little bit of wind isn’t going to scare me.”
And yet, once you hit those higher speeds, everything changes as you’re pummeled by turbulence for the first time.
A Solution To A Problem & Nothing More
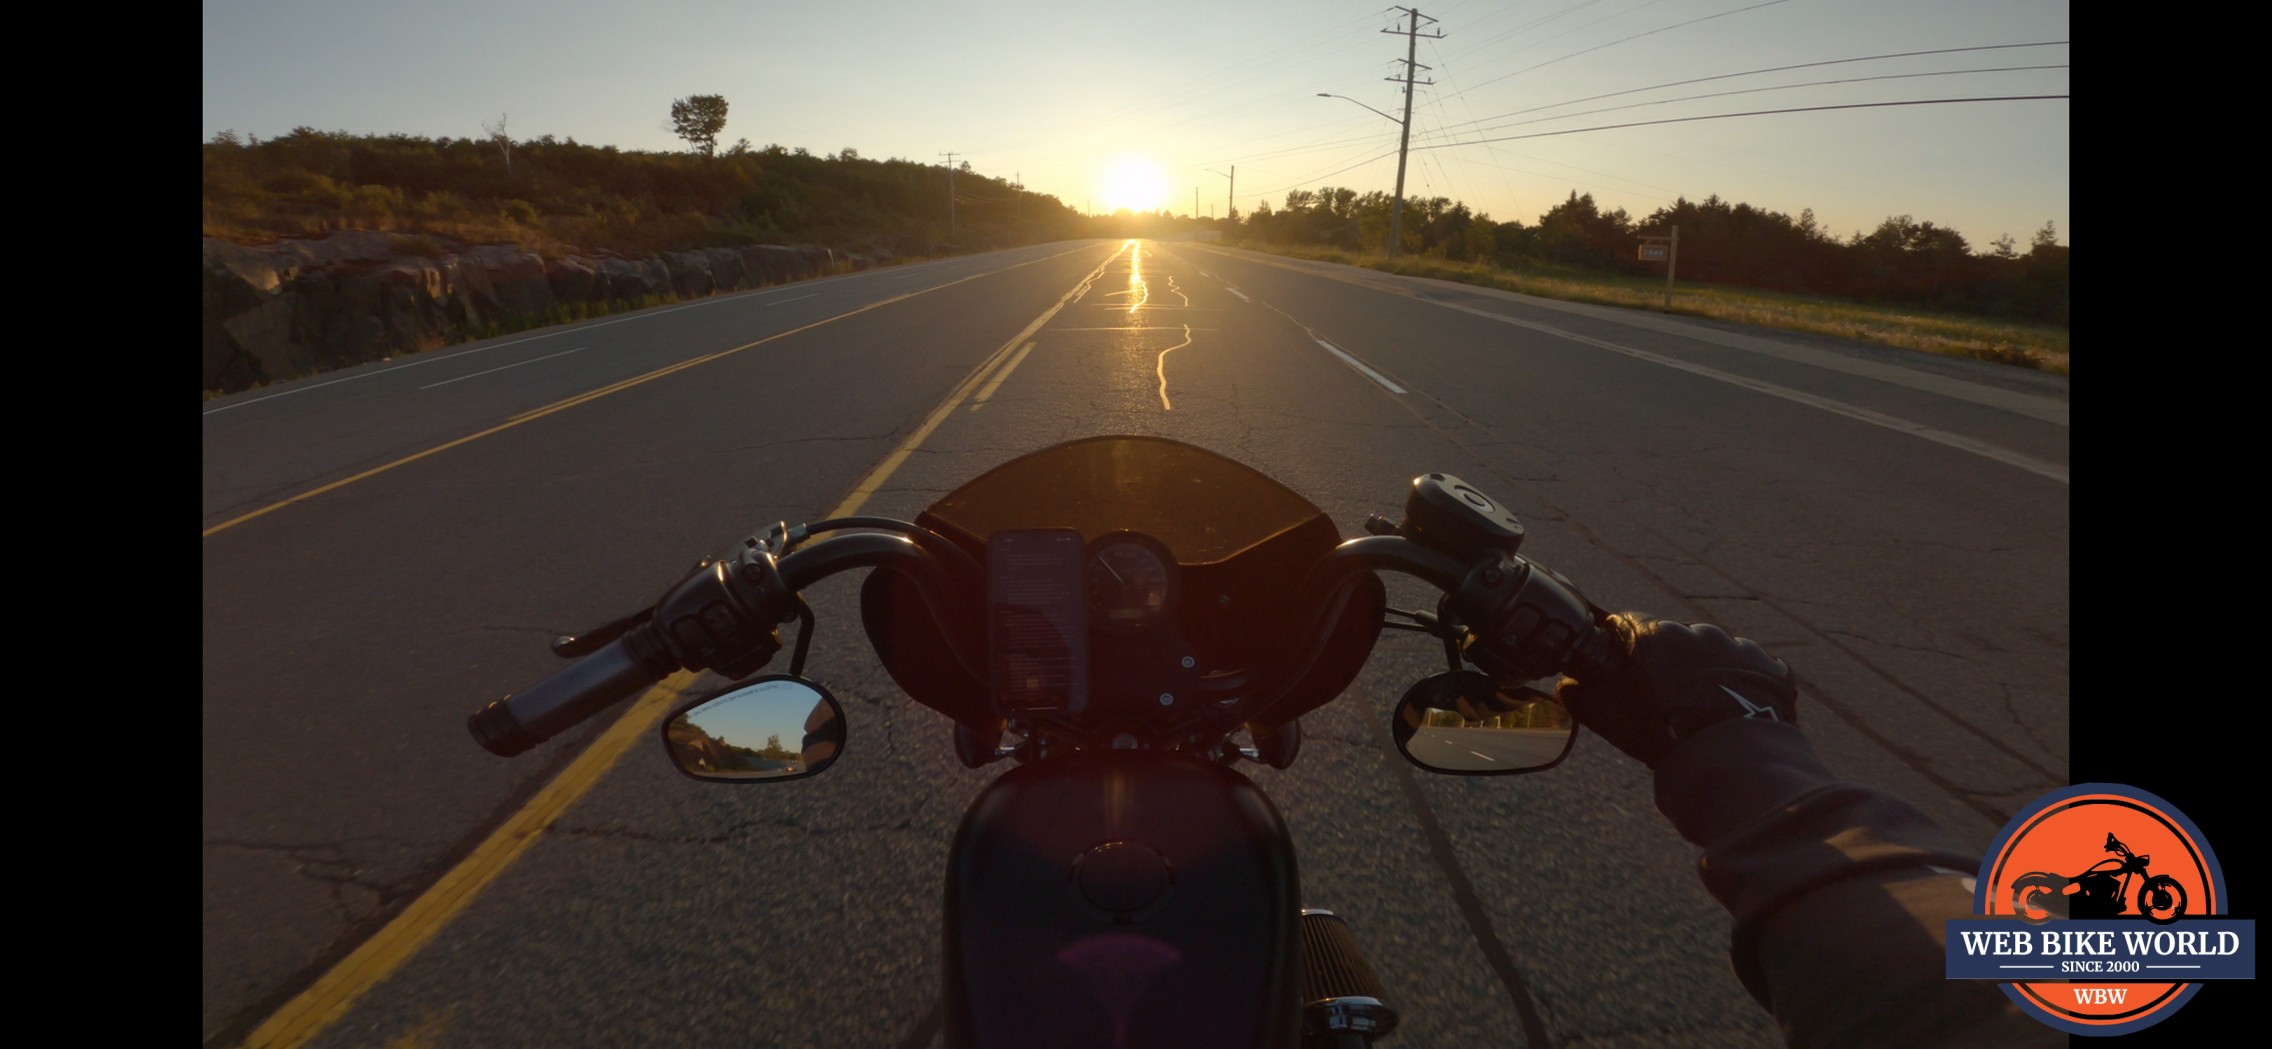
The above scenario is exactly what happened to me.
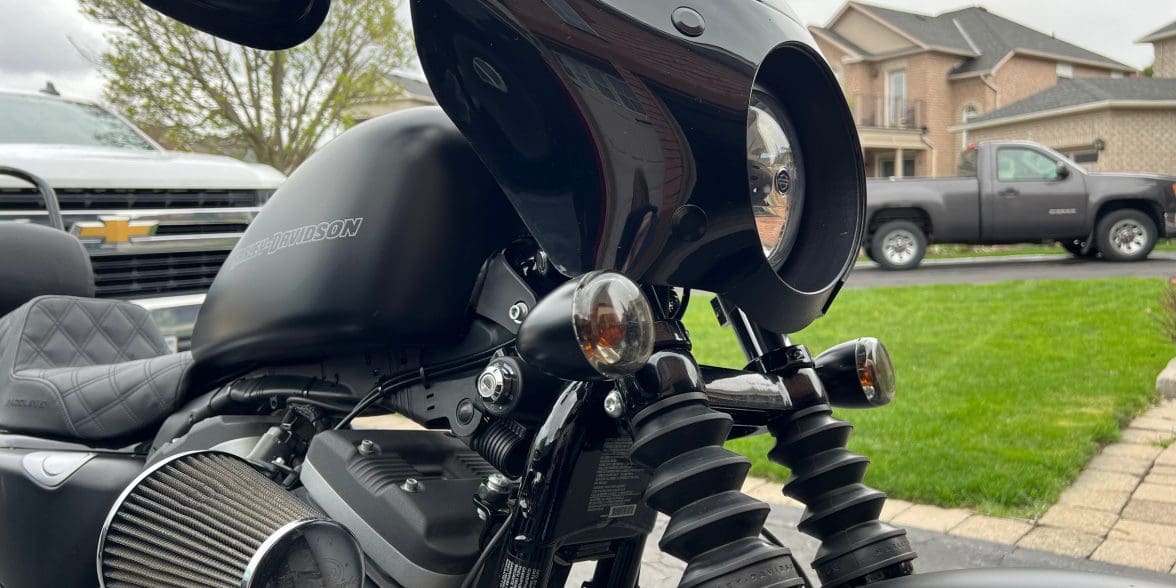
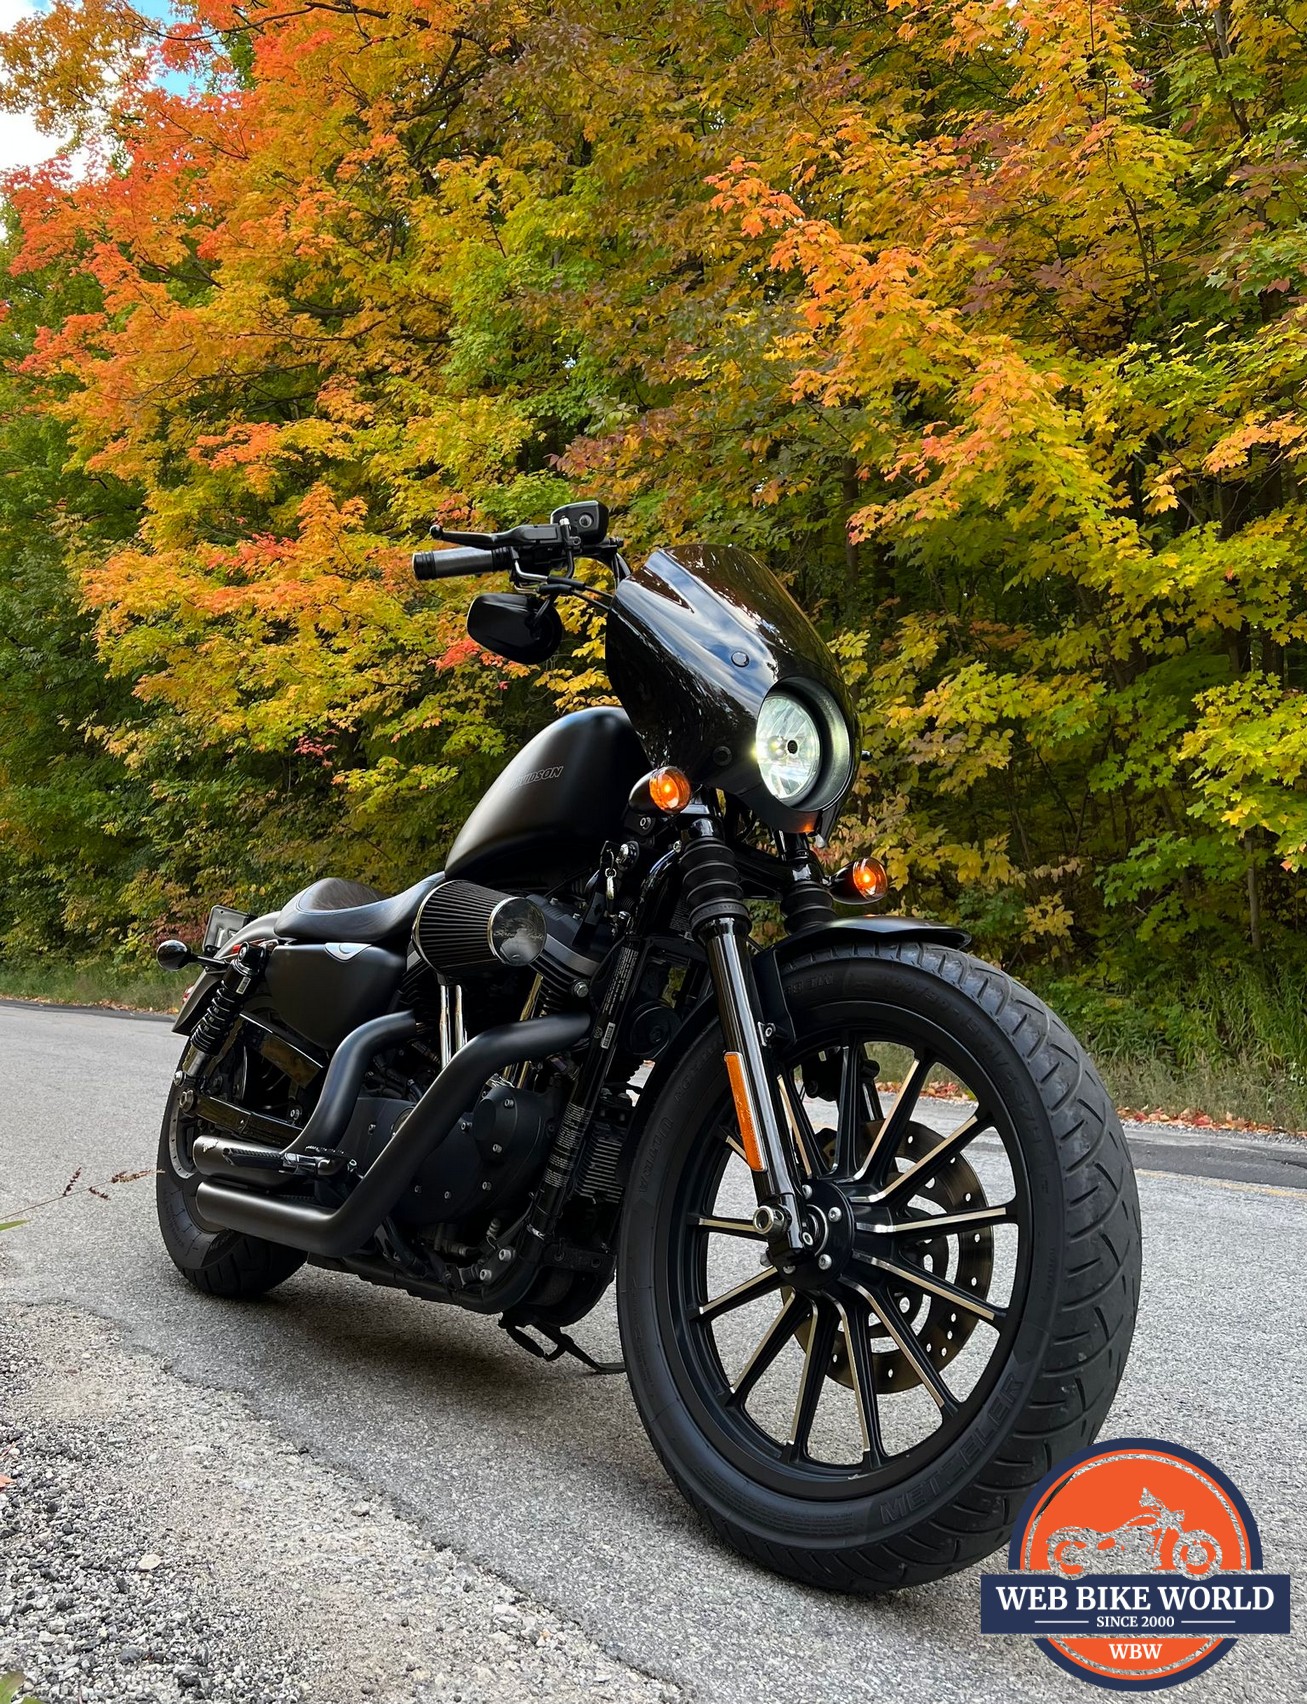
I’ve finally decided on getting a motorcycle. I’ve taken my course, purchased my gear and found my 1st bike – a 2011 Harley Davidson Iron 883. Licensed, insured, and plated, I take a few trips around the subdivision to get the hang of things. Finally, I feel like I’m ready for the open roads… or so I thought.
I jump on the main street, accelerator up to speed and… let off the throttle. My head feels like it’s been thrown in the laundry for a spin cycle and my entire torso feels like a parachute. Is this what riding a motorcycle really feels like?
What’s enjoyable about hanging on for dear life?
I quickly began looking for ways to combat this turbulence as I was losing interest in riding at speeds outside of city streets. That’s when I found the Krator Quarter Fairing Windshield Kit.
Cheap, quick delivery, and a supposedly easy install? What could possibly go wrong? Well, a lot actually. But, be sure to read my entire review as my final conclusion may surprise you!
A New Appreciation For The Saying “You Get What You Paid For”
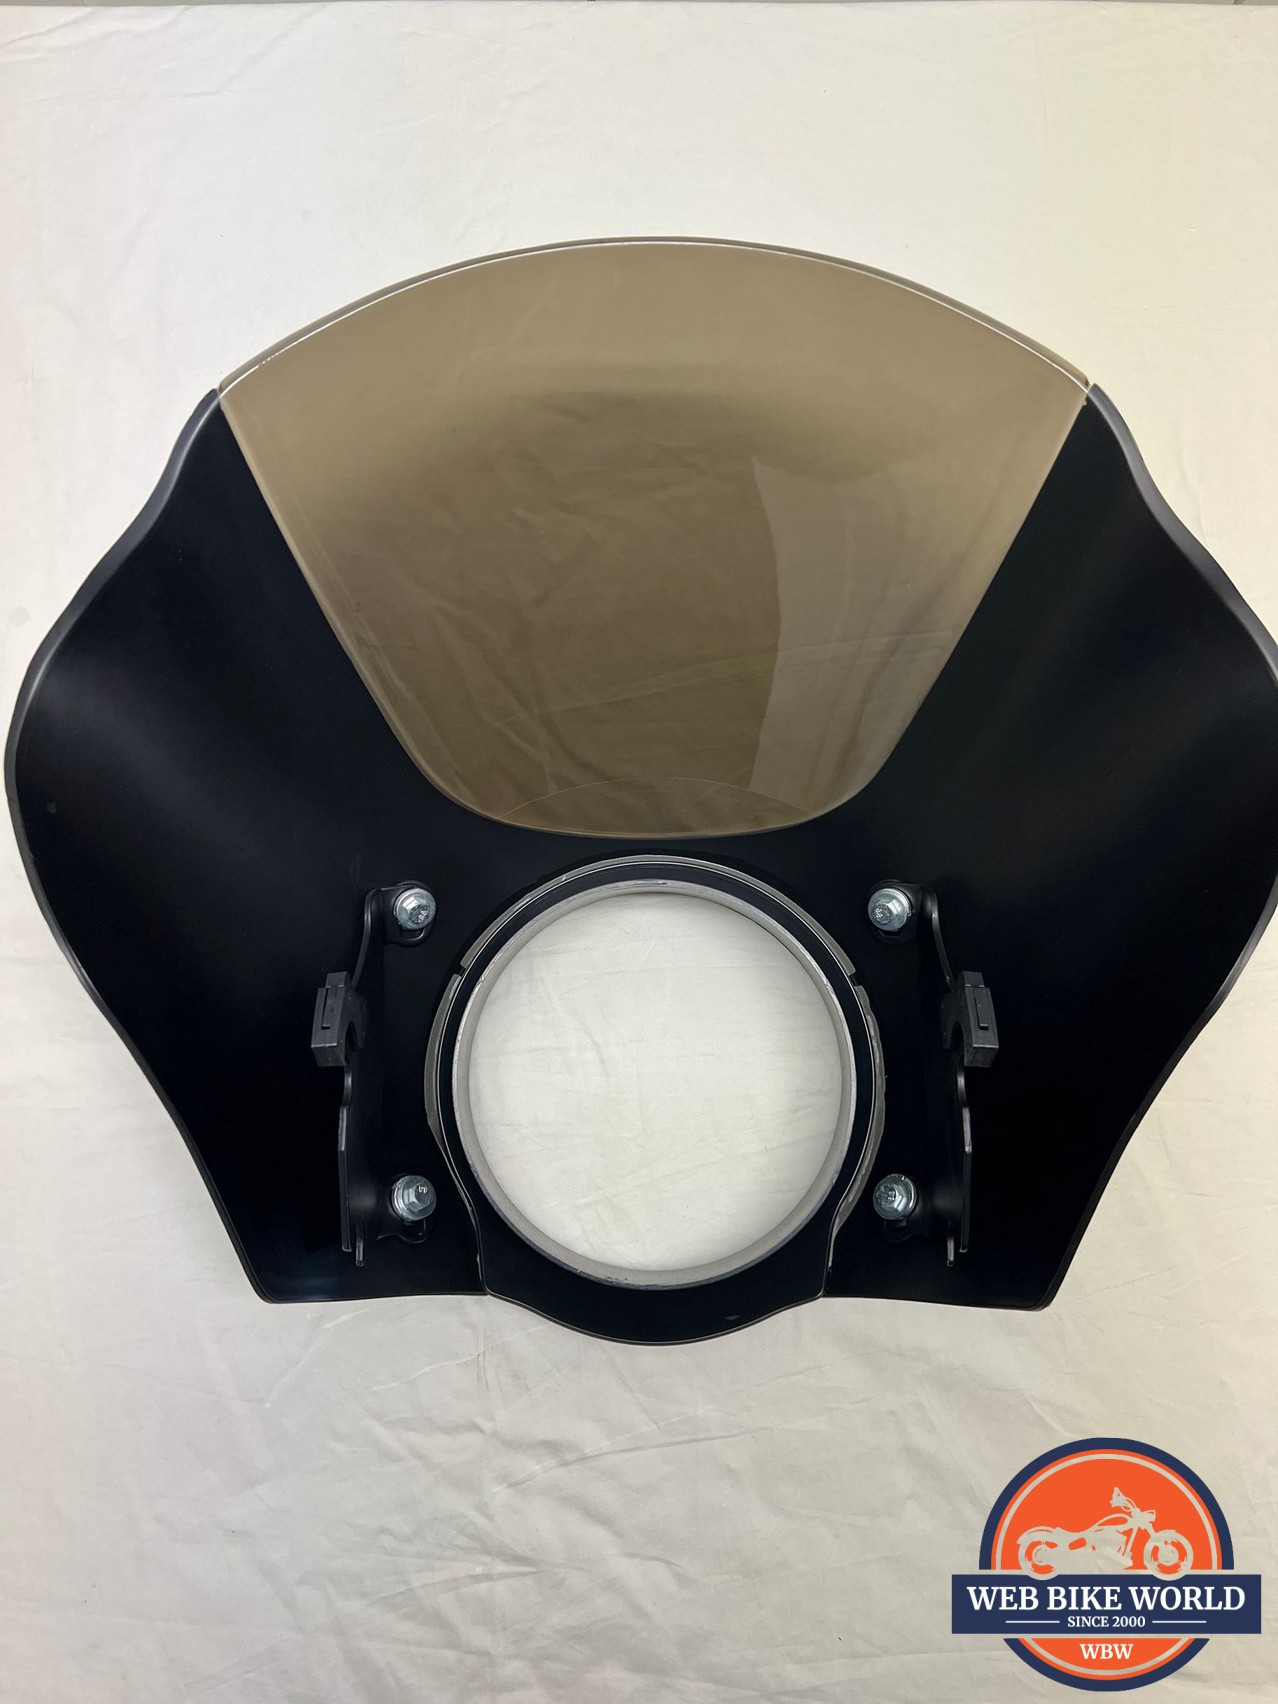
It didn’t take long for me to be rudely reminded that I had bought a cheap aftermarket fairing.
As soon as I removed the protective plastic the fairing was shipped in, I immediately noticed machining marks & scratches in the final surface. Yes, this fairing is made out of plastic, and yes, it was a fraction of the cost of other alternatives, but I had at least expected it to be presentable.
The manufacturer was located close to my house and was willing to exchange the fairing for a new one. After having the customer service rep make repeated trips to the warehouse, as each “new” fairing had the same defects, I finally settled for one that was acceptable.
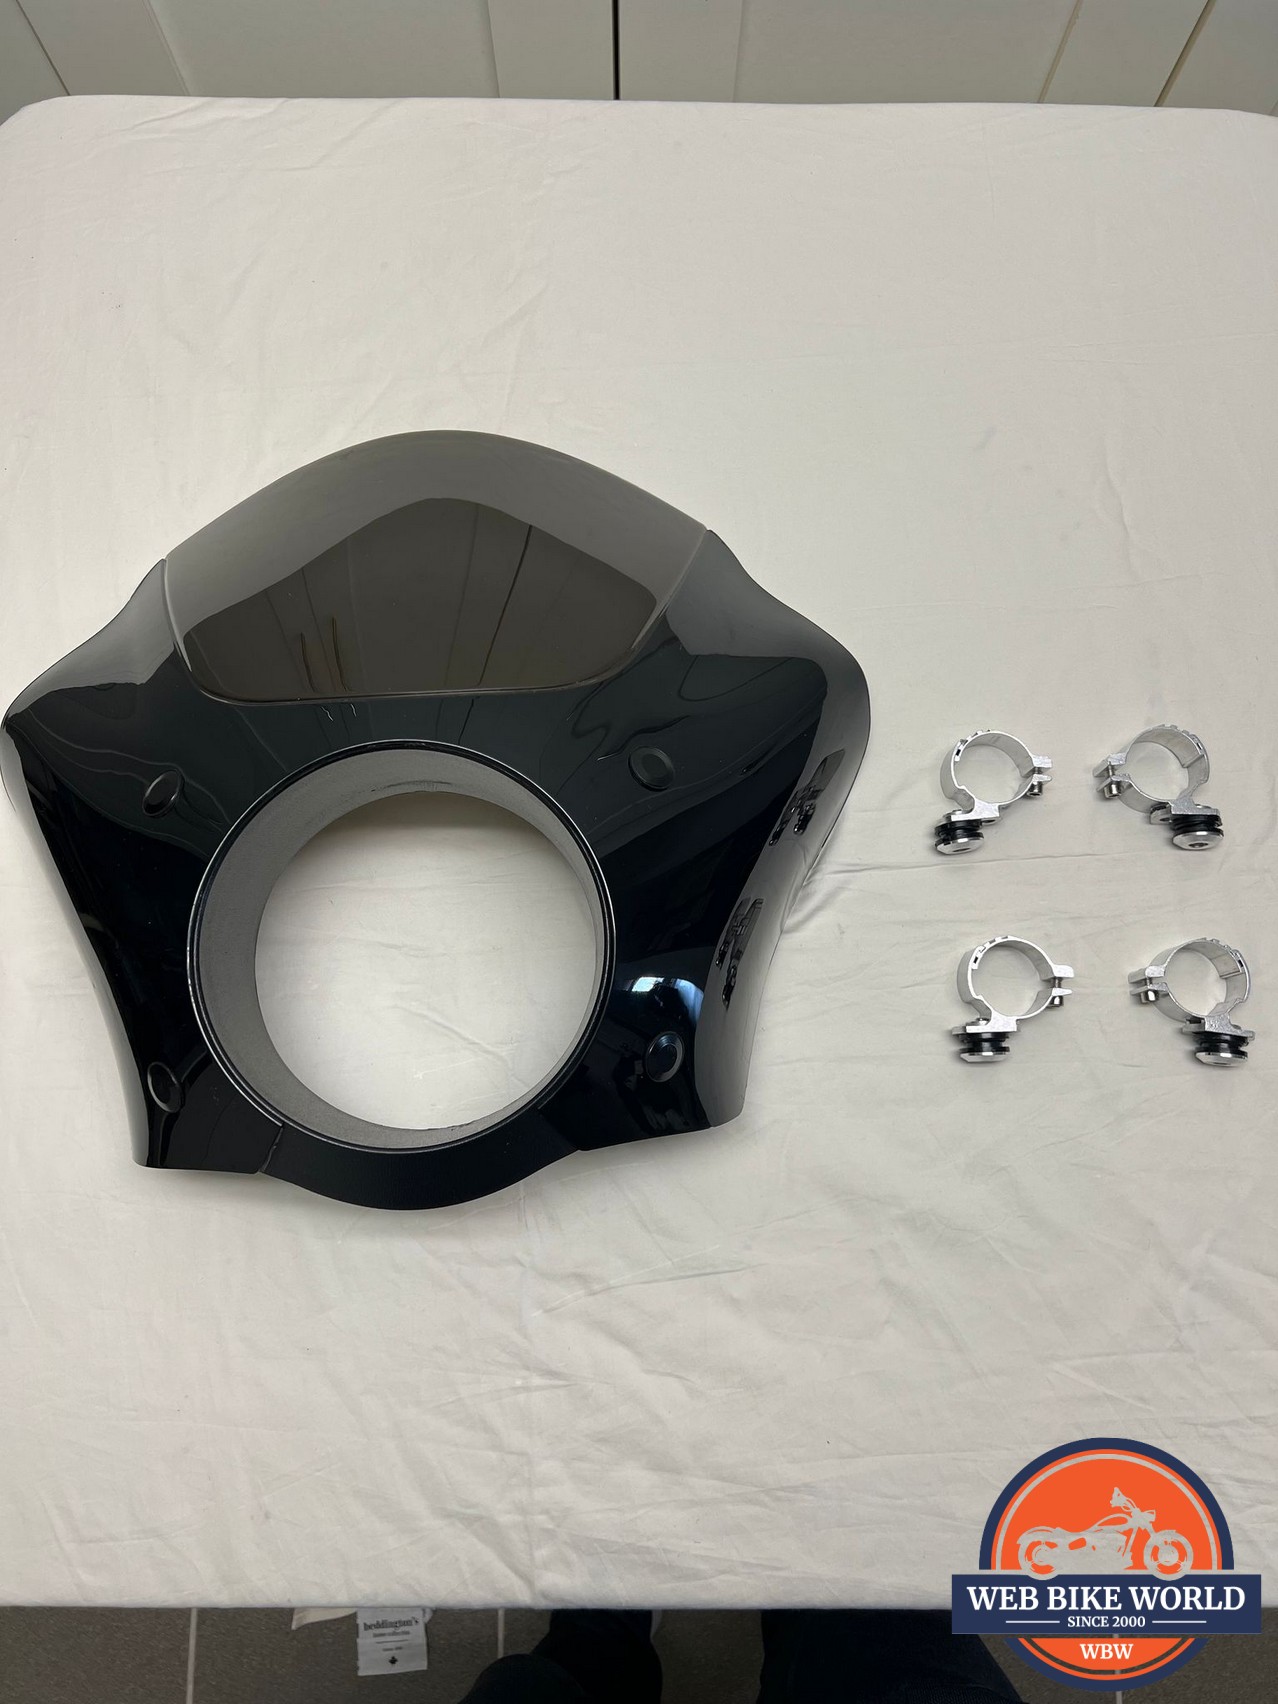
I mentioned that the fairing was plastic, but I was not expecting the hardware to be as well. Albeit, it has stood up to 1000’s of KM’s of use through bumpy roads, strong crosswinds, and otherwise unfortunate weather.
Needless to say, it wasn’t what I was expecting. And yet, at the same time I cannot confirm nor deny that the situation would’ve been different with a more reputable brand. This was my first experience with an aftermarket fairing.
Installation Was Nothing Short Of A Battle
The fun really began when it was time to install.
Let me set the scene for you: It’s the middle of July, mid-day. I arrived back from the manufacturers warehouse, a bit annoyed with the exchange situation, yet still anxious to install the fairing. I’ve got plans at 3, and I’d love to have this completed by then.
I open the door to my hot, humid garage and get to work. I’ve installed the grommets, lock washers & quick release hardware. Next comes the tongue & groove fork clamps which are reluctant to separate. A bit of WD-40 and some choice words and they’re apart and installed in place.
Now Comes The Easy Part…Or So I Thought.
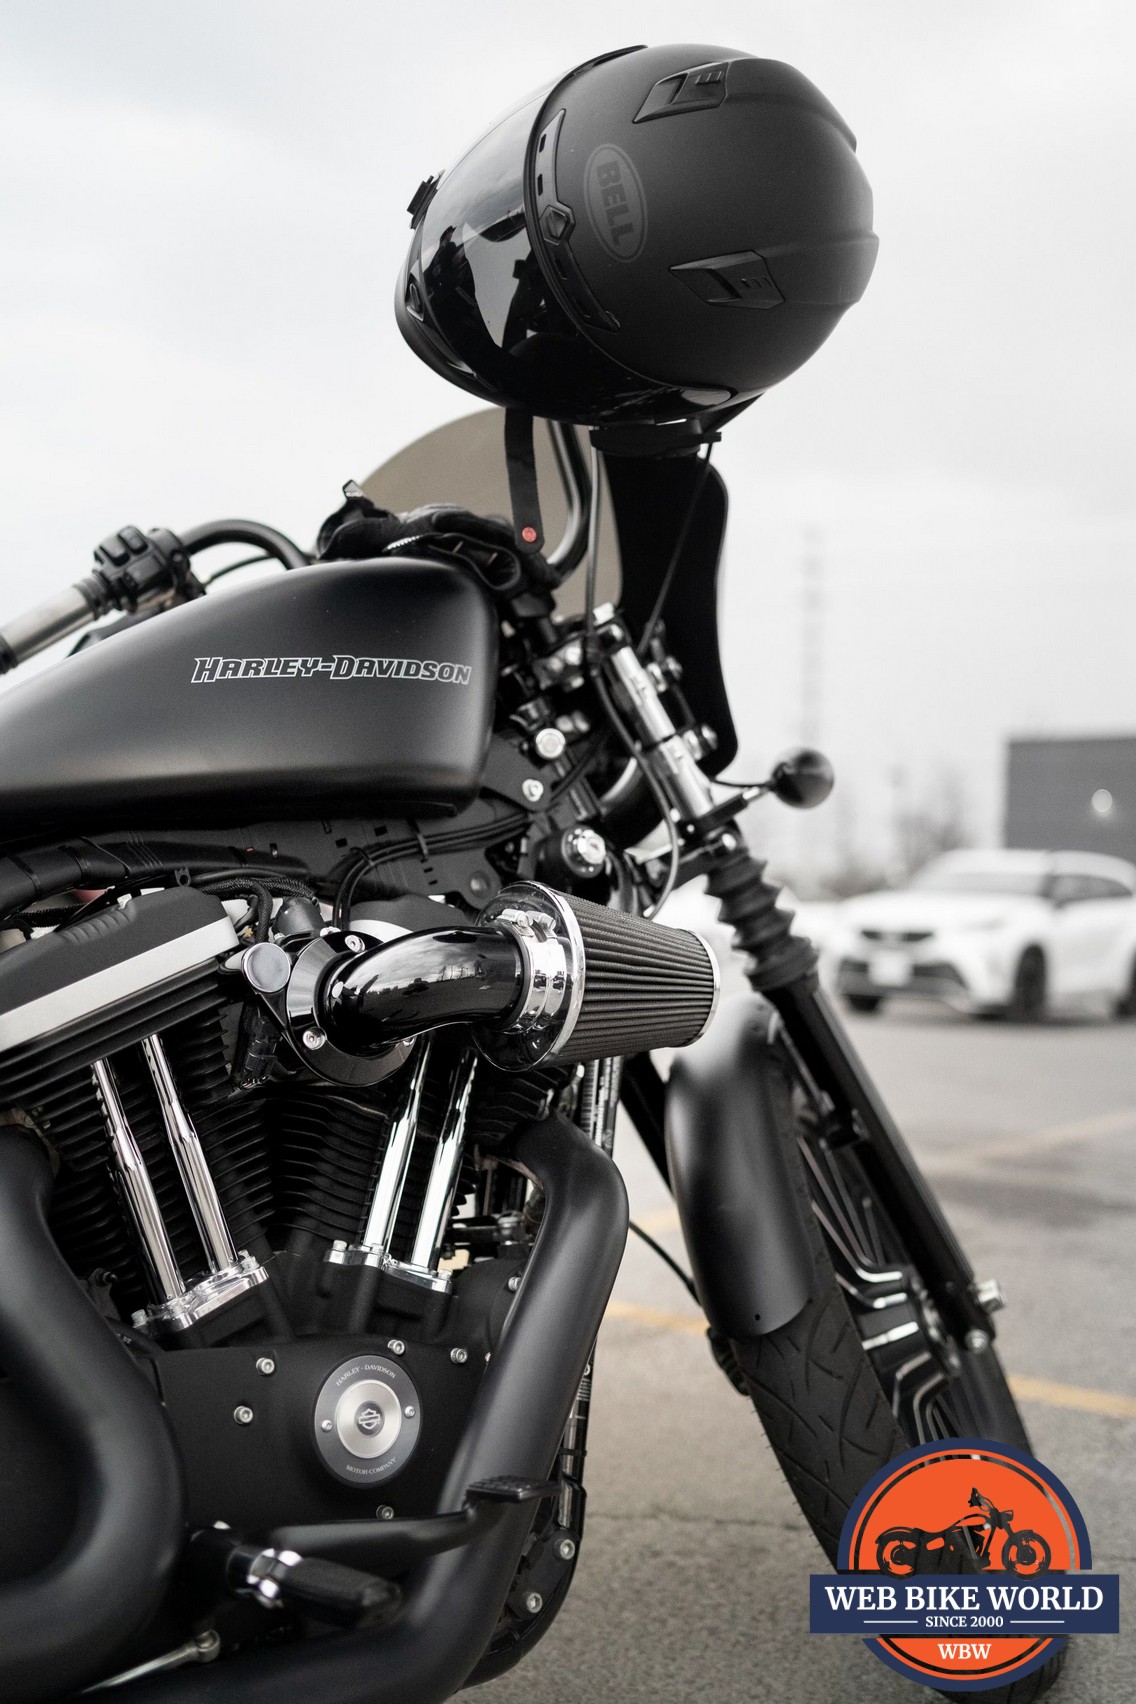
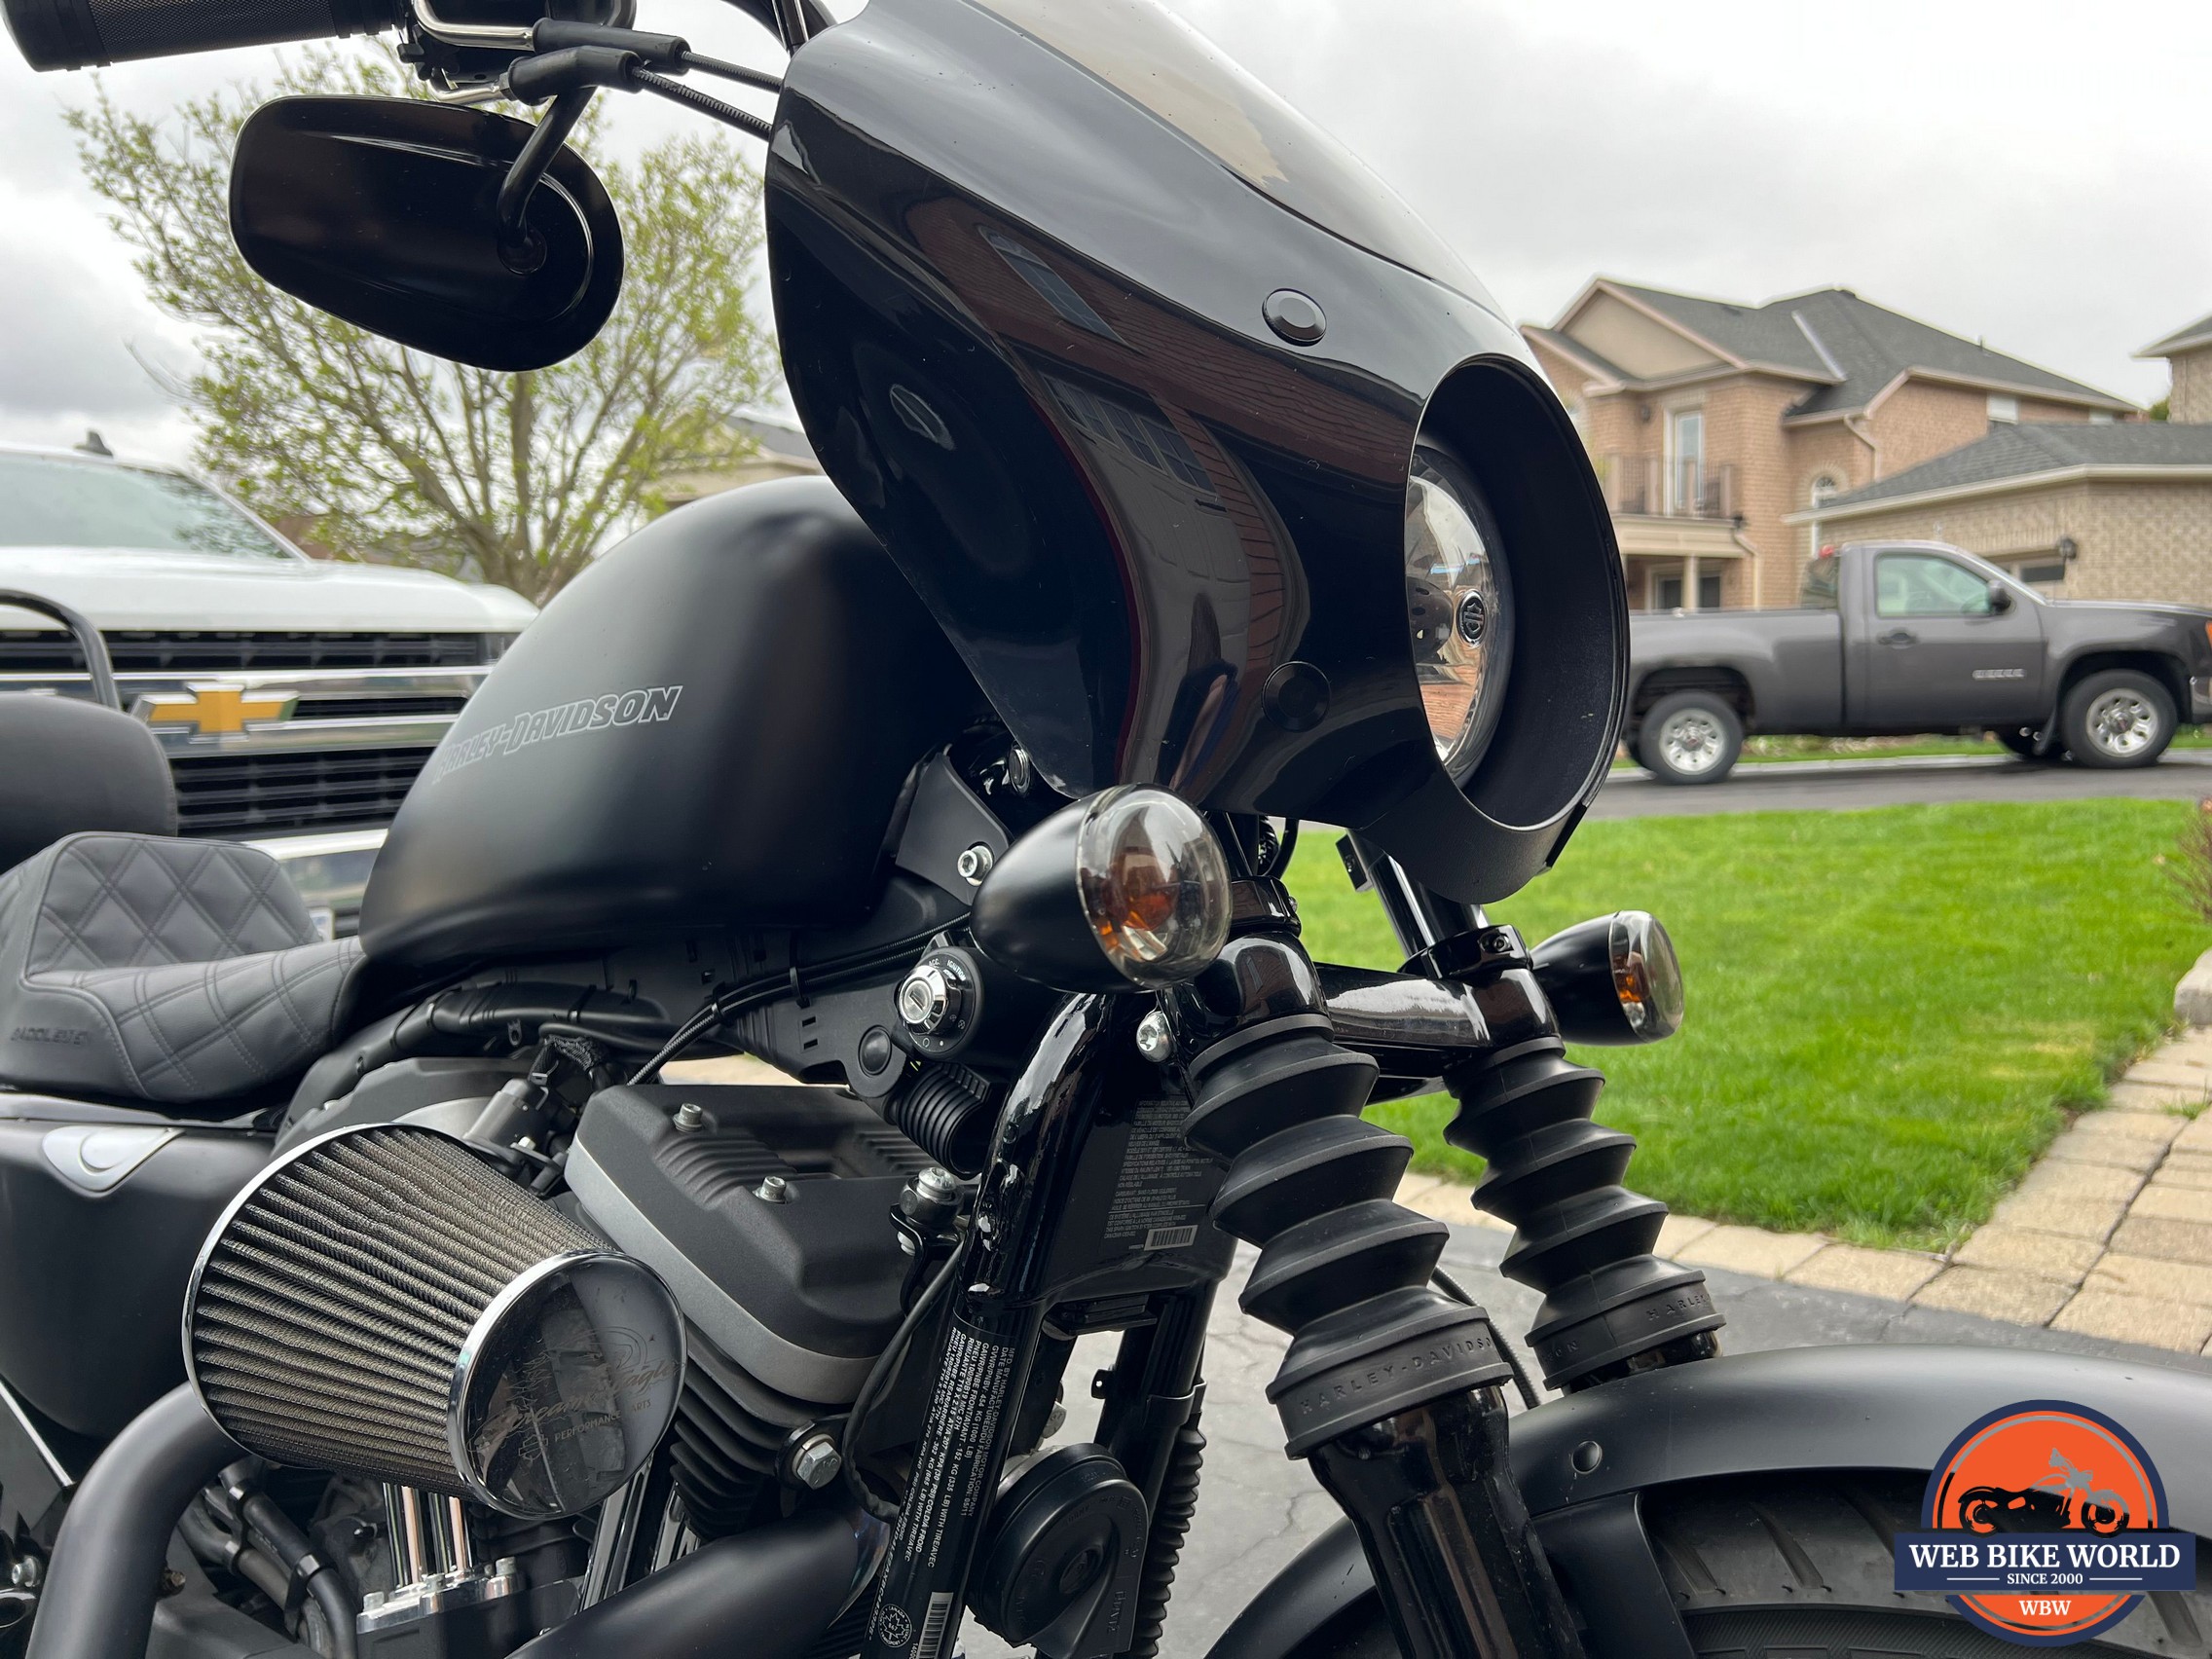
It is very important to note that a turn signal relocation kit is required to install this fairing. The bullet style signal lights interfere with the fairing being able to reach the clamps. I bought mine on Fortnine, but other options do exist. For reference, the Sportster has 39mm forks.
As I attempt to fit the fairing onto the fork clamps I find myself in a 5 way power struggle against myself, the misaligned hardware, the headlight cut out, brake/clutch lines, and my subconscious telling me I should be gentle to avoid damaging something.
In disbelief that I’m being bested by a chunk of plastic, my frustration grows and with it so does the sweat on my forehead. A “quick and easy installation” has turned into a true test of patience.
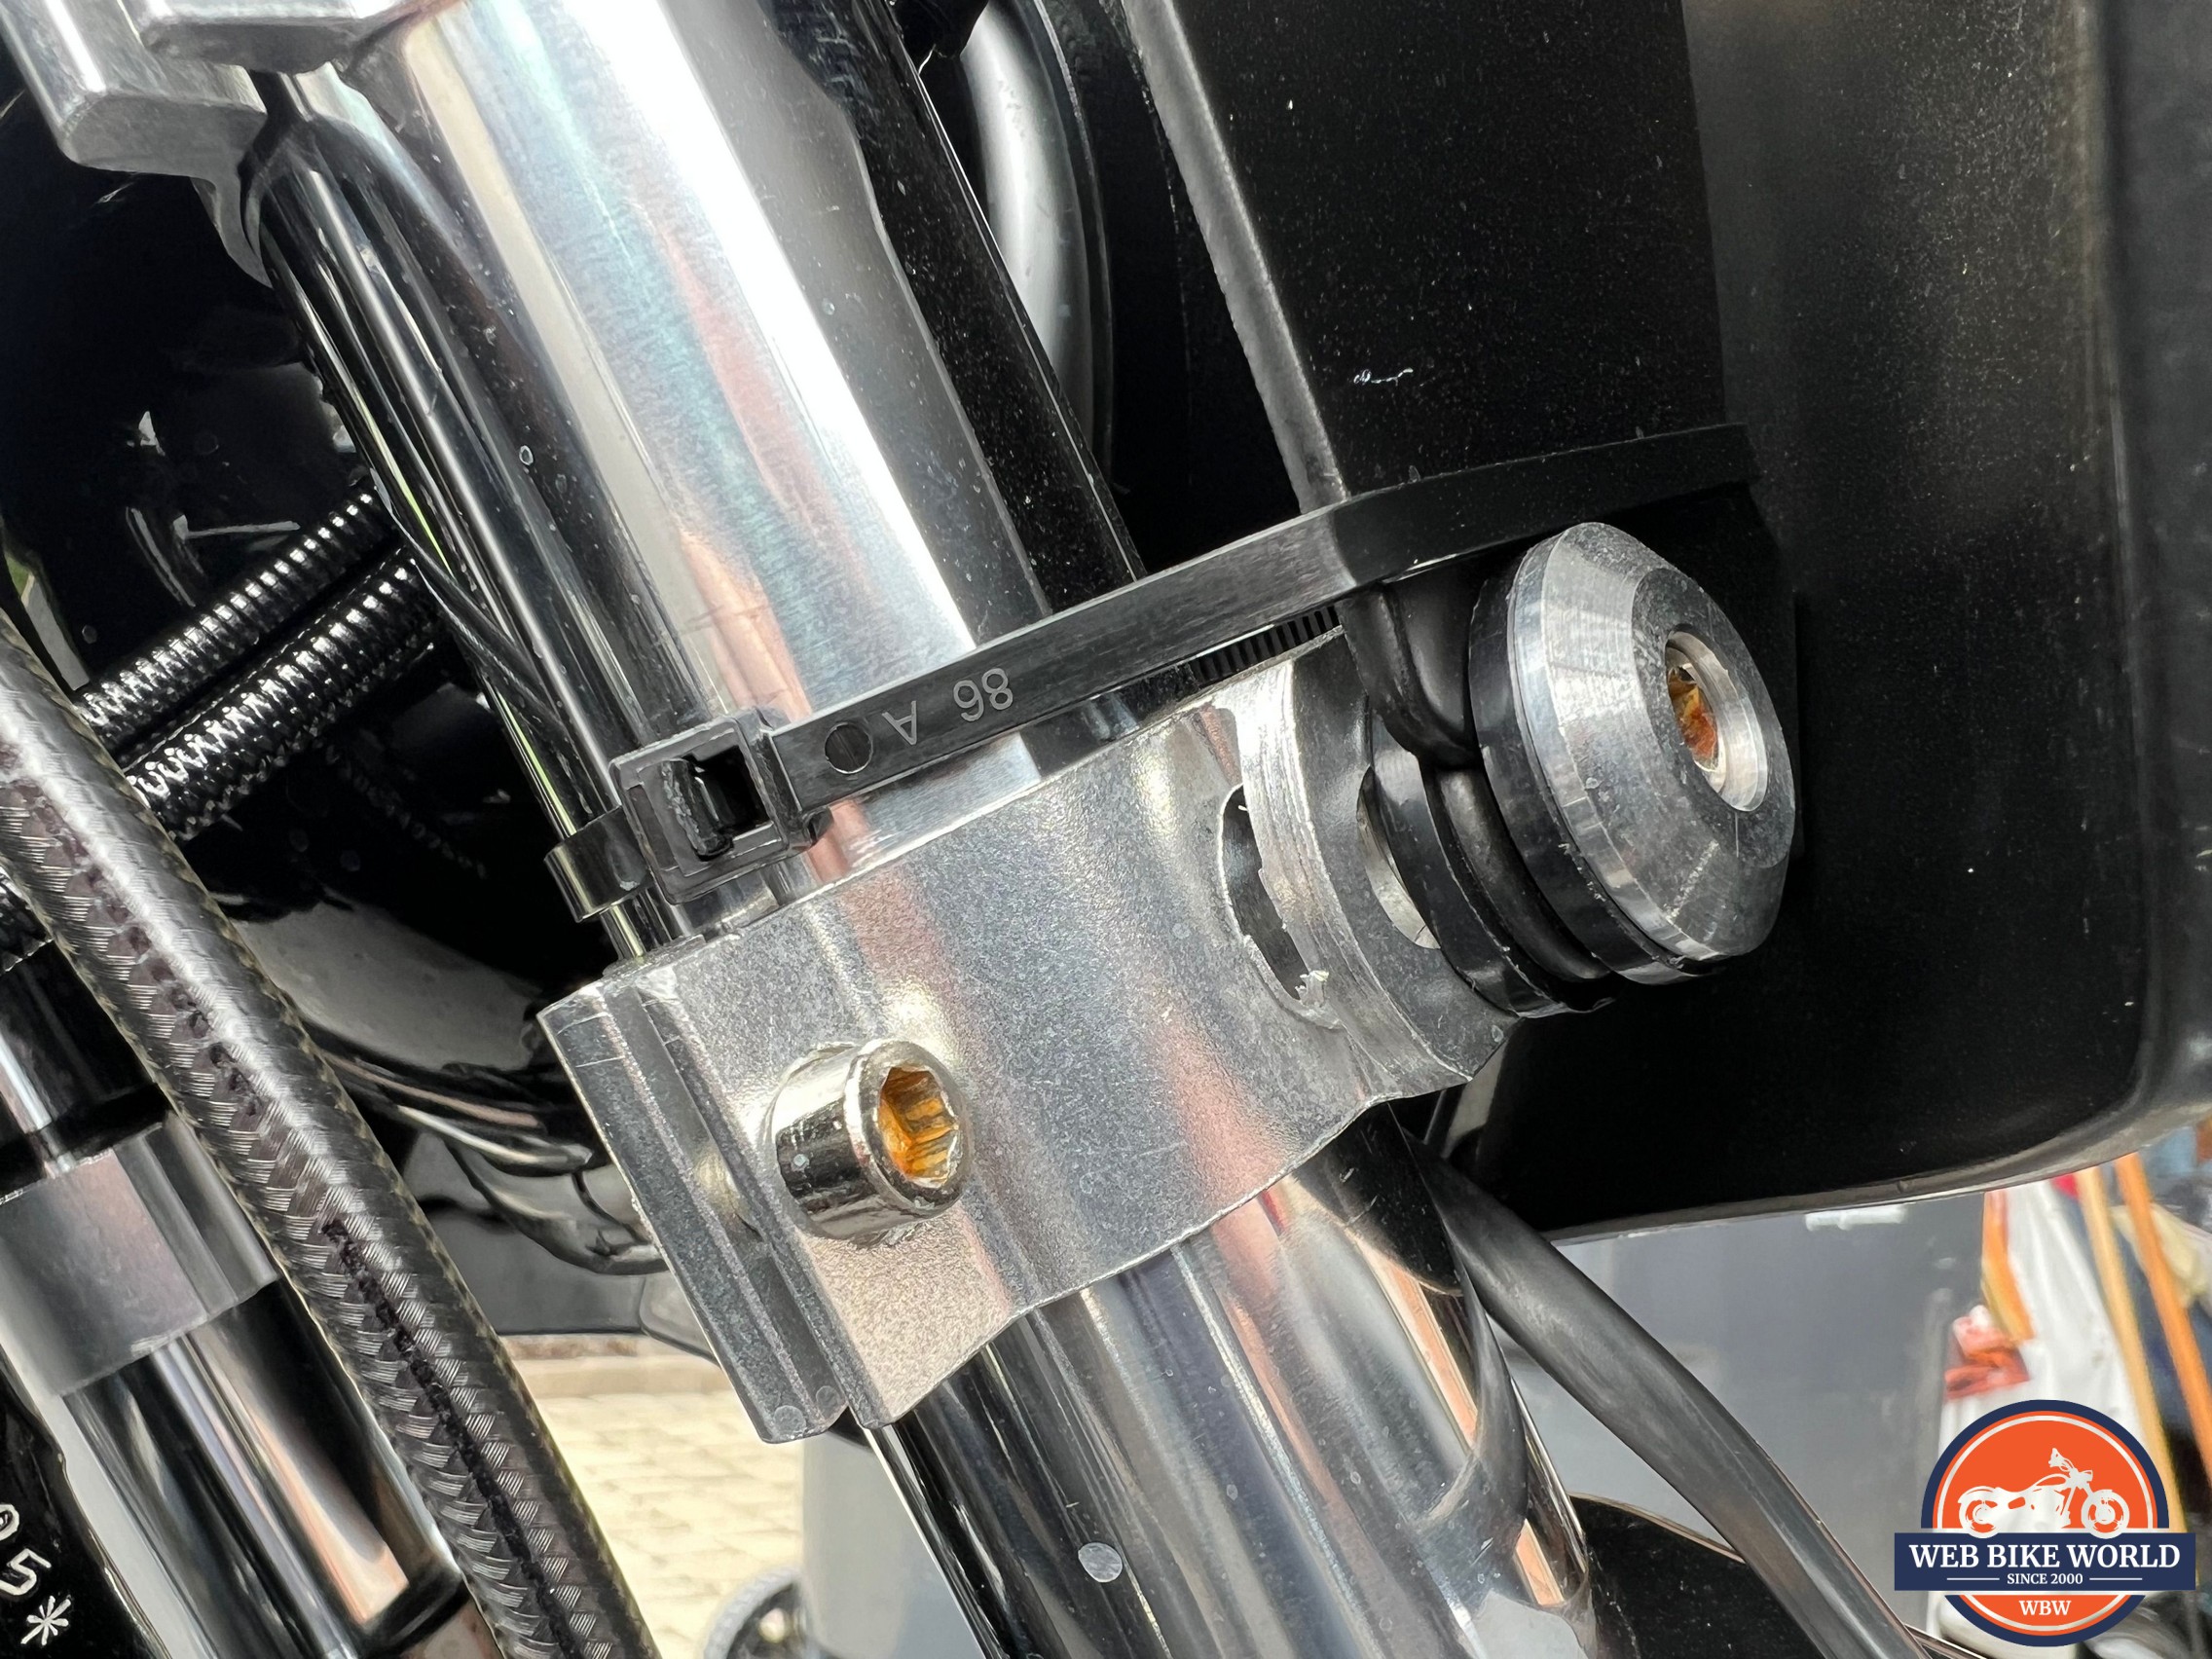
After deciphering the poorly drawn out instructions, the fairing is finally mounted in place, and secured with zip ties because I don’t trust the cheap hardware. My intentions were to install it one time, and one time only.
Truthfully, I could barely stomach the idea of removing it for the purpose of taking photos for this review. Luckily, I was smart enough to mark the position of the fork clamps prior to removing them which made reinstalling the fairing far easier than before.
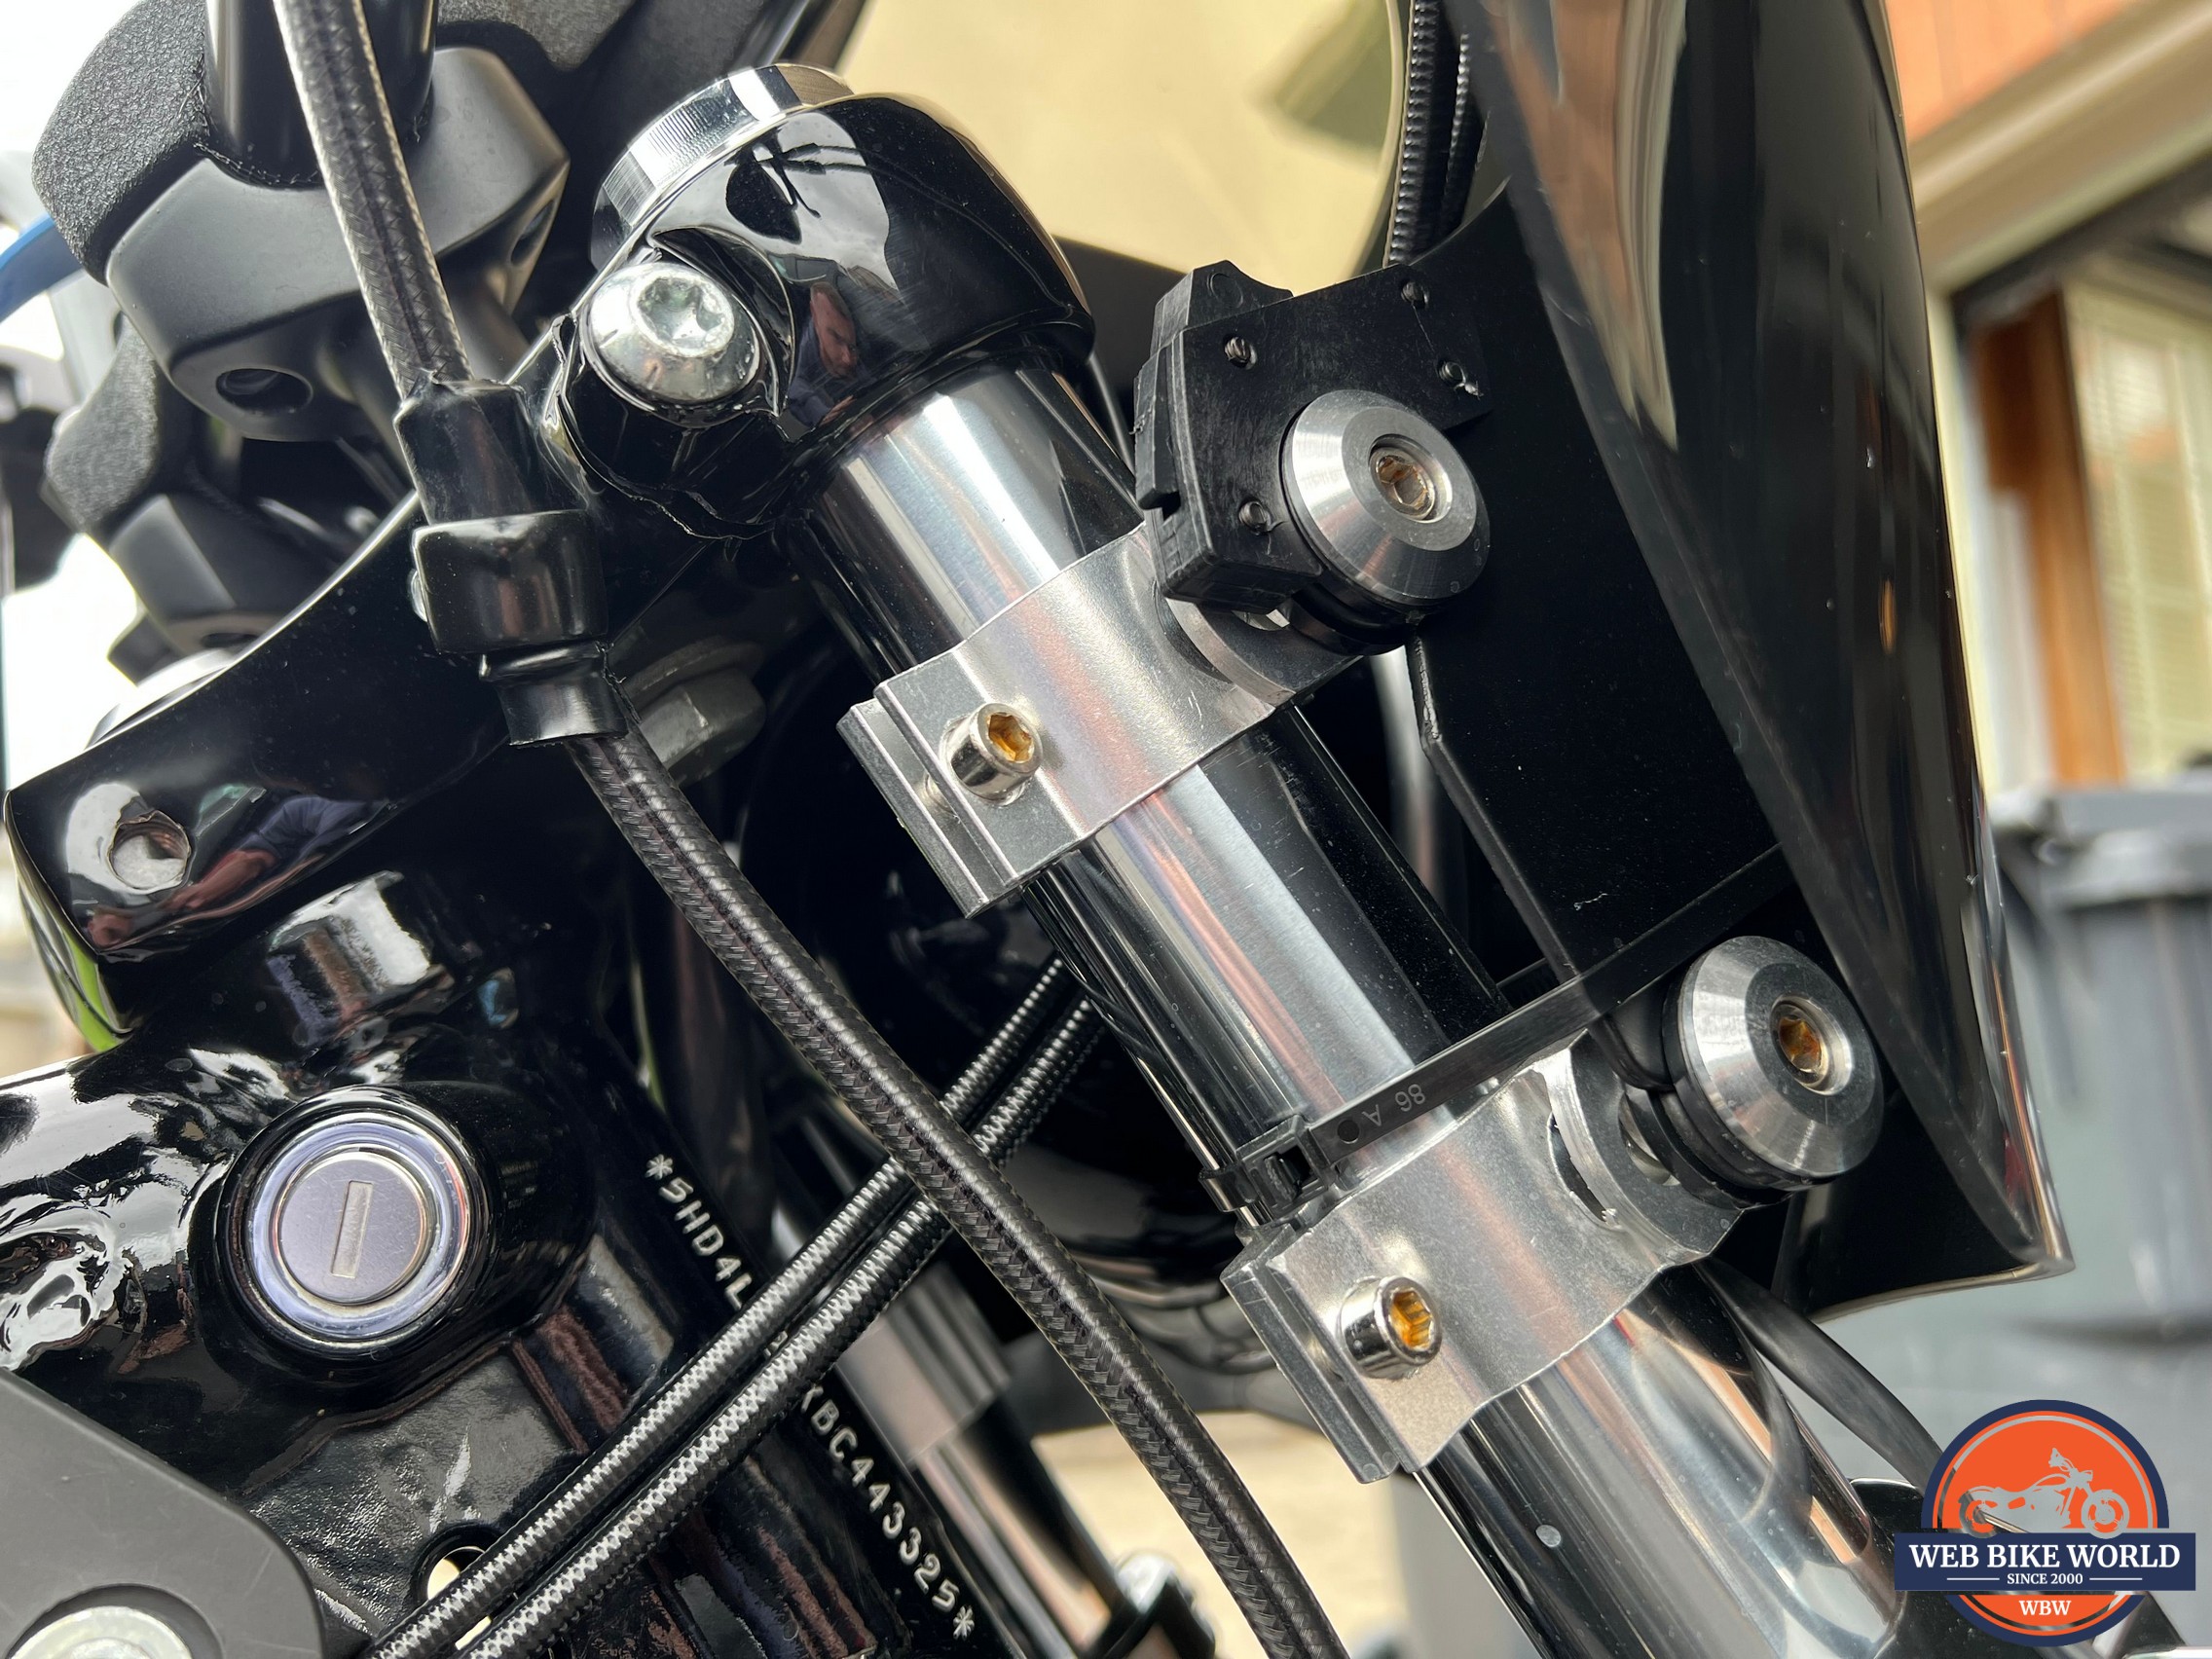
While they don’t need to be exact, the approximate locations are listed below. Be sure to leave them loose during the install so that you can make minor adjustments as you go.
- Upper Clamp: The top of the clamp should be ¾” of an inch from the top of the forks
- Lower Clamp: The top of the clamp should be 3-¾” of an inch from the top of the forks
Do I Regret My Purchase? Not At All.
You may be surprised by my conclusion that after such a raving review, I would be willing to do it all again if I had to.
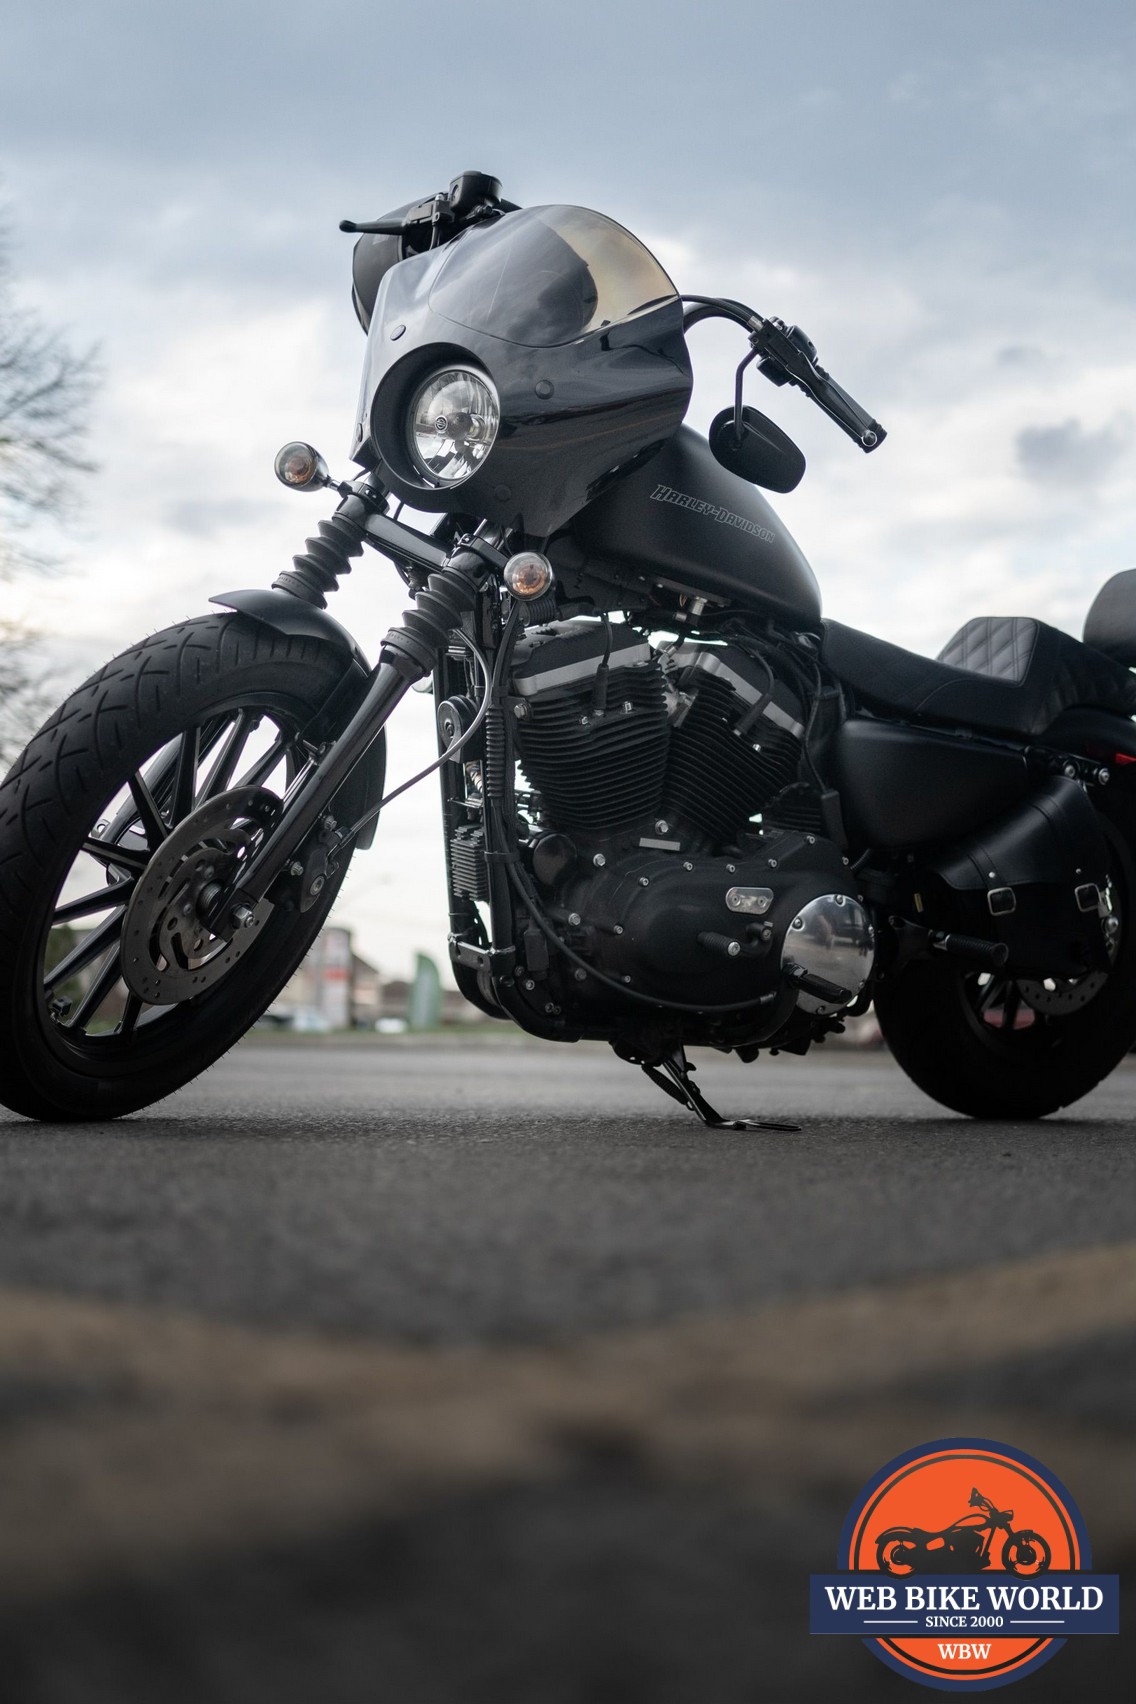
The Krator fairing did exactly what I needed it to do – deflect air off of my chest and put it over my head. I can now ride longer, and faster, with minimal fatigue. It also does this while adding a “sporty” look to the bike that I like.
Is it made out of cheap material? Yes. Was installation a nightmare? Yes, but I’m also not the handiest person out there. Some of you reading may be able to install it in a matter of minutes.
Simply Put: I Didn’t Have A Choice.
The fact of the matter is that I had just spent a large sum of money on motorcycle gear, riding school, and my bike. This additional expense was not in my budget. Through my research, there was a lot of hype surrounding Amazon fairings and how comparable they are to big name brands. The Krator Quarter Fairing was the cheap, yet effective, solution to my problem that I was looking for.
Would other fairings perform better? Perhaps. Maybe in the future I can compare one of higher quality to the Krator, allowing you to make a more informed decision. But until then, I will happily be rocking my Krator Quarter Fairing and enjoying the smoother ride it provides.
Pros
- Effectively reduces wind turbulence to minimize fatigue and increase stability
- Provides a cheaper alternative for those who don’t want to pay full price with big name manufacturers
- Quick release hardware makes cleaning easy
Cons
- Quality control issues from the manufacturer when it comes to defects/damage to the product
- Can be very difficult to install with minimal instructions
- Hardware is cheap, leaving the installer to question whether or not it’ll hold