Motorcycle Wheel Spoke Adventures Part 2
Part 1 (“Re-Spoke Motorcycle Wheels“) described my experiences at re-spoking a motorcycle wheel for the first time.
That article covered the “what, why, and how” of the project.
I had also mentioned in that article that I would be doing another spoke job in the near future.
This time, it would be on one of the Suzuki TU250 (report, photos) training bikes I’m currently maintaining for a local Community College.
This re-spoking would involve installing a new rim along with a new set of spokes.
It seems that a student collided with a curb and the front wheel took the brunt of the impact. The student was fine, but the rim was severely bent.
This time, I was determined to get the wheel as true as I possibly could.
I had read in an article that said getting a rim within 2 mm of runout was “good enough”, but that much runout seemed excessive to me.
Yes — it was for a training bike that would never be ridden on the road, would never go over 20 MPH and would most likely be crashed several times in the future…but I thought this would be the perfect time to work on the technique.
Besides, they were paying me to do the job — it doesn’t get any better than that!
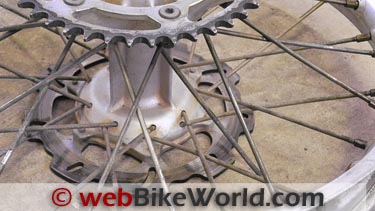
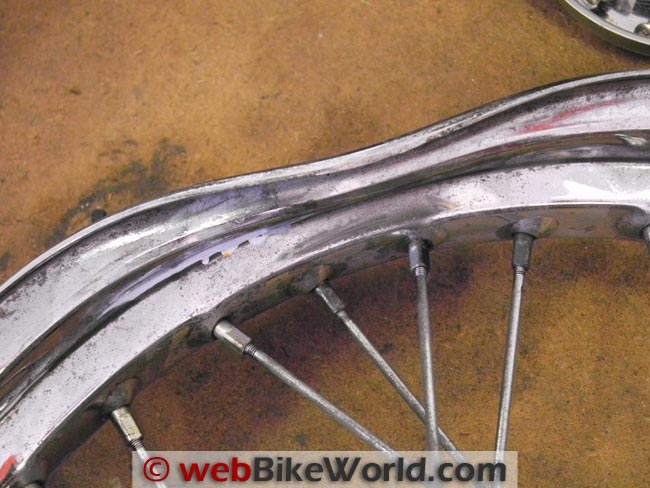 Damaged rim from a Suzuki TU250 training bike.
Where to Buy Motorcycle Spoke
Check Reviews & Prices on AmazonSee More: Motorcycle Accessories, Motorcycle Tire, Motorcycle Helmets
Introduction
Before starting, I made some marks on the center hub to indicate which direction the spokes pointed and whether it was an inner and outer spoke. The marks where made with the letter “I” for inner and “O” for outer.
Since this wheel was relatively new and rarely gets wet and is never off road, none of the spokes were rusted frozen (as they were on my DR), so disassembly was a breeze.
Since half of the spokes are on the inside and the others on the outside, each spoke has a different bend on the ends, so they had to be compared and separated; those with the tighter angle are on the outside.
All of the inner spokes were installed in the hub, swung to point in a counter-clockwise and then the rim set in place. The holes in the rim will pretty much point to the appropriate spoke.
You just have to make sure the buggers haven’t swung around on you and are pointing in the opposite direction. It can be about as frustrating as trying to carry three pairs of long, icy cross-county skis at one time.
I had read that this TU250 wheel had a four-spoke repeating pattern. This is the most common pattern, but not the only one out there so be sure to check yours before taking it apart!
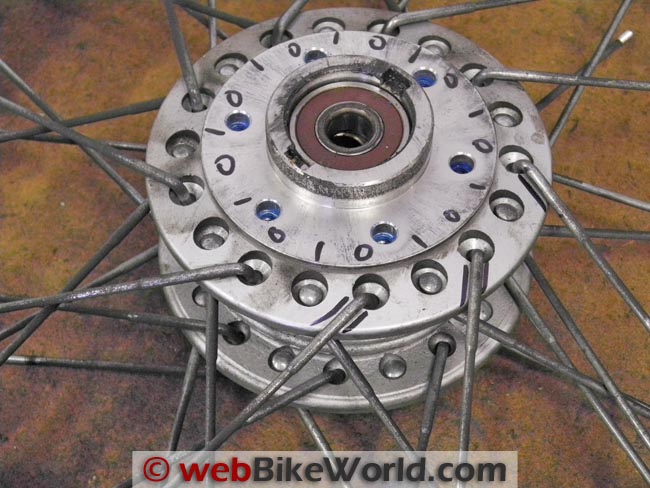 Hub with markings for inner and outer spokes.
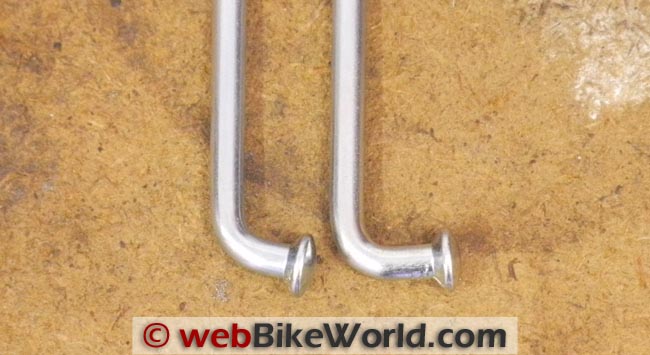 Inner (L) and outer spoke head differences.
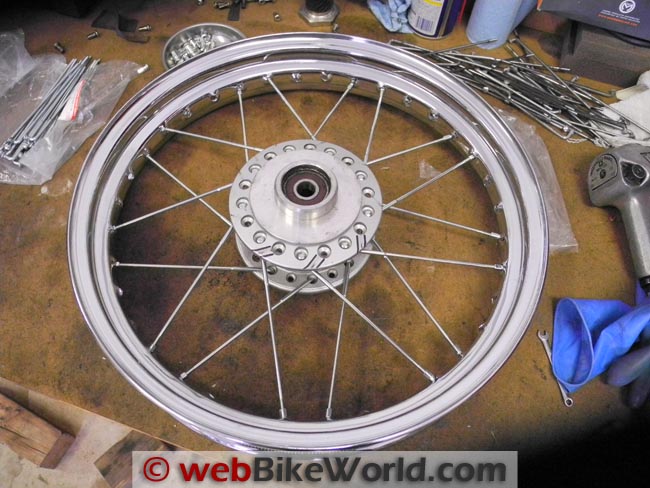 Hub with markings for inner and outer spokes.
Where to Buy Motorcycle Spoke
Check Reviews & Prices on AmazonSee More: Motorcycle Accessories, Motorcycle Tire, Motorcycle Helmets
Tires and Wheels
With the inner spokes in place, the outer spokes were inserted from underneath with the wheel at the edge of my work bench. This helped cut down on the assembly flopping around on me as I simply rotated the rim a little each time.
I had memorized the phrase “Out, Right” to remind me that the outer spokes pointed in a clockwise (right) direction.
Again, the spokes were tightened in stages, first until the amount of threads exposed equaled the width of my pocket screwdriver blade. After that they were still quite loose so I tightened them until there were only one or two threads remaining visible above the nipples.
Things were starting to get snug, so it was onto the balancer for truing.
On my DR-Z400S rim, I have to admit I got a little lost in the tightening sequence, but I was more careful this time using a piece of tape to remind me where I had first started each sequence.
Using a tightening procedure I had read in an article that utilizes the repeating four-spoke pattern, I slowly and carefully tightened each spoke in stages.
I decided that this time I would use a dial indicator to measure runout. With a lot of time, patience and trial-and-error, I was able to get both the lateral and axial runout under .25 mm (0.010″).
Remember, whenever tightening or loosening spokes, it affects both the lateral and axial run-out so each needs to be checked repeatedly.
Was it necessary to be this accurate for the rim I was working on? No, but it was an excellent learning exercise.
Now in my previous article I mentioned that I did not have a spoke torque wrench, but would be sure to get one for the next wheel.
Well, it didn’t happen. It seemed like every wrench set was missing one of the sizes I needed to do my own rims and the training bikes, so I bought two spoke wrenches in the sizes I needed and used the “tone” method for finally tightening.
I have to say using a real dedicated spoke wrench instead of a simple open-end wrench was a pleasure.
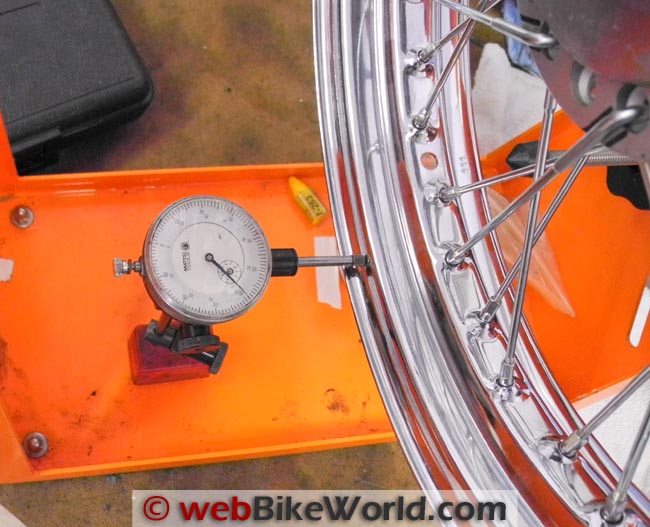 Lateral runout on rim using dial indicator.
Conclusion
As with anything, practice makes perfect. OK, I’m not the fastest person at re-lacing and truing a rim, but having now done three (yet another training bike ran into an immoveable object), I’m no longer afraid to tangle with this job.
As the saying goes “Nothing ventured, nothing gained” or when learning something new “Another wrinkle in the brain”.
References
- Re-Building and Lacing Spoked Wheels
- Re-Spoke Motorcycle Wheels (Part 1)
- wBW Motorcycle Tire Reviews
- wBW Motorcycle Wheels Page
- The Vintage Motorcyclists’ Workshop (Book).
- Buchanan’s Spokes & Rims — Stainless steel spoke specialists.
- Spoke Wrenches and Tools
More wBW: Suzuki DR-Z400S Blog
Master Listing of All wBW Motorcycle Product Reviews
Where to Buy Motorcycle Spoke
Check Reviews & Prices on AmazonSee More: Motorcycle Accessories, Motorcycle Tire, Motorcycle Helmets
Owner Comments and Feedback
See details on submitting comments.
Other WebBikeWorld Articles Posts