

Review Summary
- Tiny form factor and magnetic feature enable easy attachment to various surfaces
- New Action Pod improves convenience with a flip touchscreen.
- FreeFrame video mode lets you adjust aspect ratio and field of view after shooting.
- Non-removable battery and absence of a micro SD slot could pose limitations for power users.
The Insta360 GO 3 Action Camera
I’ve never owned an action camera. I’ve used one several times, though; for work when we’re out shooting a motorcycle, or having borrowed one on the odd vacation, only to carry it along for the rest of the trip and not really use it. That’s because for most situations that I, and I suspect a lot of you reading this, will find ourselves in, the cameras on our phones will more than suffice. And it’s for that reason that I never really saw the benefits of owning one. For me, that changed when I came across the Insta360 GO 3. I’ll tell you how over the rest of this review.
Before delving deeper into this review, I want to clarify that I am not a professional tech critic. So my insights are more from the standpoint of an everyday user. Furthermore, despite receiving this unit from Insta360 for review, my evaluation remains unbiased and I’ve tried to highlight both its strengths and shortcomings objectively.
Insta360 Go 3 Key Specifications:
- Aperture: F2.2
- 35mm Equivalent Focal Length: 11.24mm
- Use Environment: -4°F to 104°F (-20℃ to 40℃) for both GO 3 and Action Pod
Photo Specifications
- Resolution: 2560 x 1440 (16:9), 2560 x 2560 (1:1), 1440 x 2560 (9:16), and 2936 x 1088 (2.7:1)
- Format: INSP (exportable via App or Studio), DNG (exportable via App or Studio)
- Modes: Photo, HDR Photo, Interval, Starlapse
- ISO Range: 100-3200
- Shutter Speed: 1/8000 – 120s
- Exposure Value: ±4EV
- White Balance: Auto, 2700K, 4000K, 5000K, 6500K, 7500K
Video Specifications
- Resolution and Frame Rates: 2.7K: 2720×1536@24/25/30fps, 1440P: 2560×1440@24/25/30/50fps, 1080P: 1920×1080@24/25/30/50/120fps (Slow Motion)
- Formats: MP4
- Coding: H.264
- Max. Bitrate: 80Mbps
- Modes: Video, FreeFrame Video, Timelapse, TimeShift, Slow Motion, Pre-Recording, Loop Recording
- Color Profiles: Standard, Vivid, Flat
Audio Specifications
- Modes: Wind Reduction, Stereo, Direction Focus
- Format: 48Khz, 24bits, AAC
Connectivity and Storage
- Bluetooth: BLE 5.0
- Wi-Fi: 5GHz, 802.11a/n/ac
- USB: Type-C
- Storage: 32GB, 64GB, 128GB
Battery Capacity:
- GO 3: 310mAh
- Action Pod: 1270mAh
Charging Time:
- GO 3: 23 mins to 80%, 35 mins to 100%
- Action Pod: 47 mins to 80%, 65 mins to 100%
Run Time:
- GO 3: 45 mins
- GO 3 + Action Pod: 170 mins (Measured in lab conditions at 1080P@30fps)
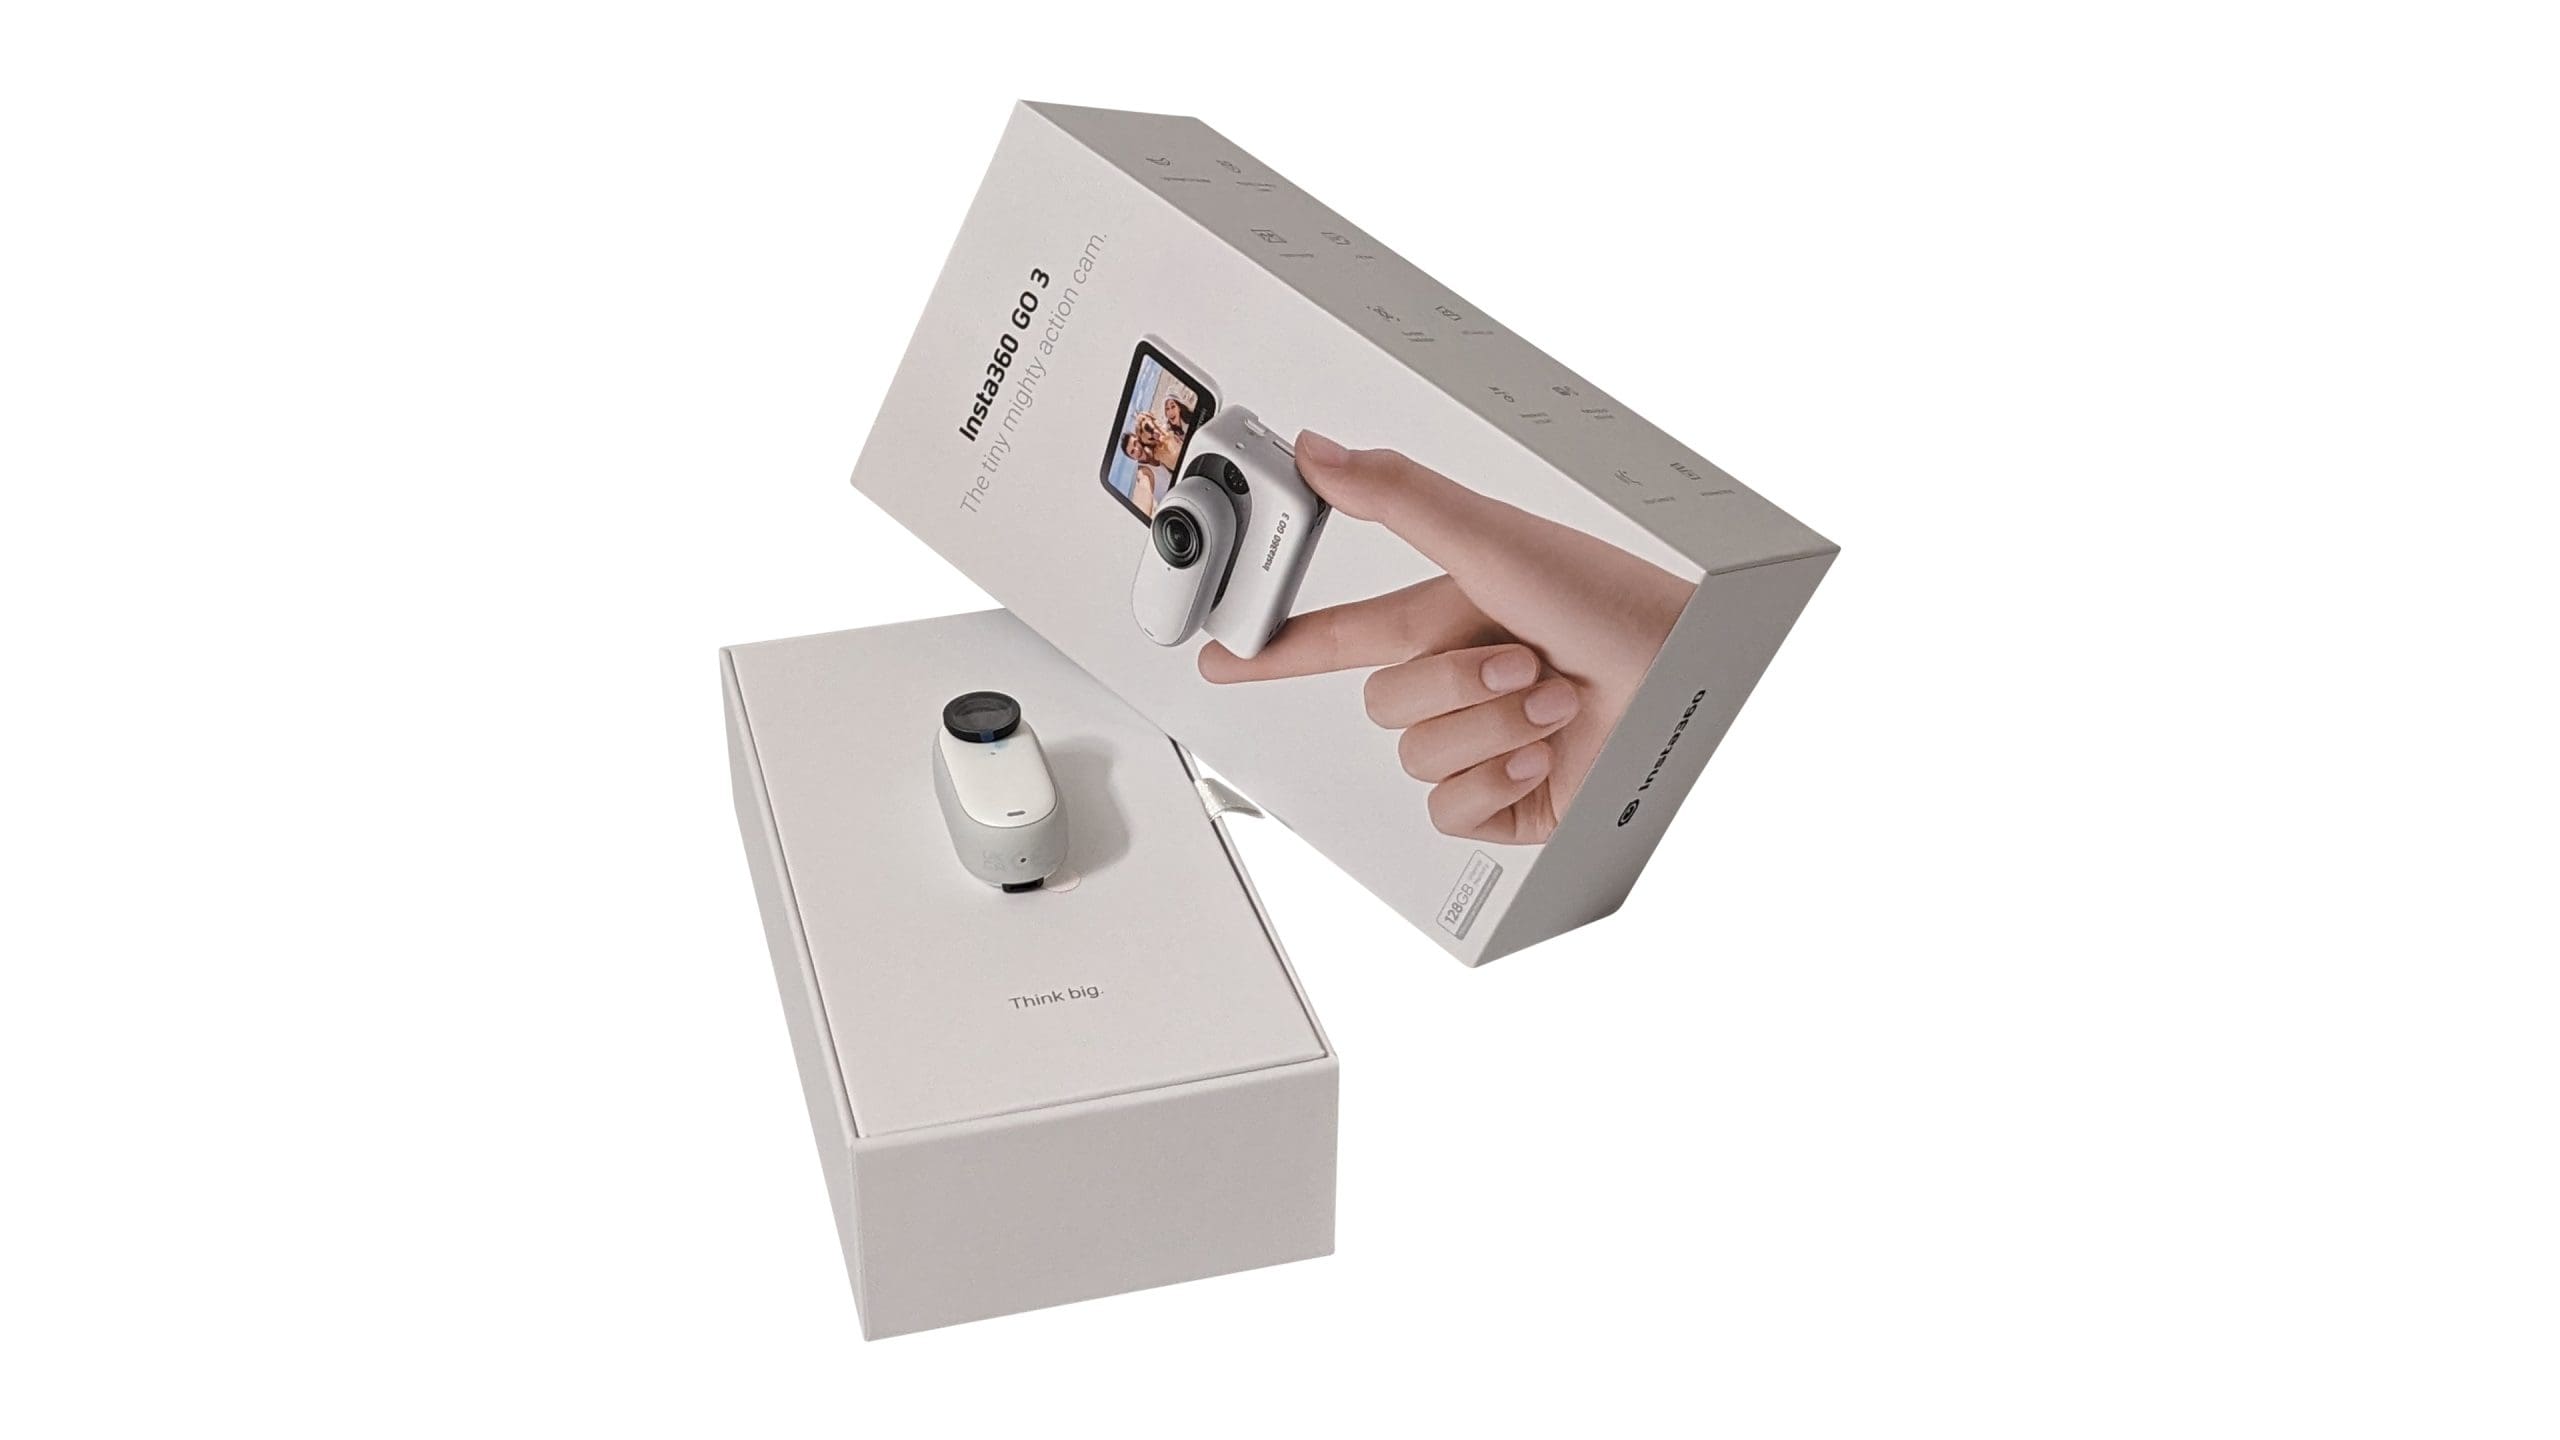
Design and Build Quality
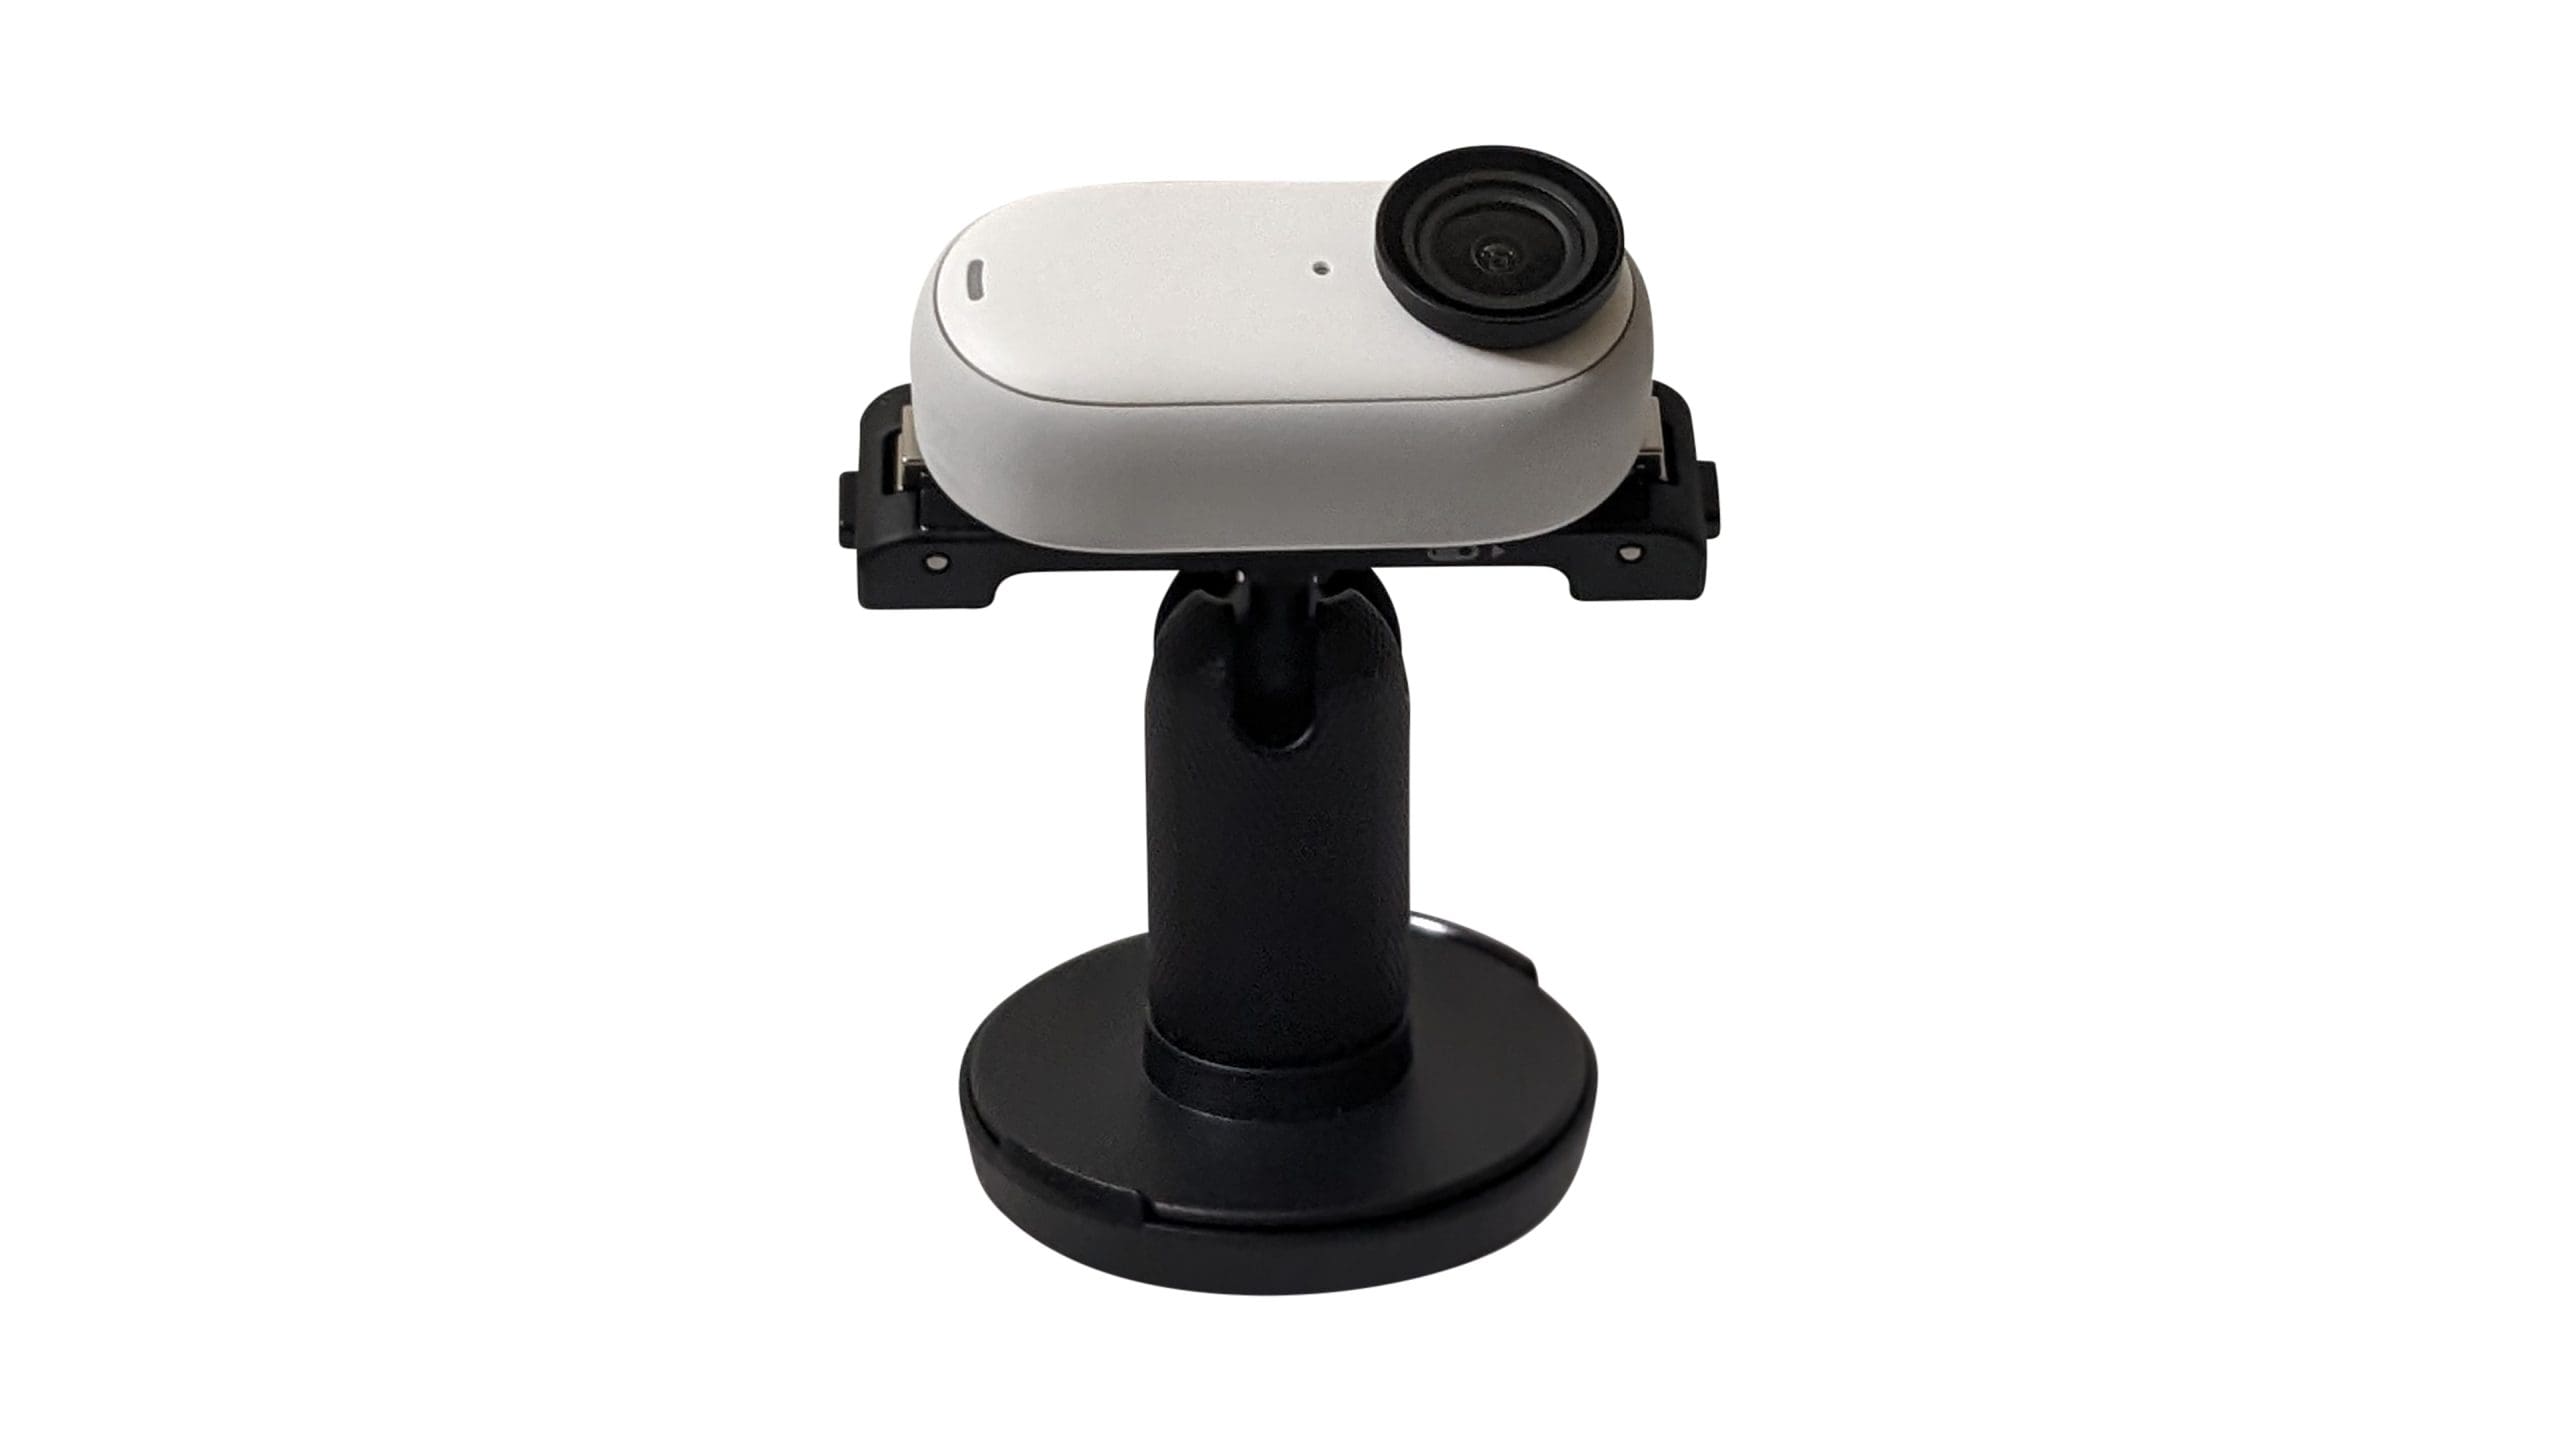
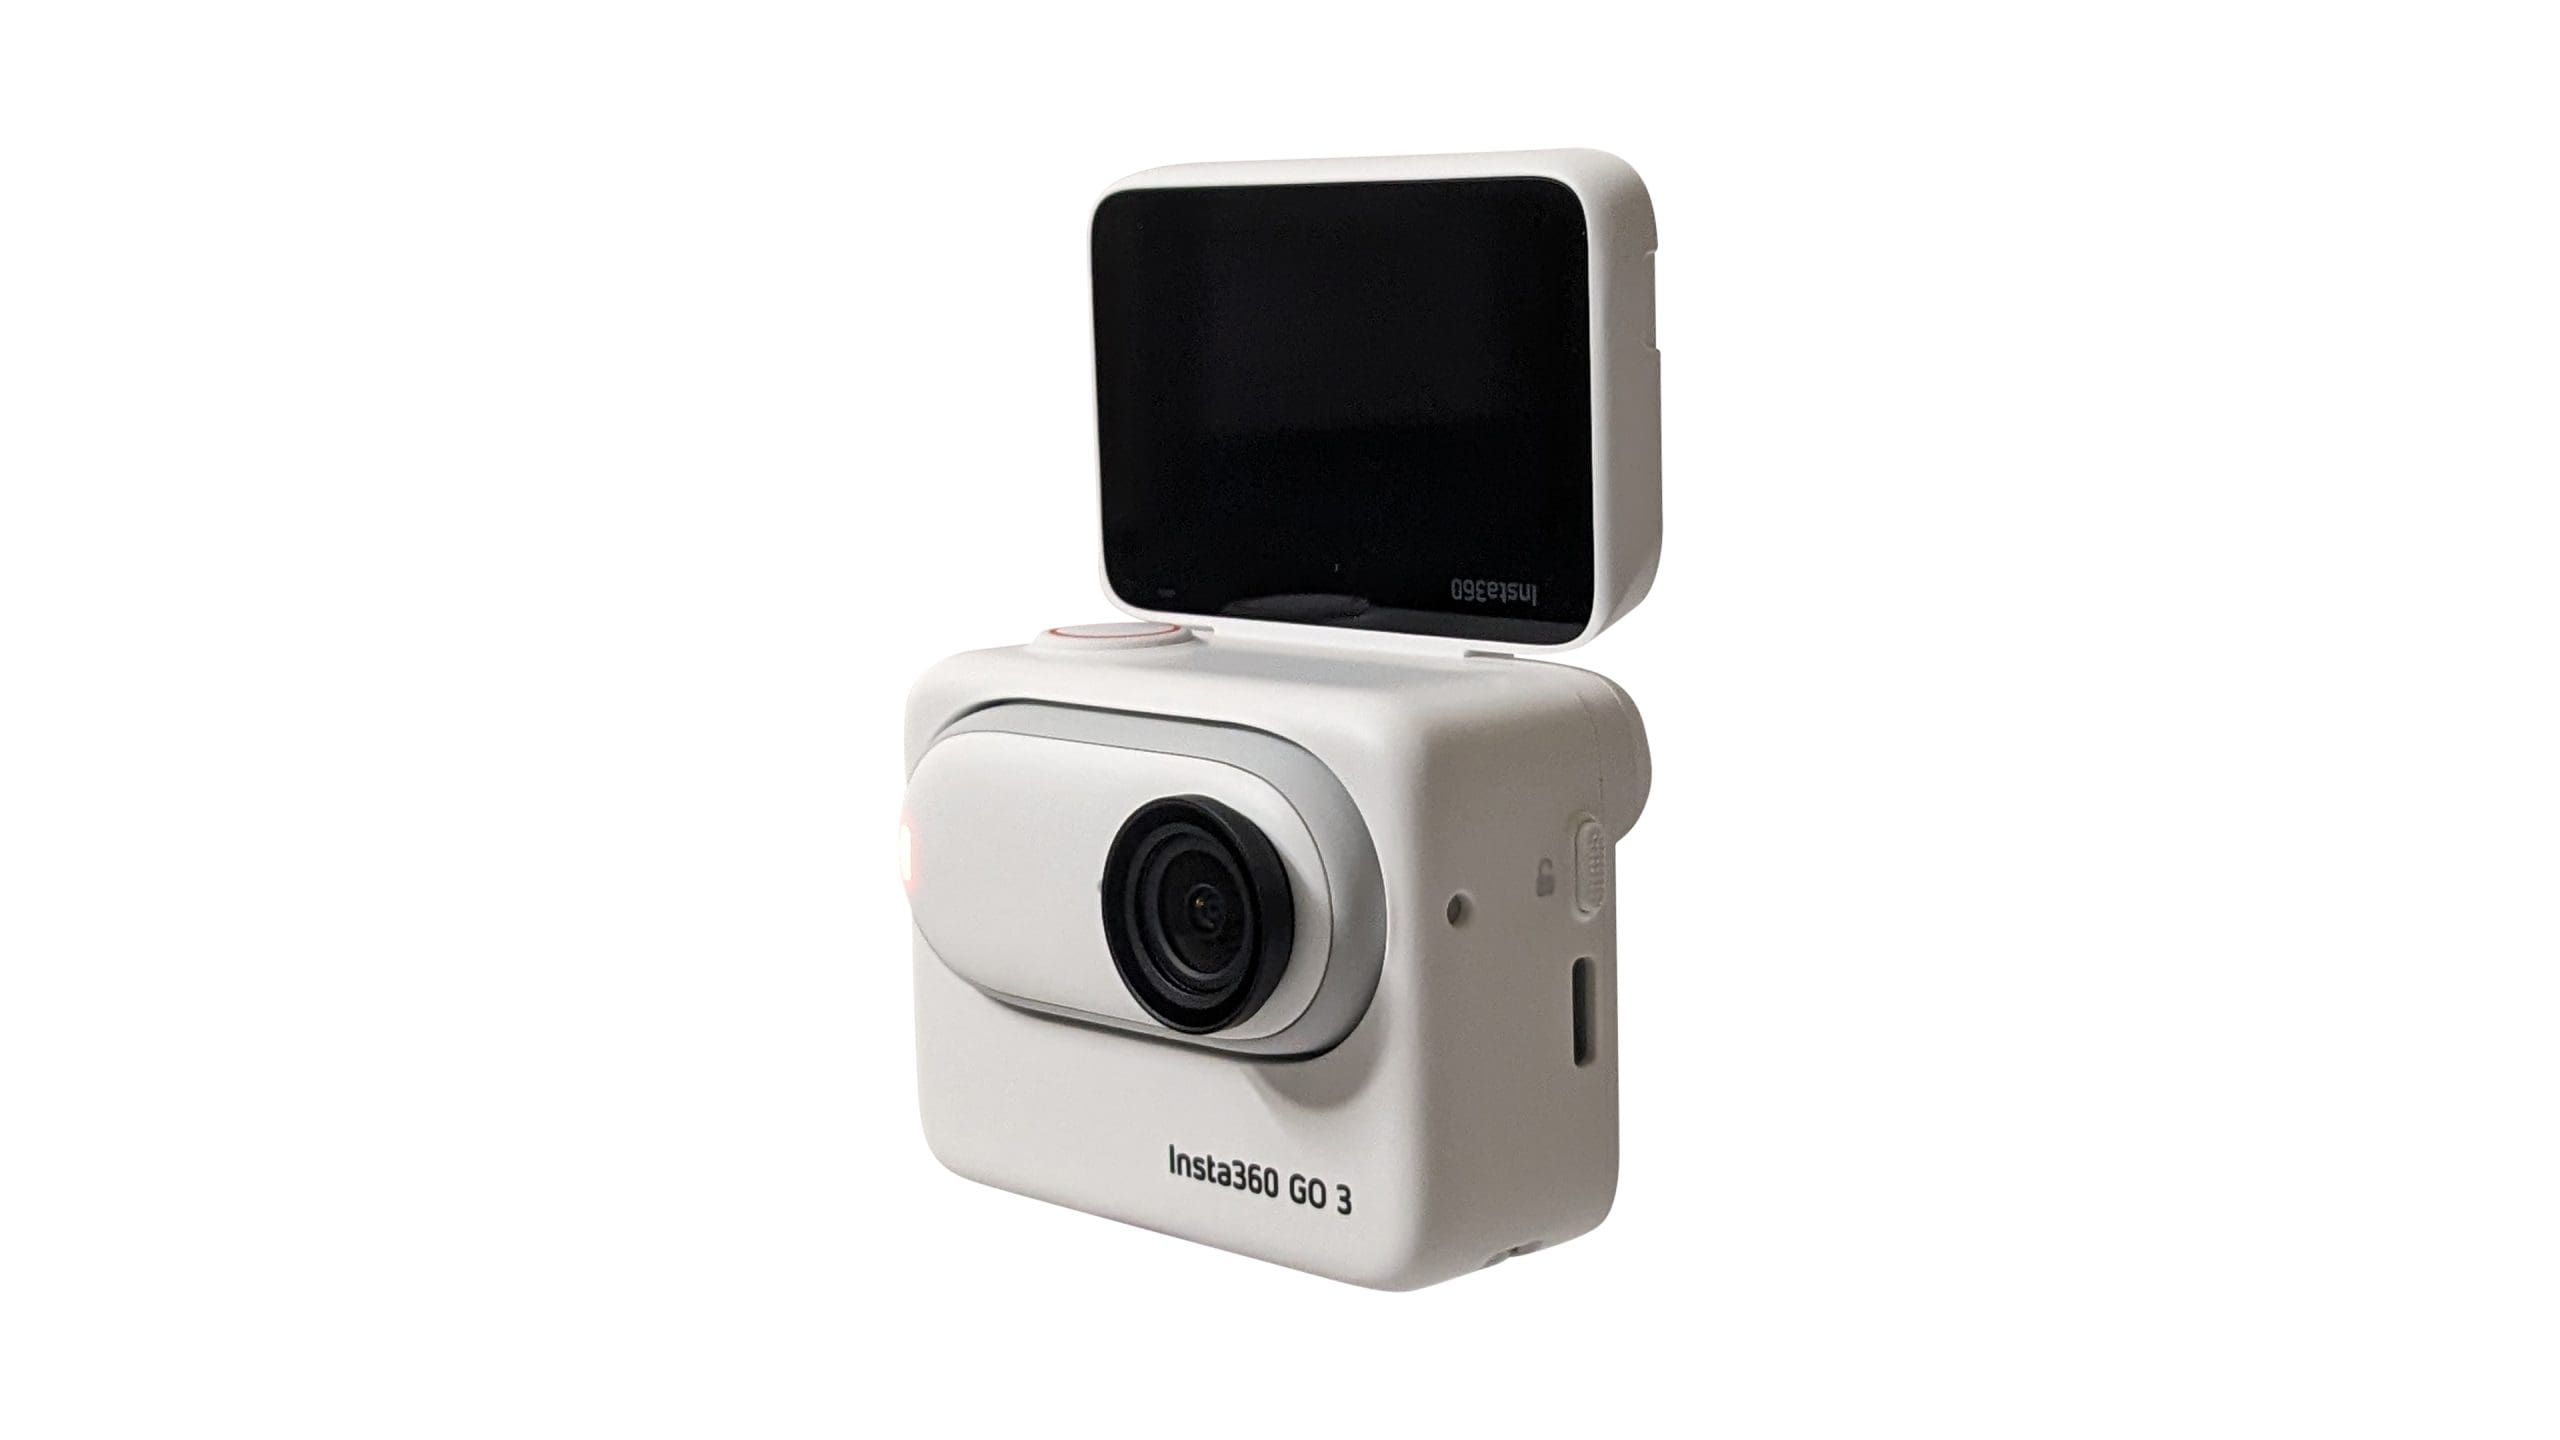
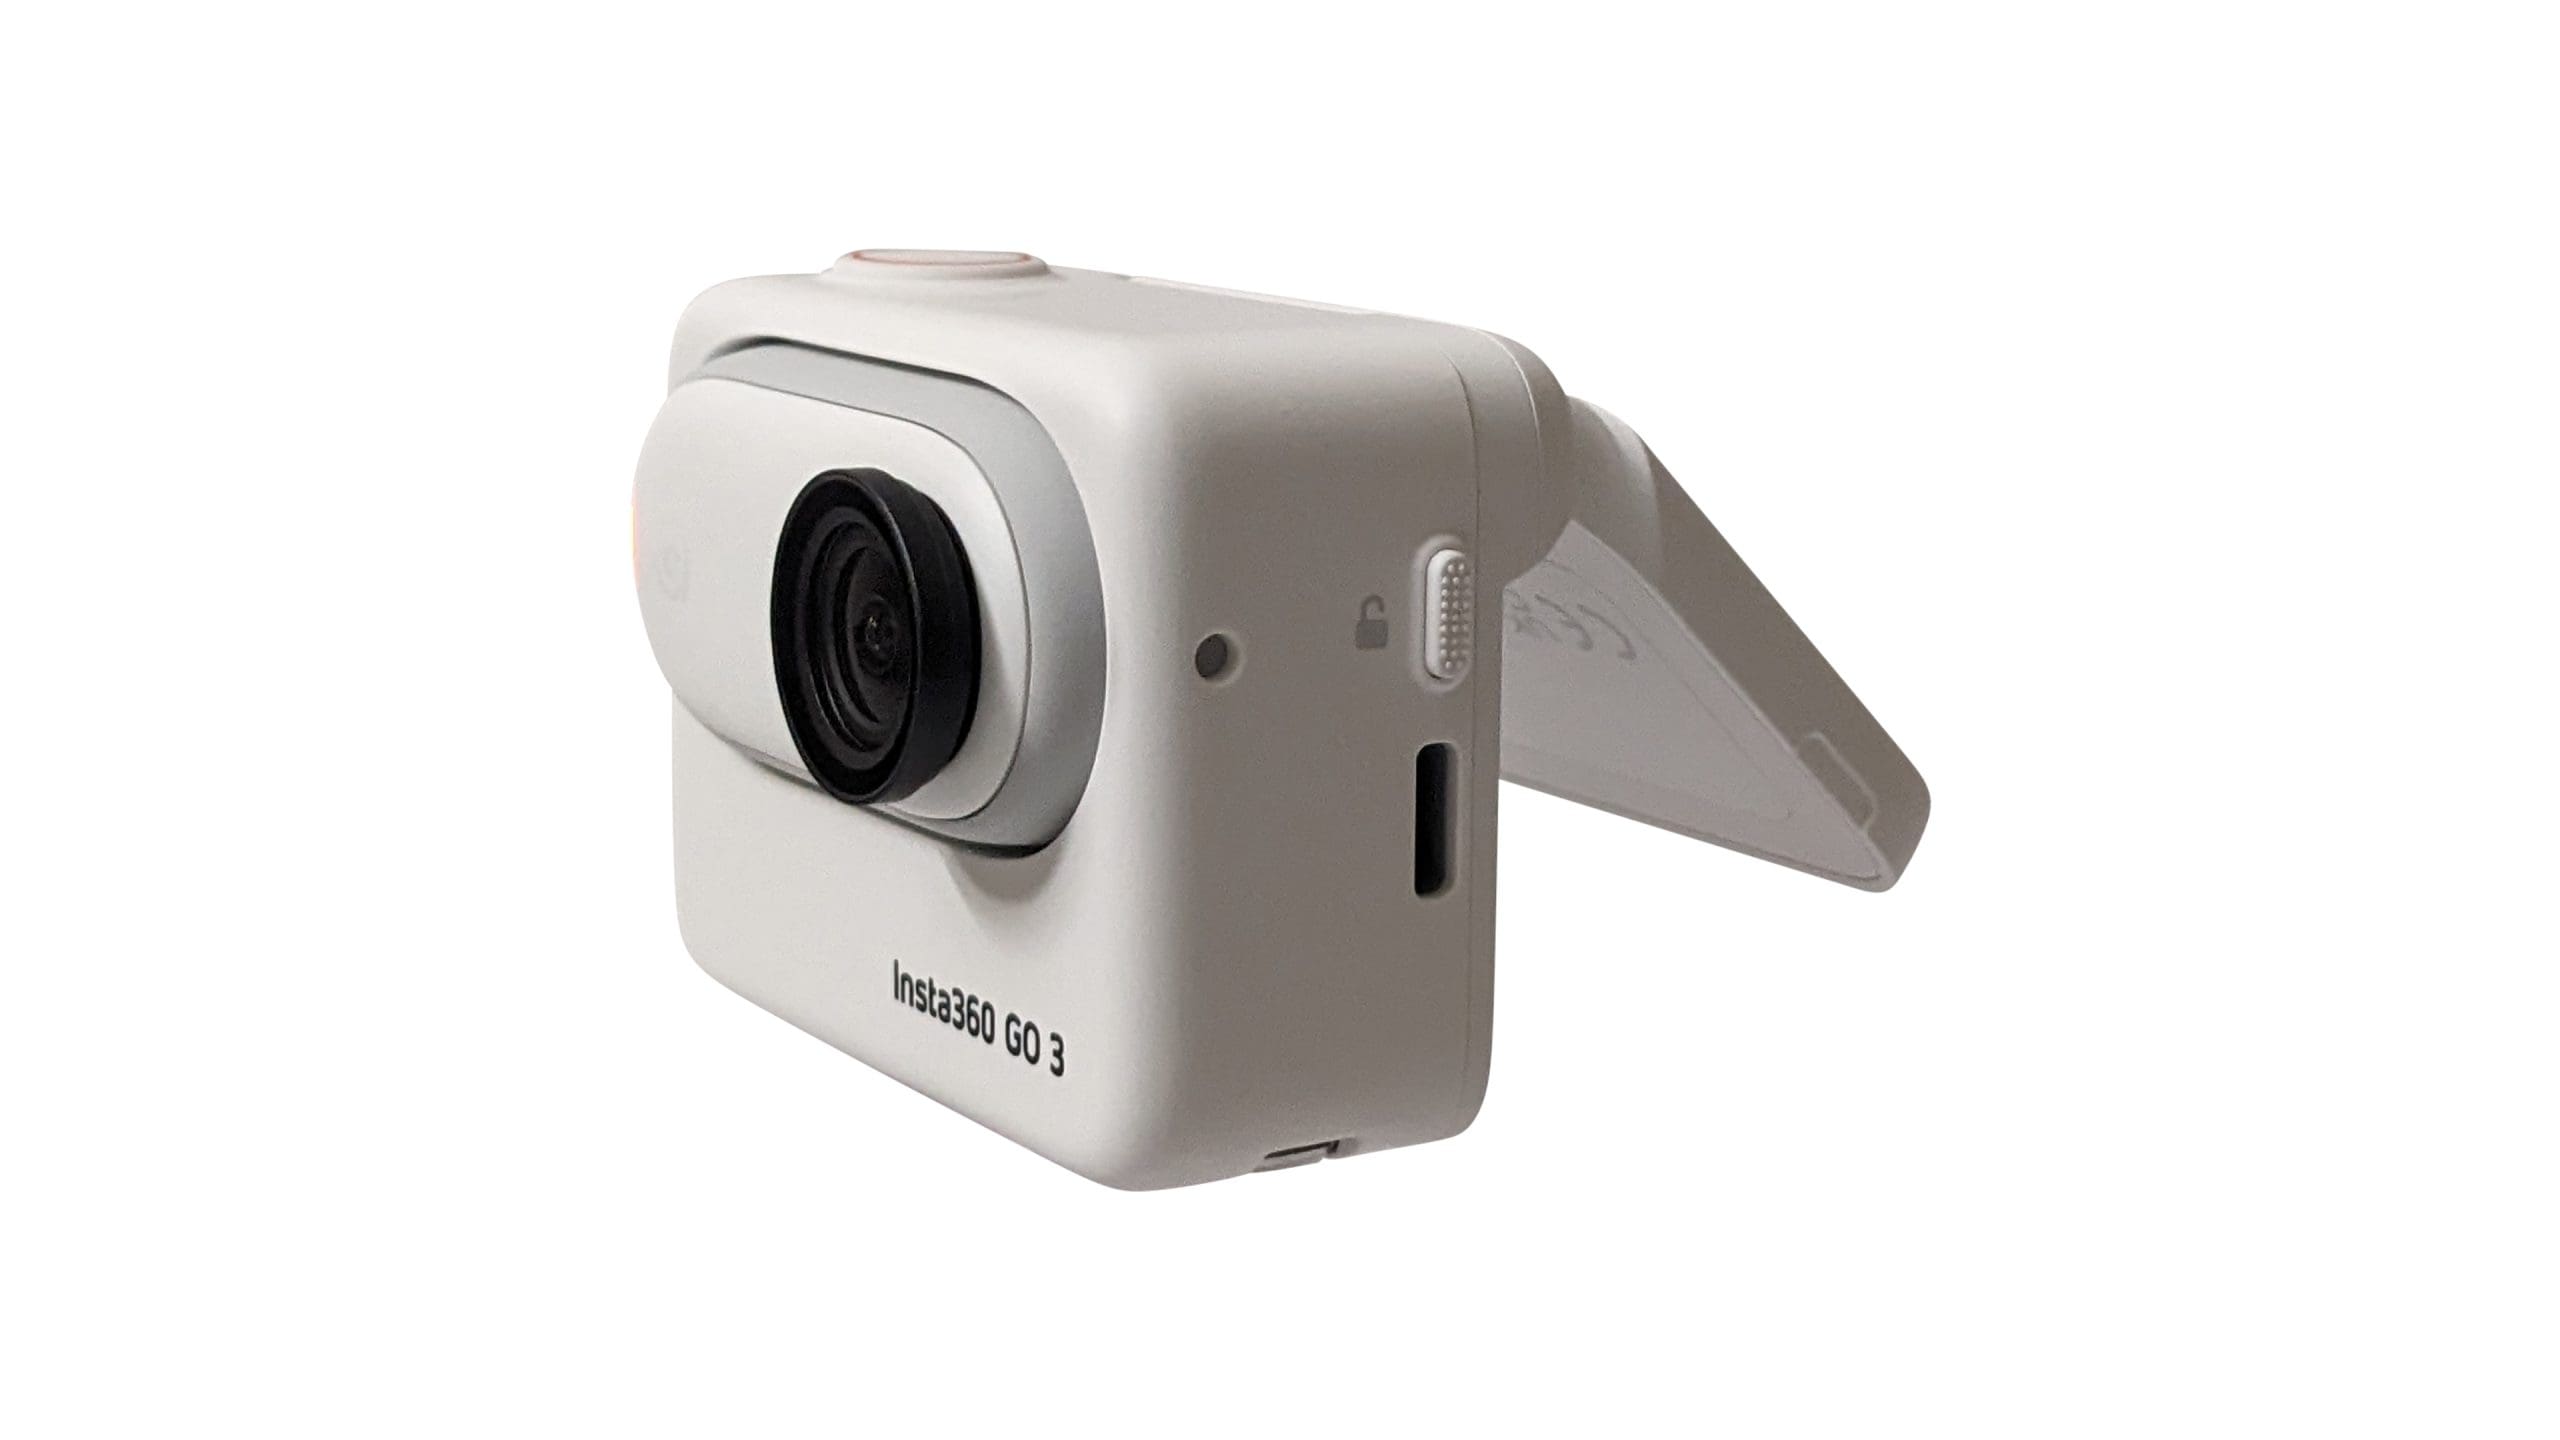
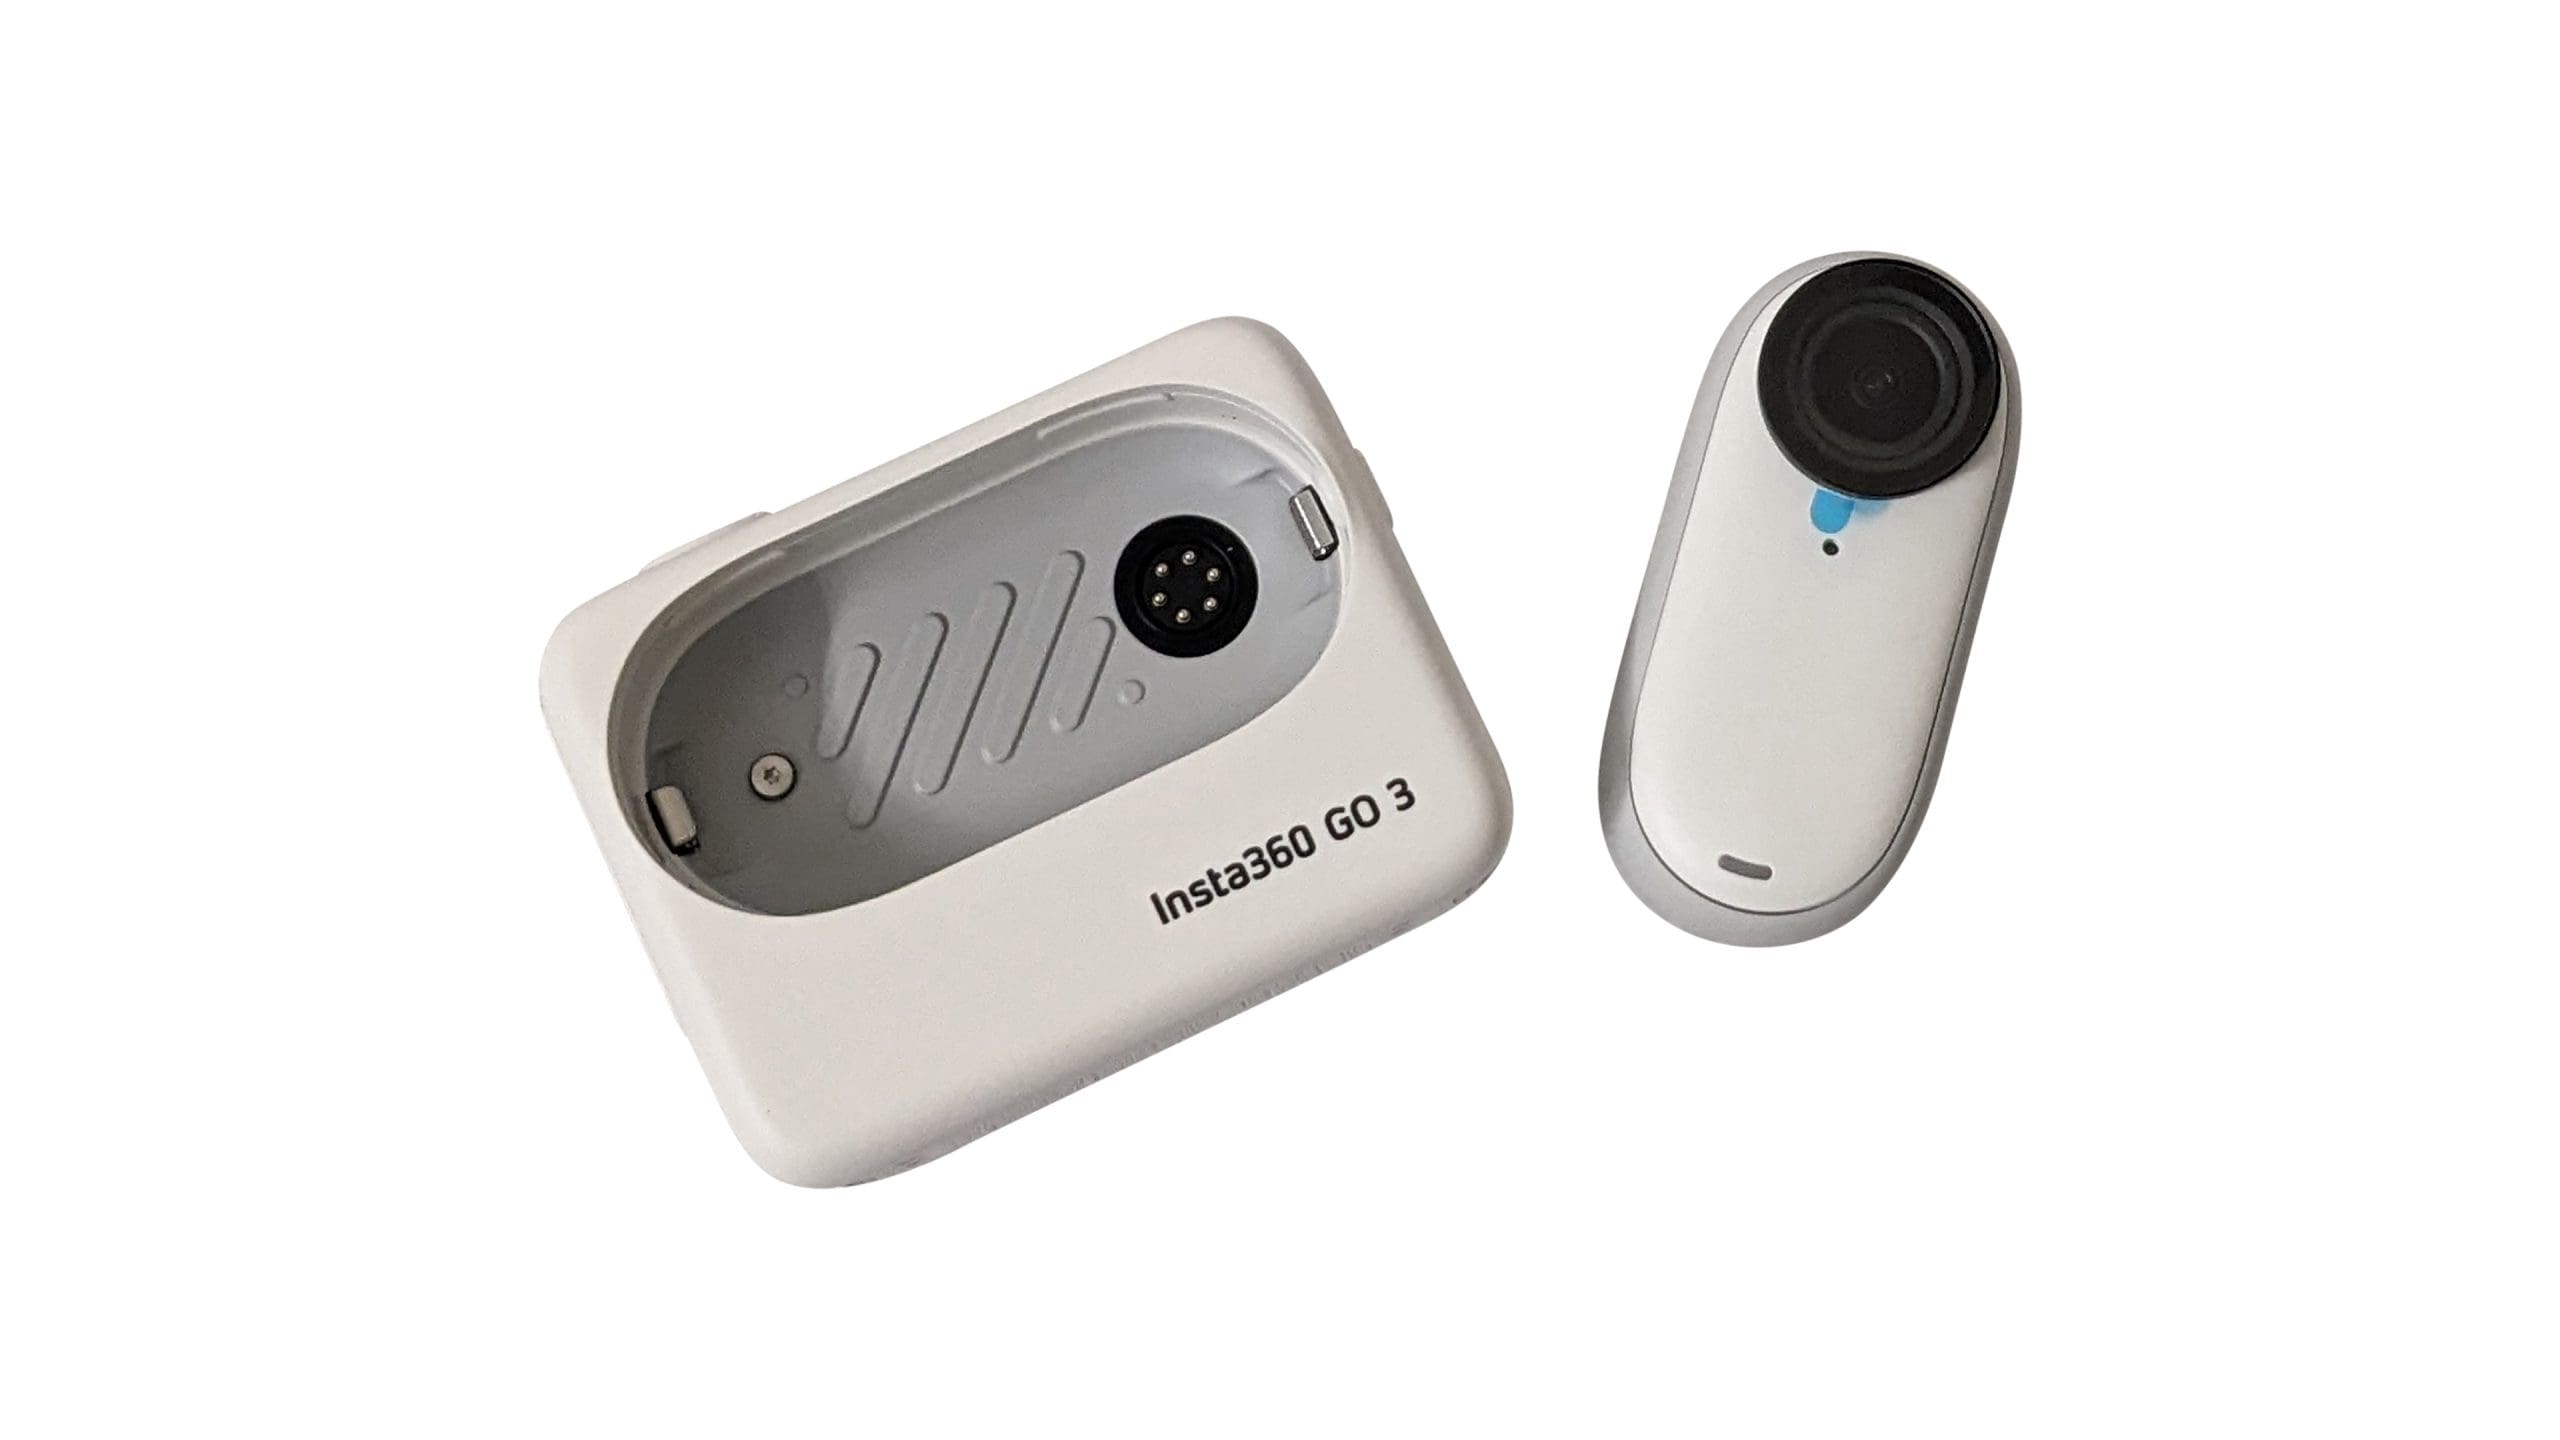
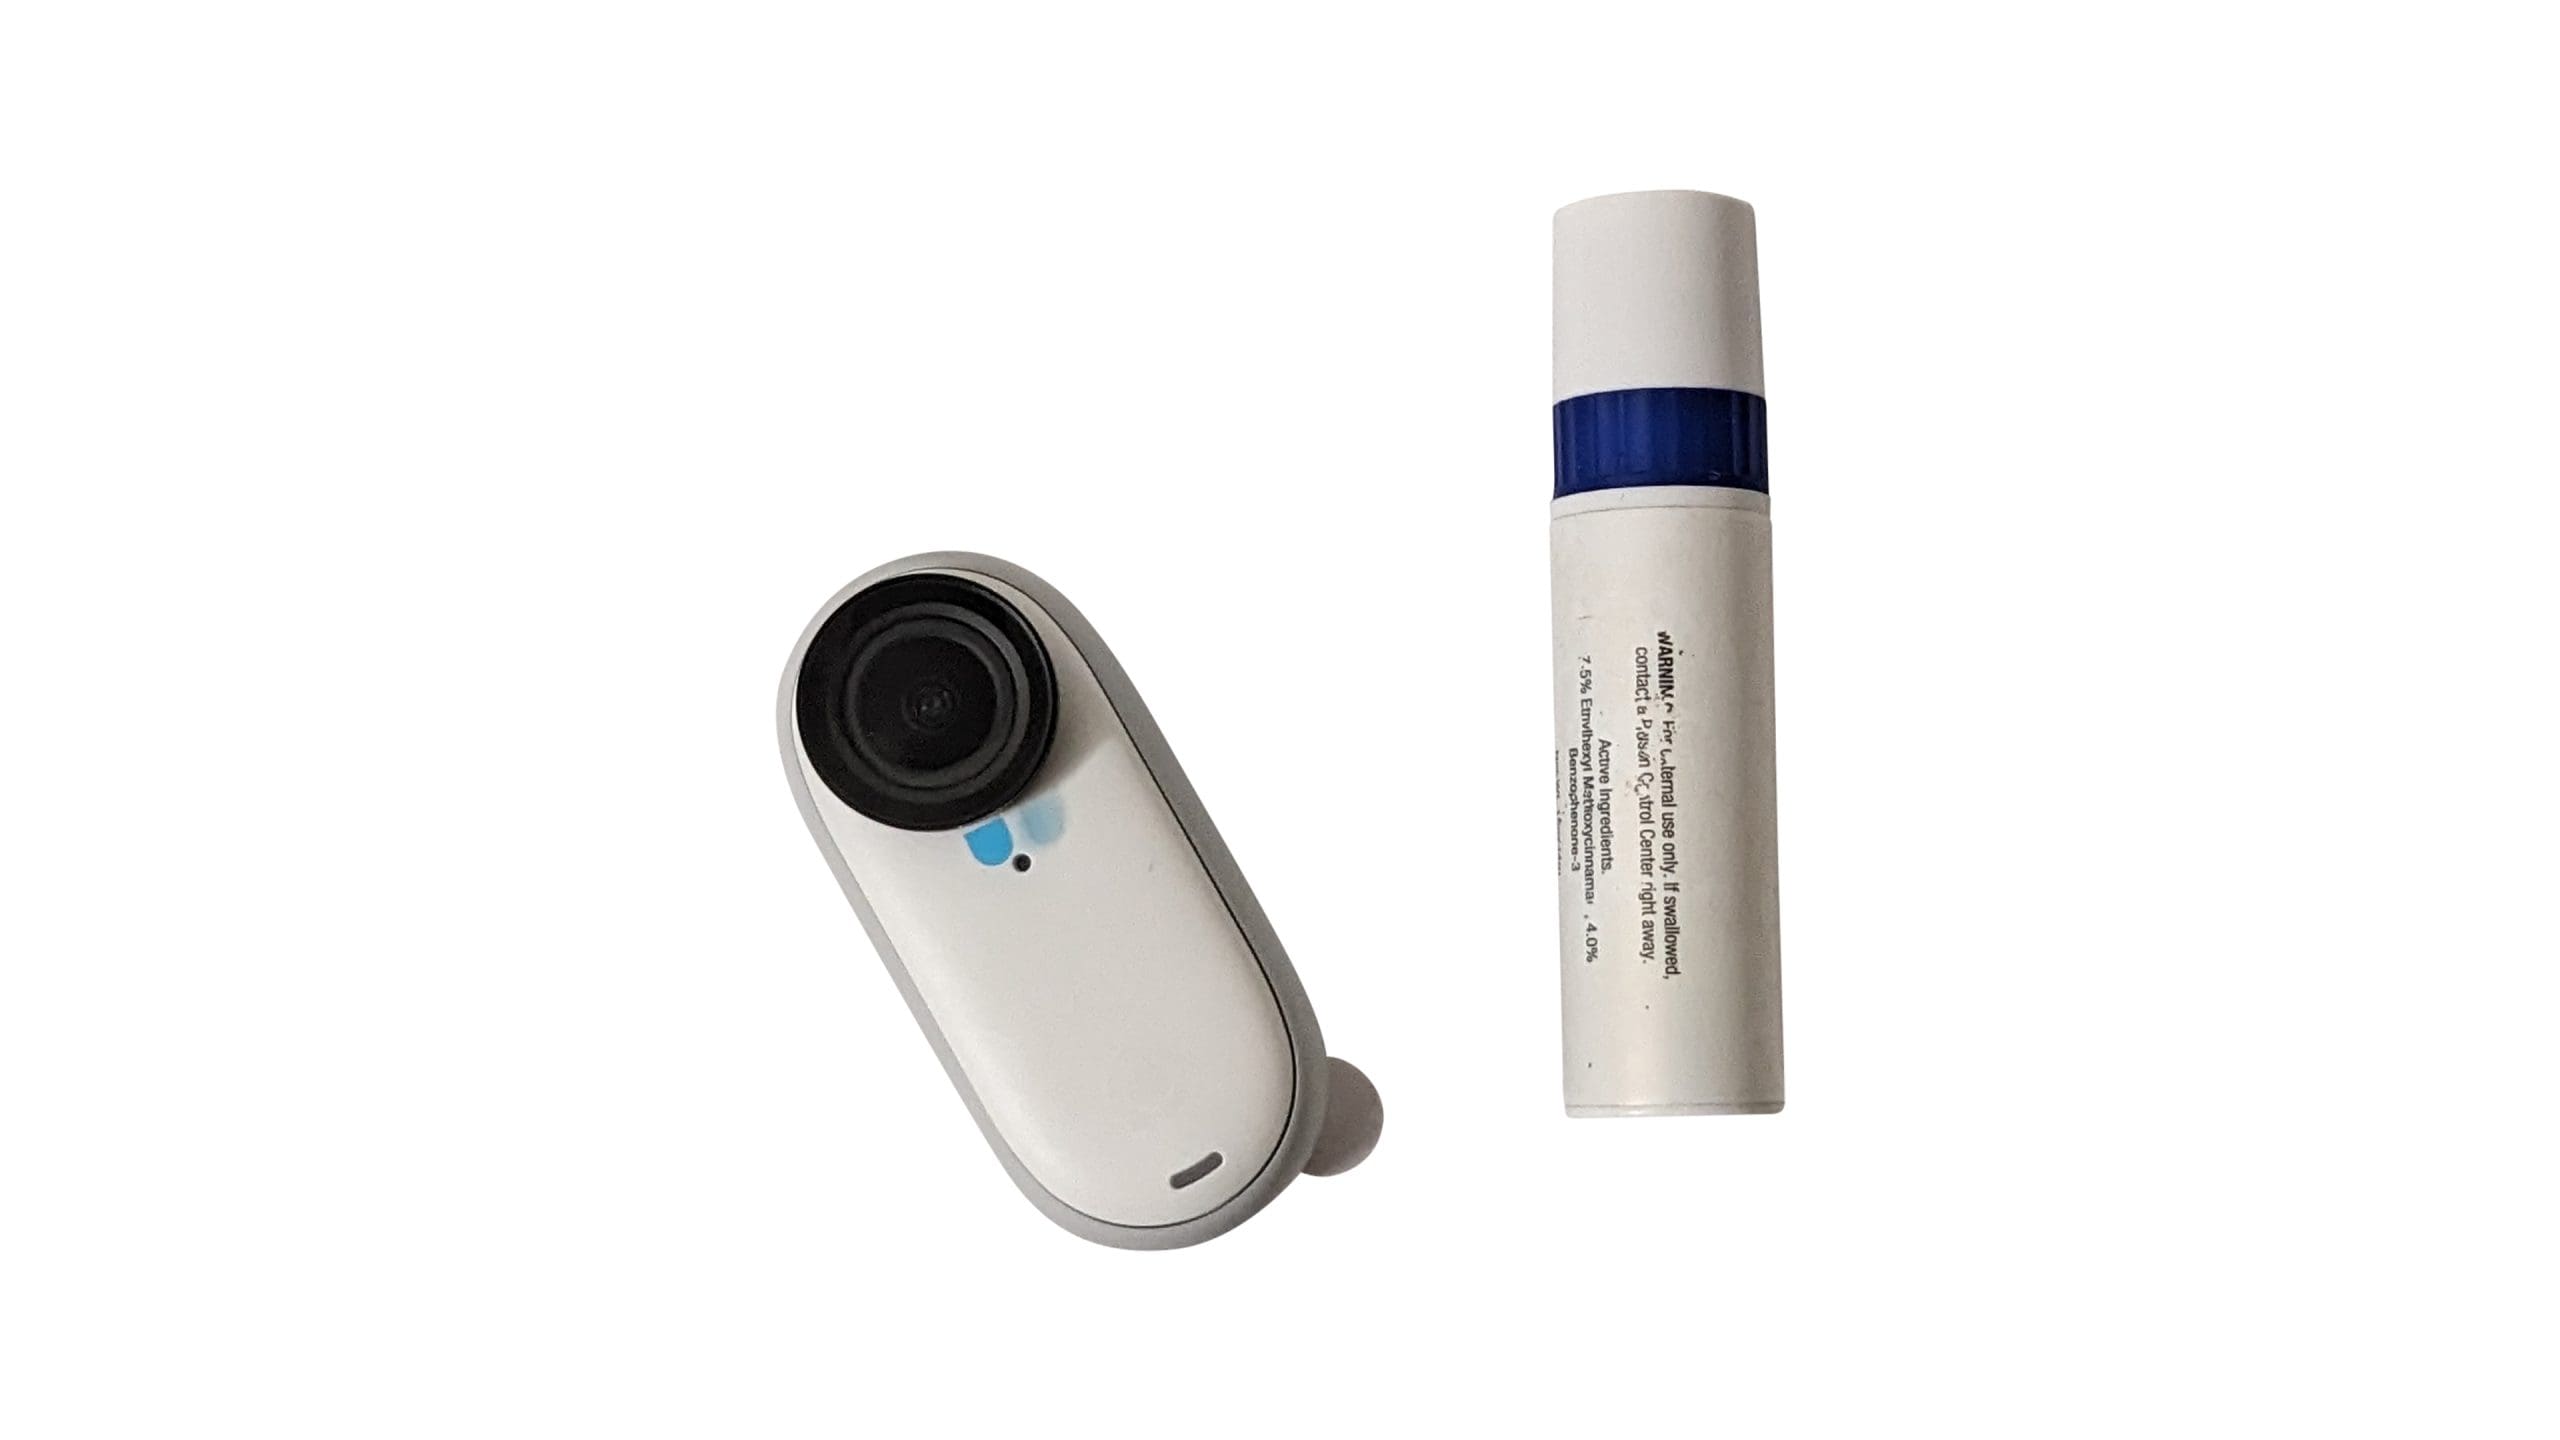
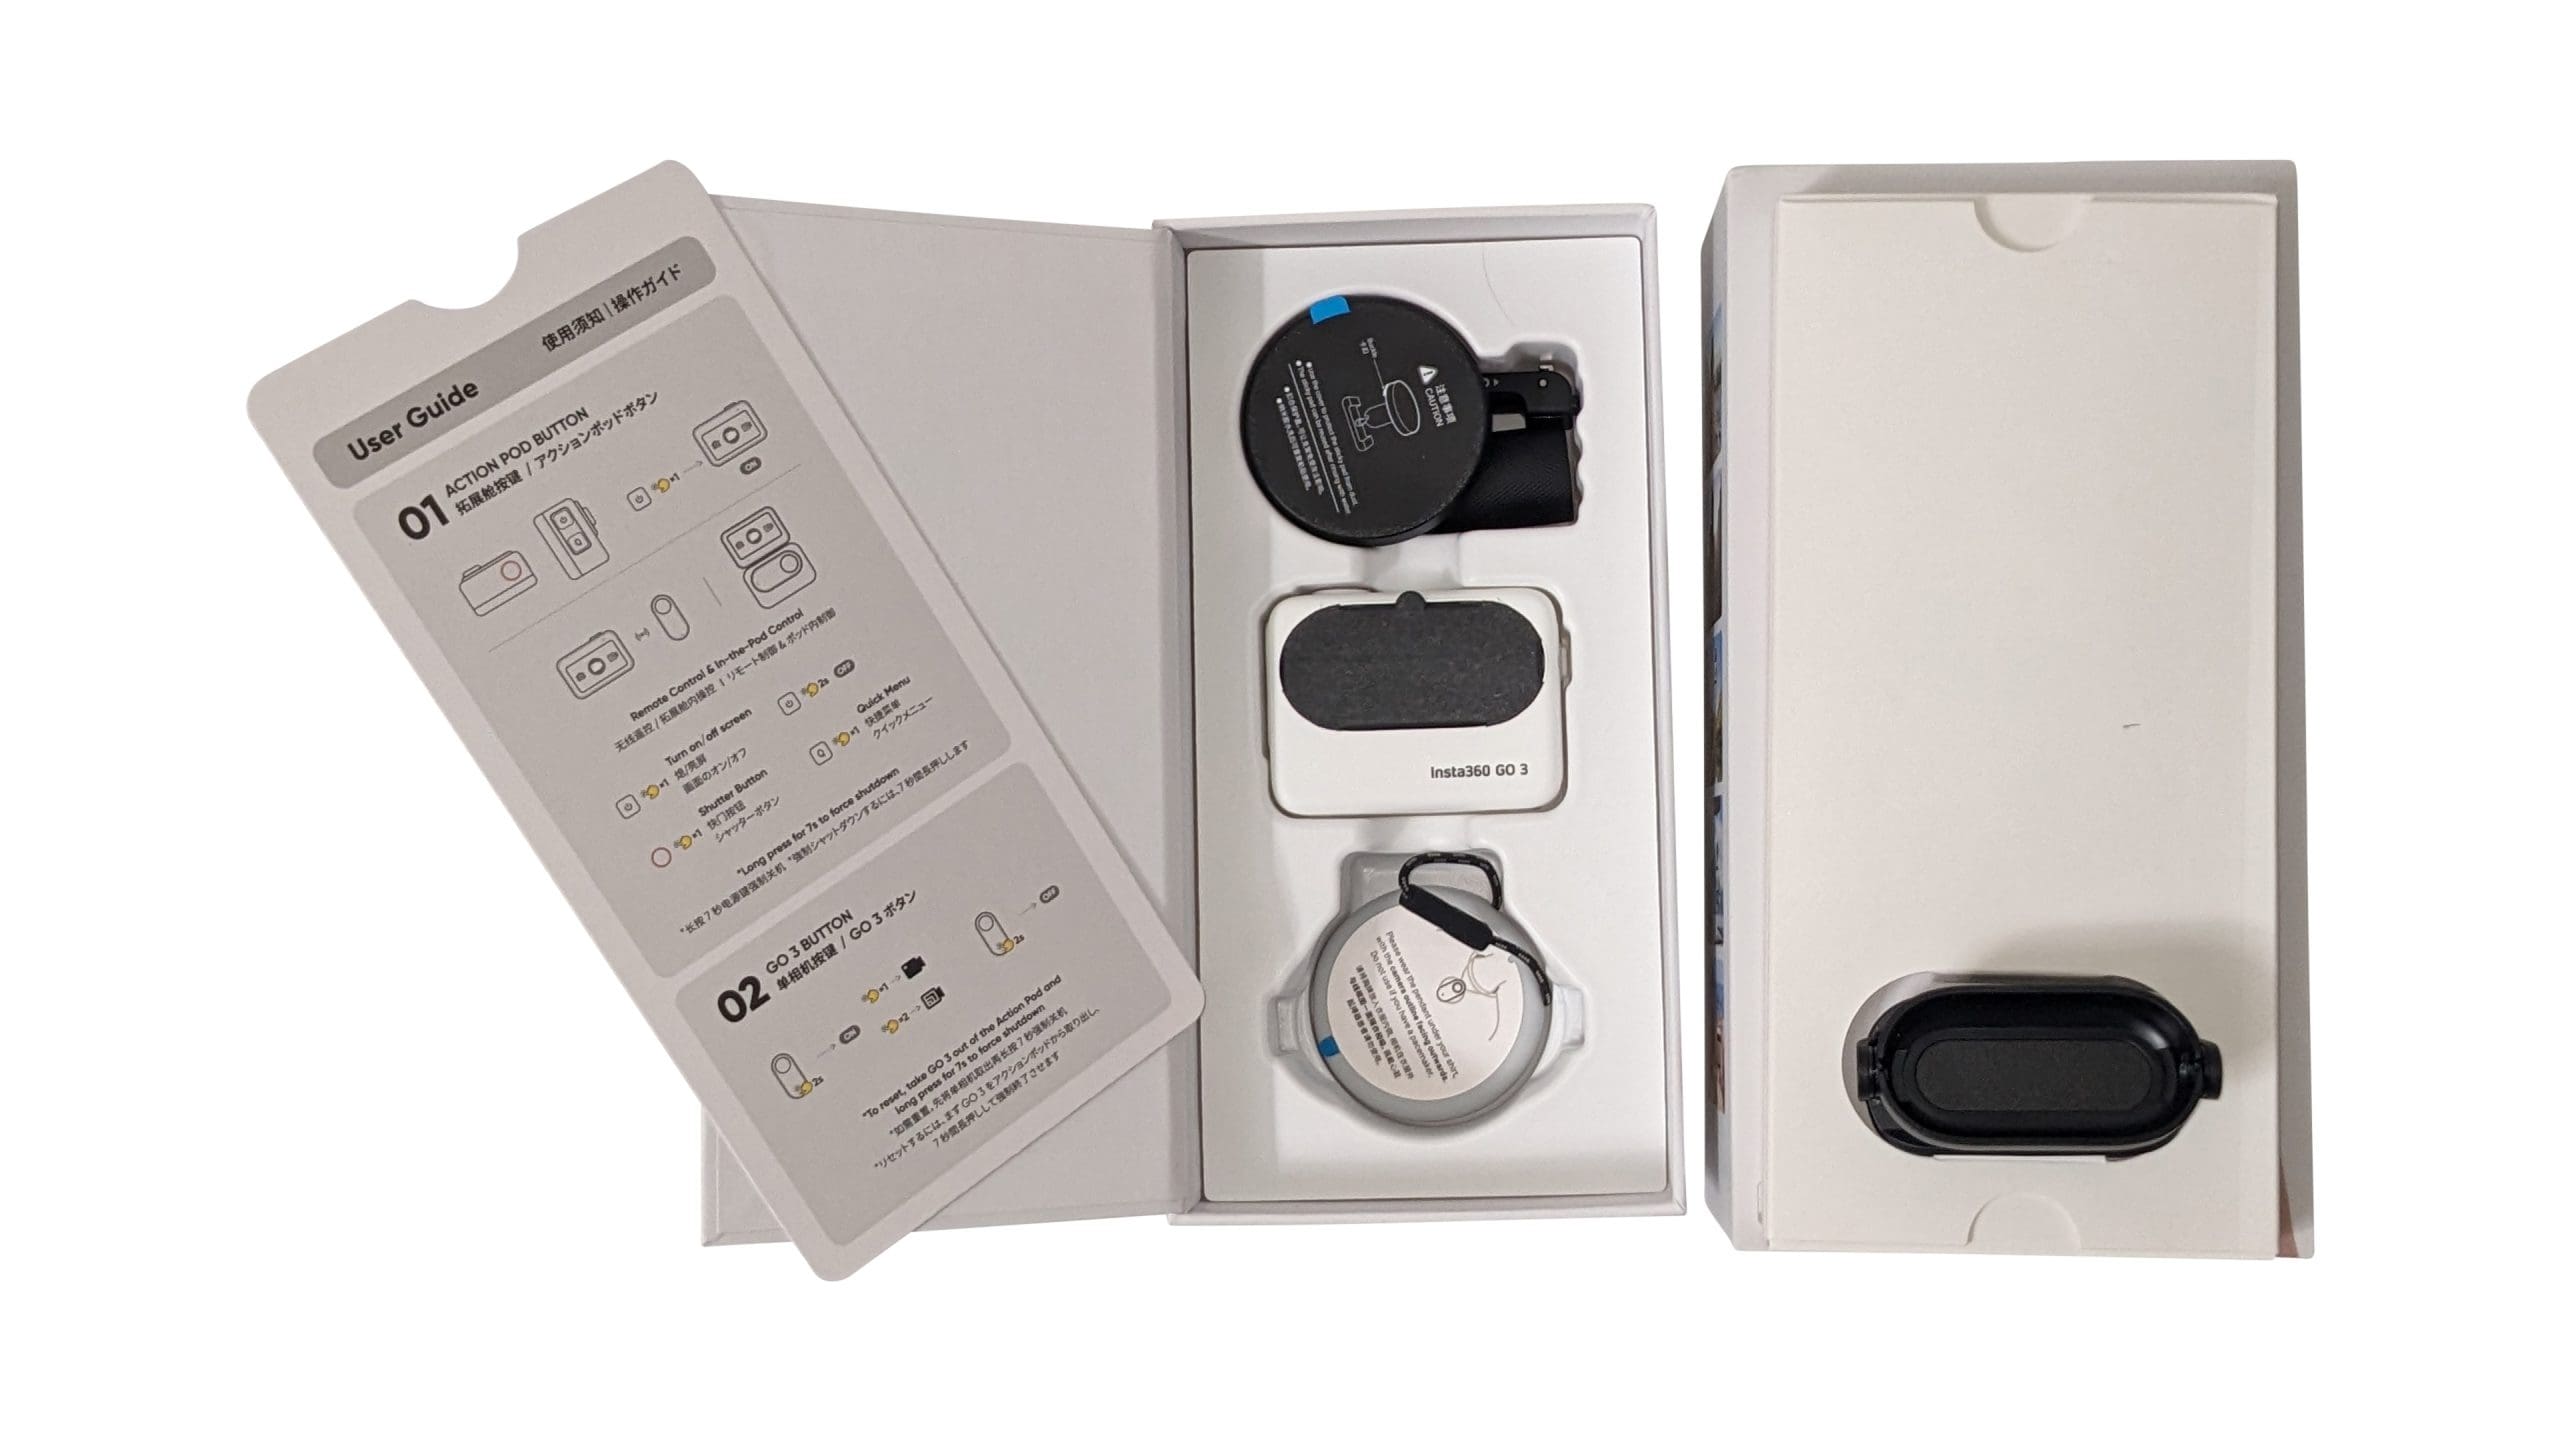
Lift the lid of the box and you’ll immediately see why the GO 3 is unique. The camera itself is a tiny device that’s smaller than my thumb. It features a magnetic back that lets it snap into the other half of what makes the GO 3 — the Action Pod, which is perhaps the most significant addition to this generation over the GO 2. The magnet also lets you snap the camera onto anything metallic.
While the main camera looks largely familiar to the GO 2, the housing it sits within has changed drastically. The overall package of the GO 3 is more in line with what you’d find on a typical action camera and allows you to use the GO 3 even when it’s within the case — something that the previous iteration was incapable of.
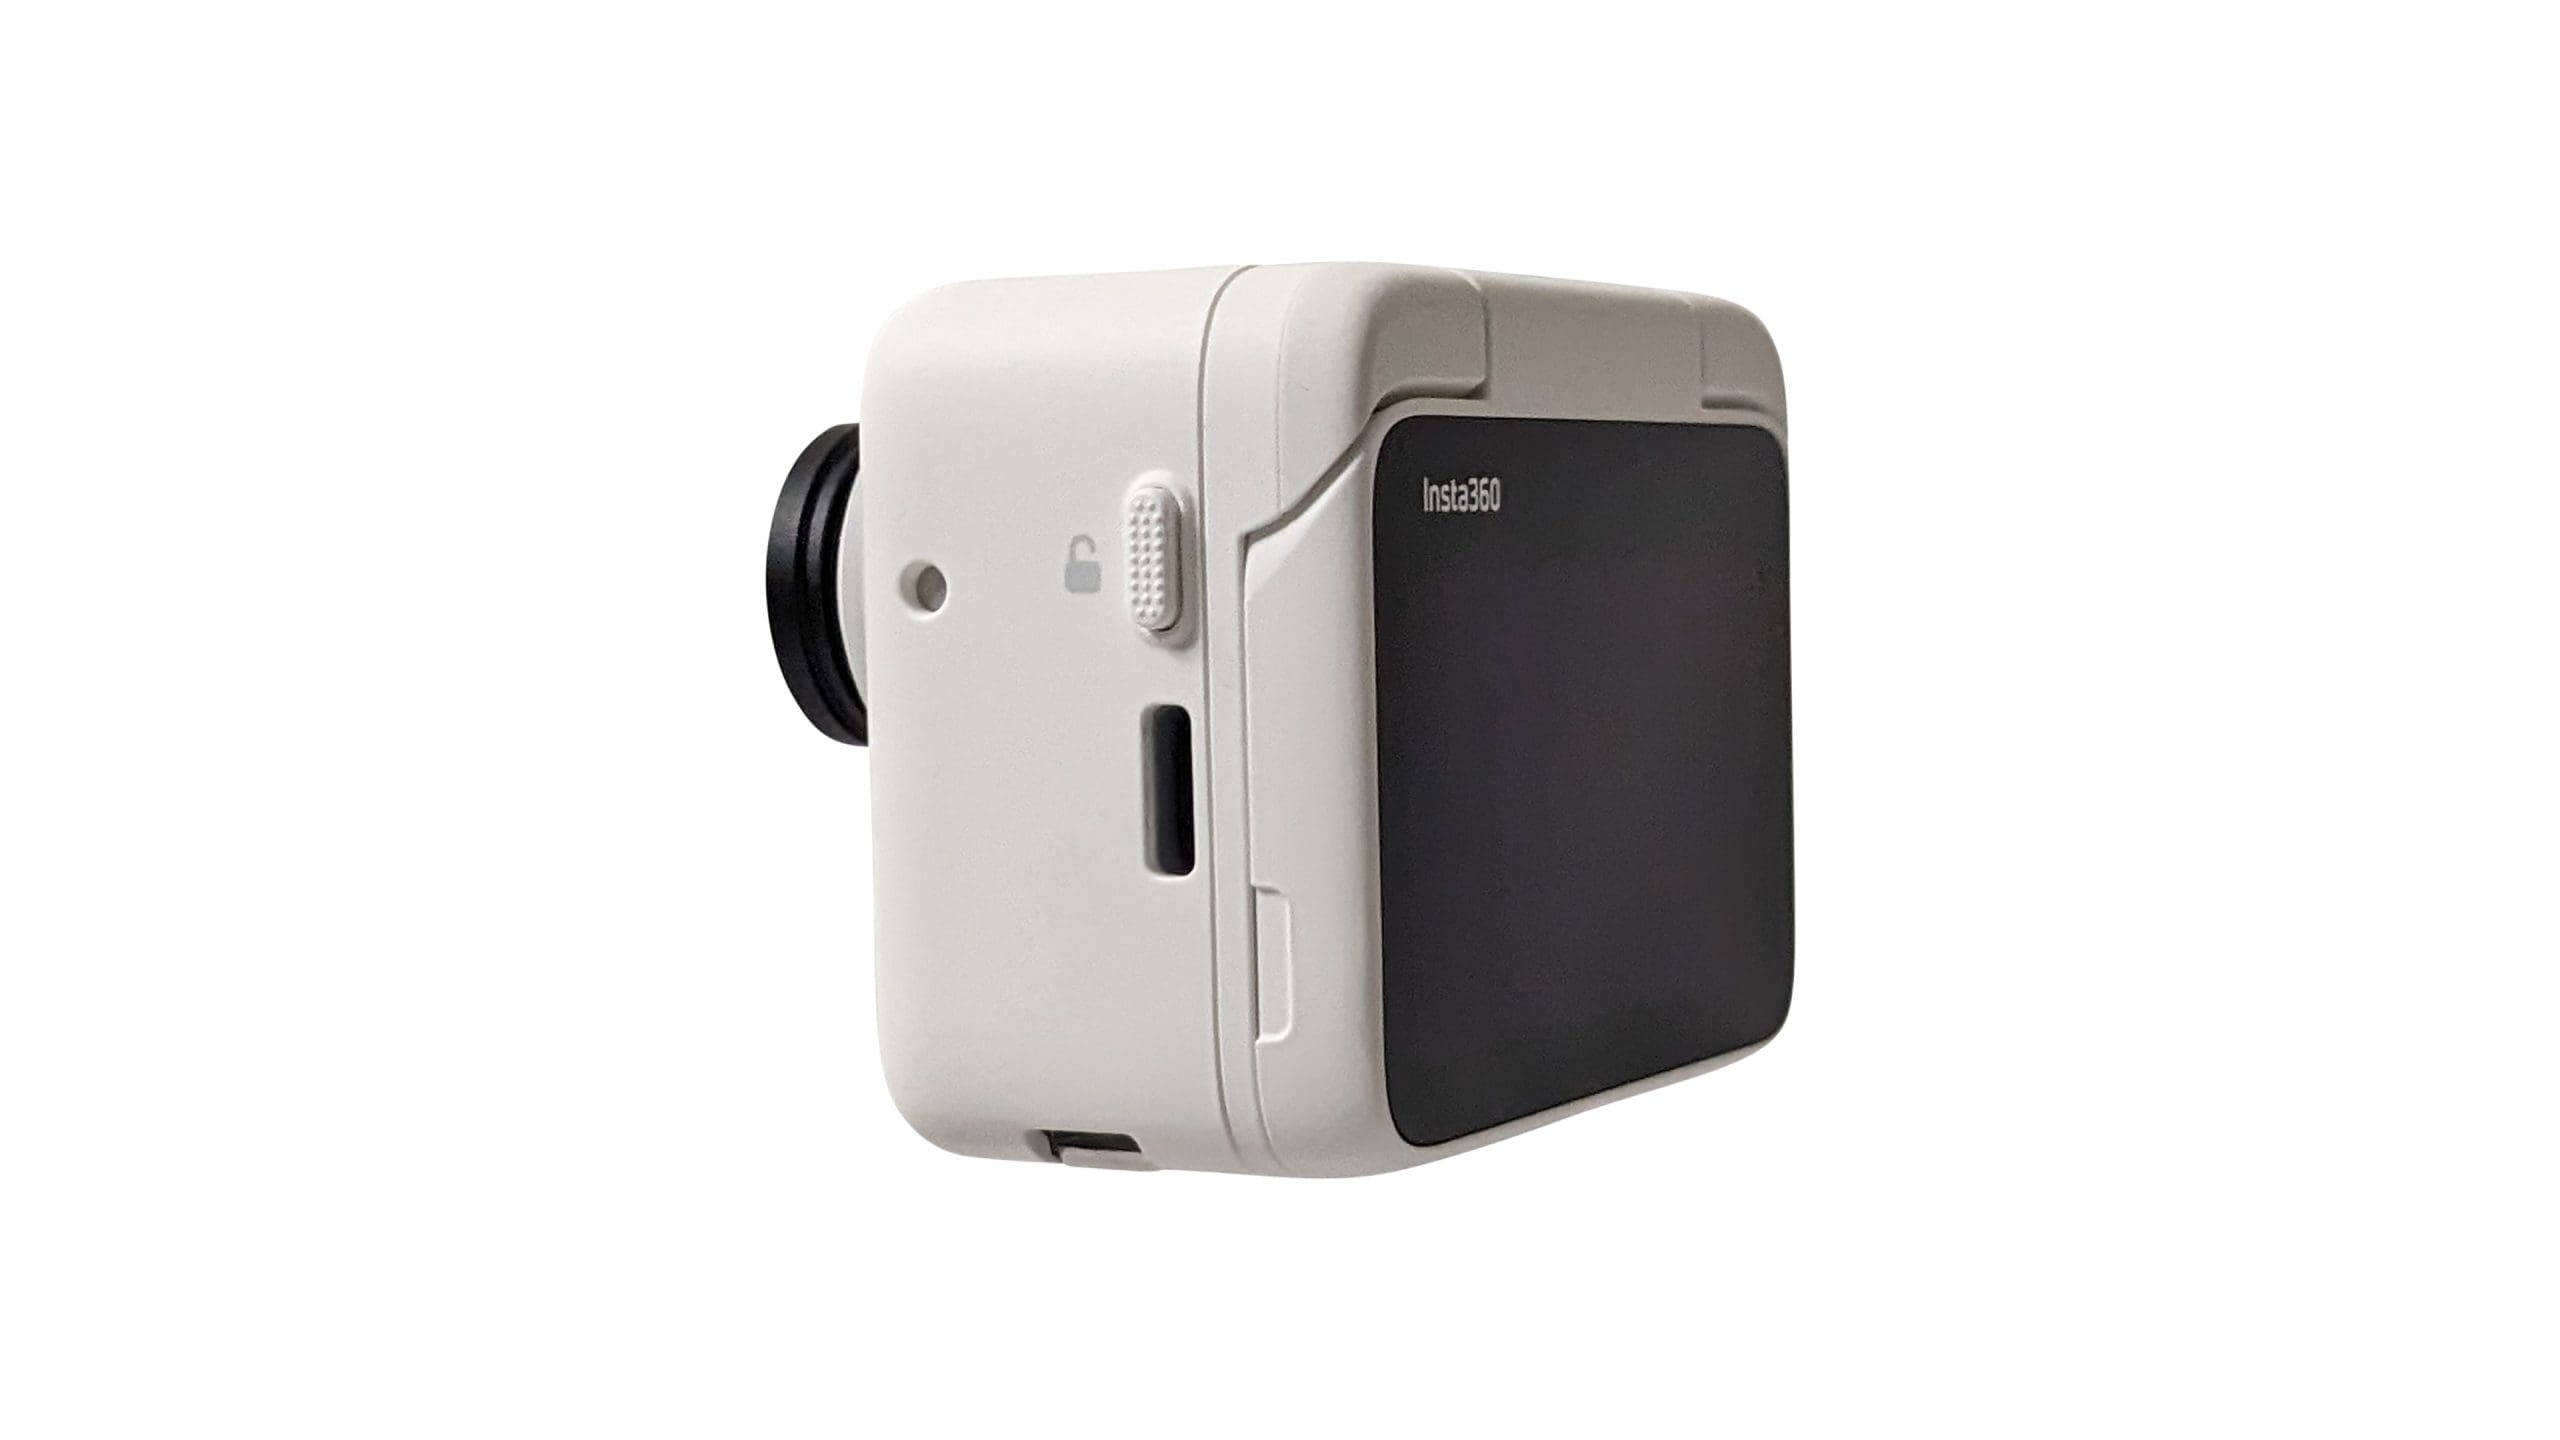
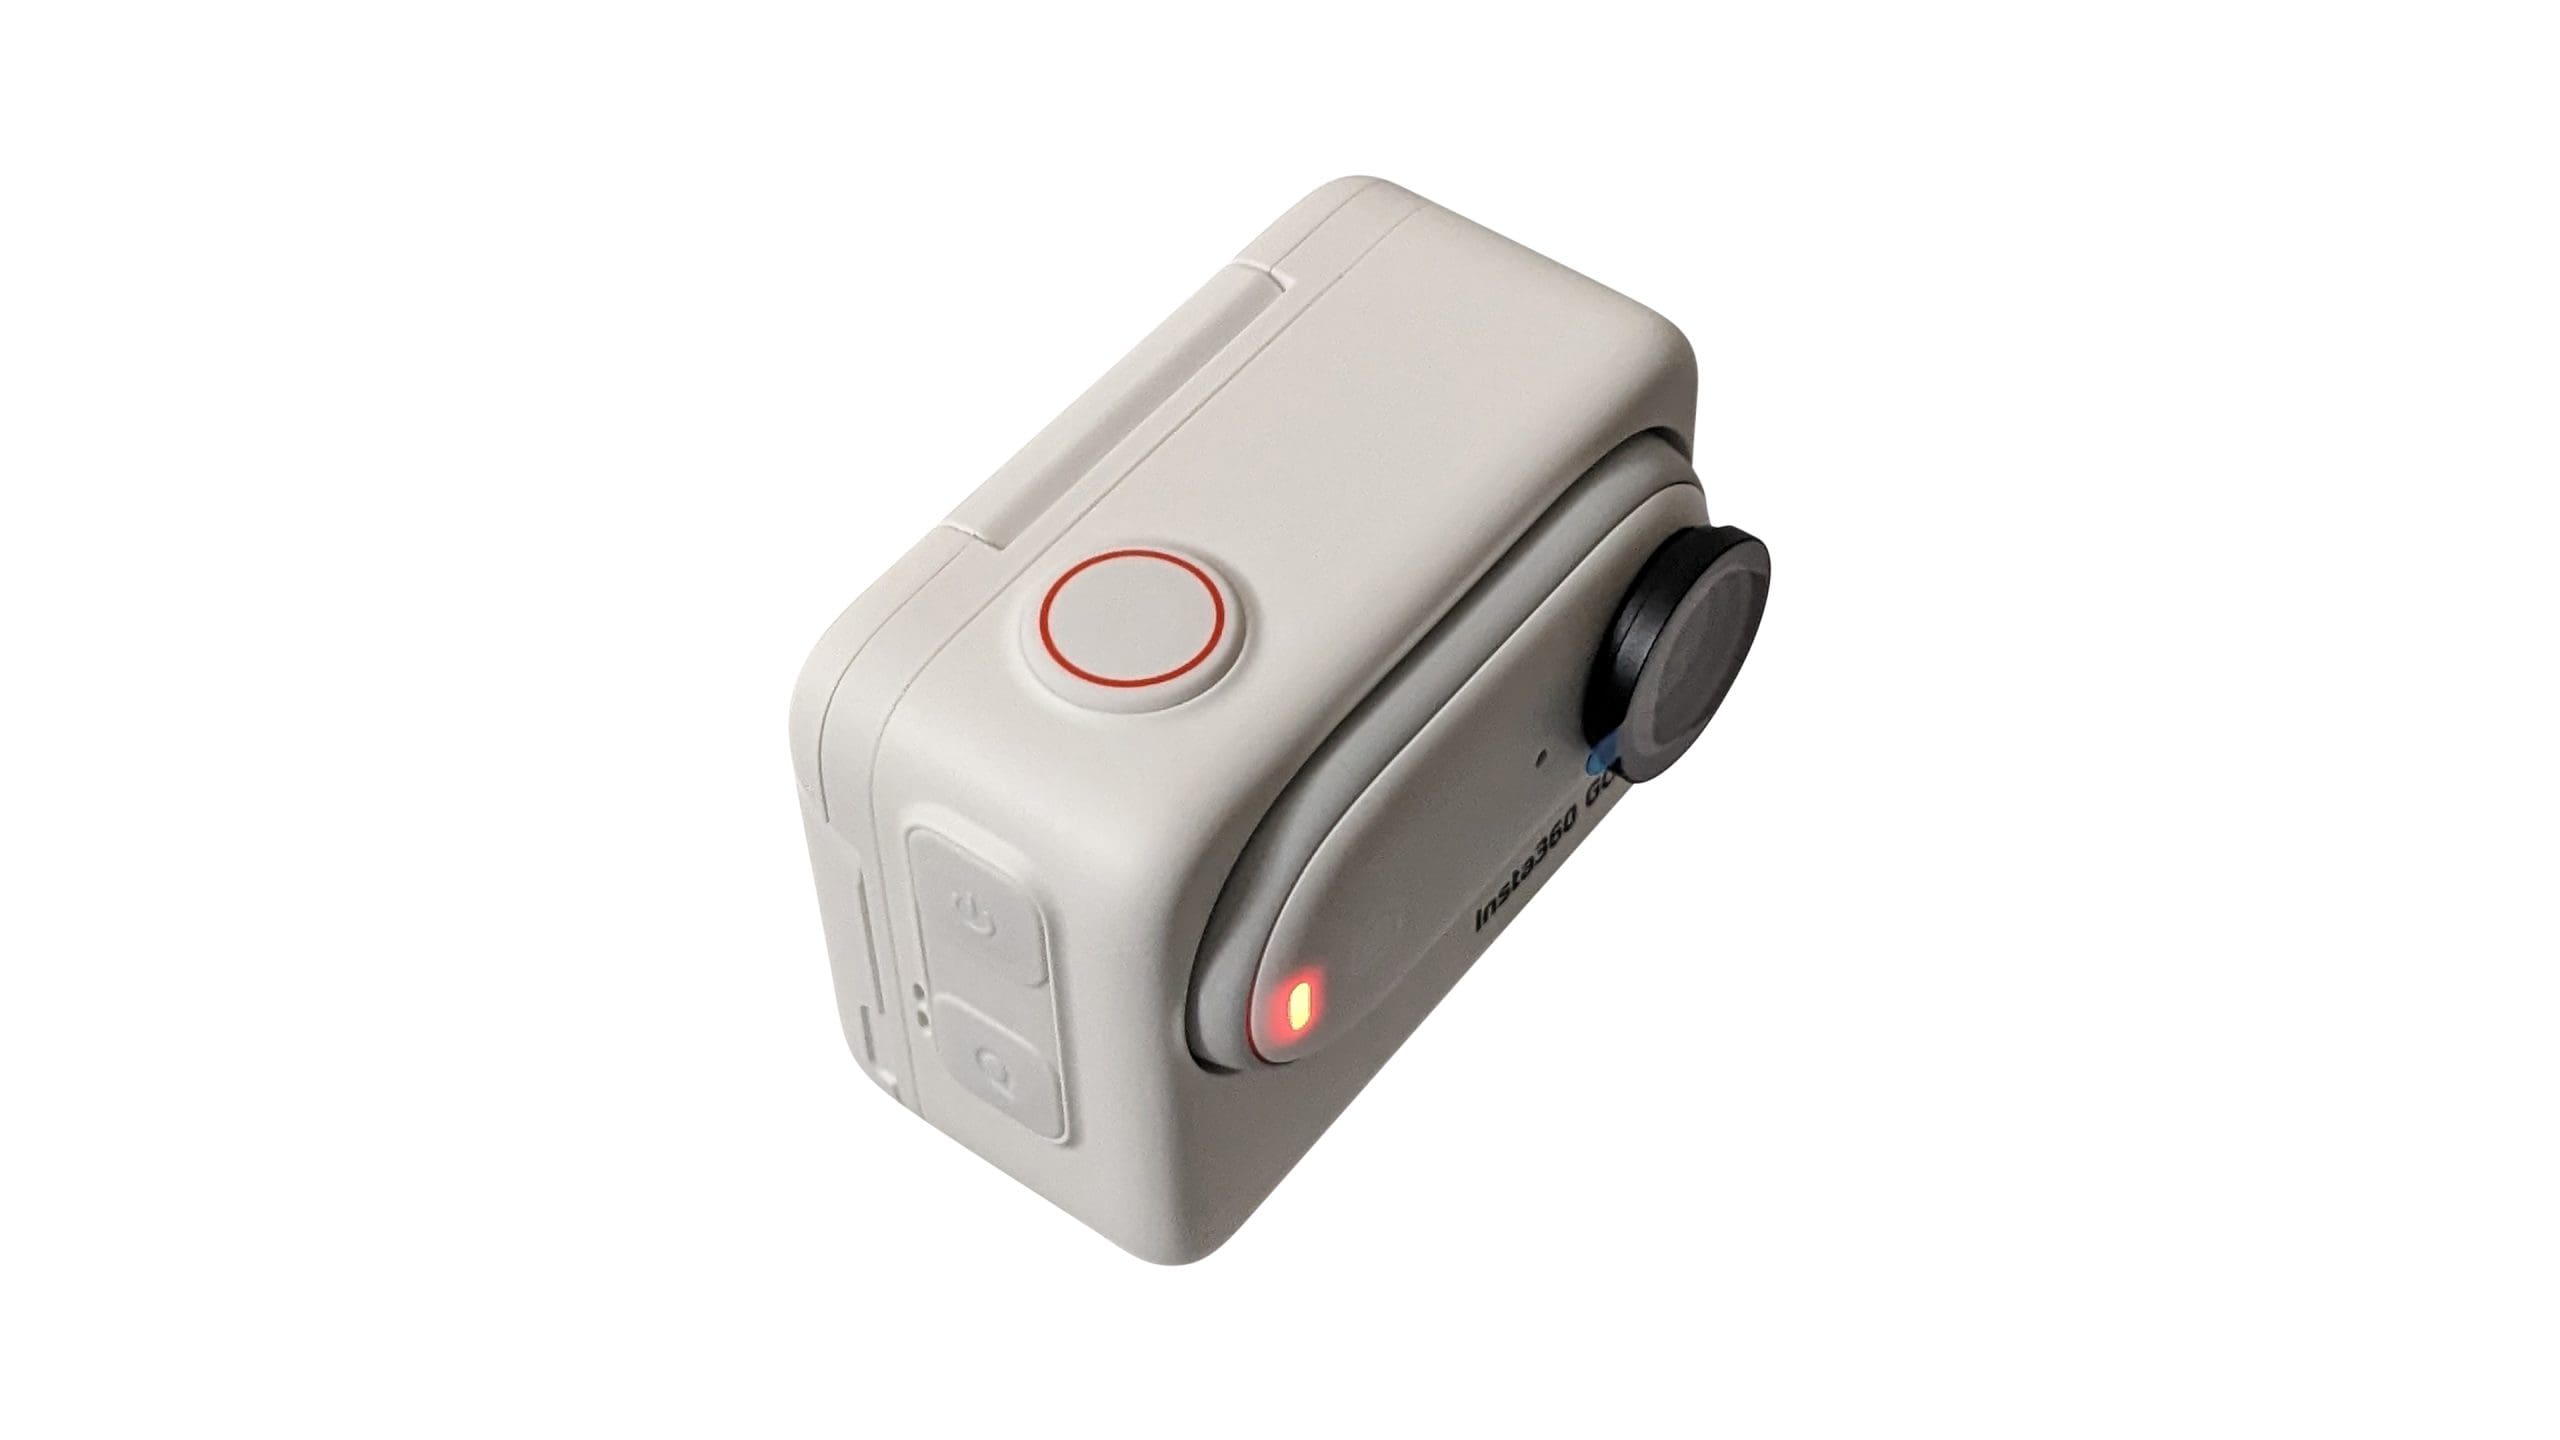
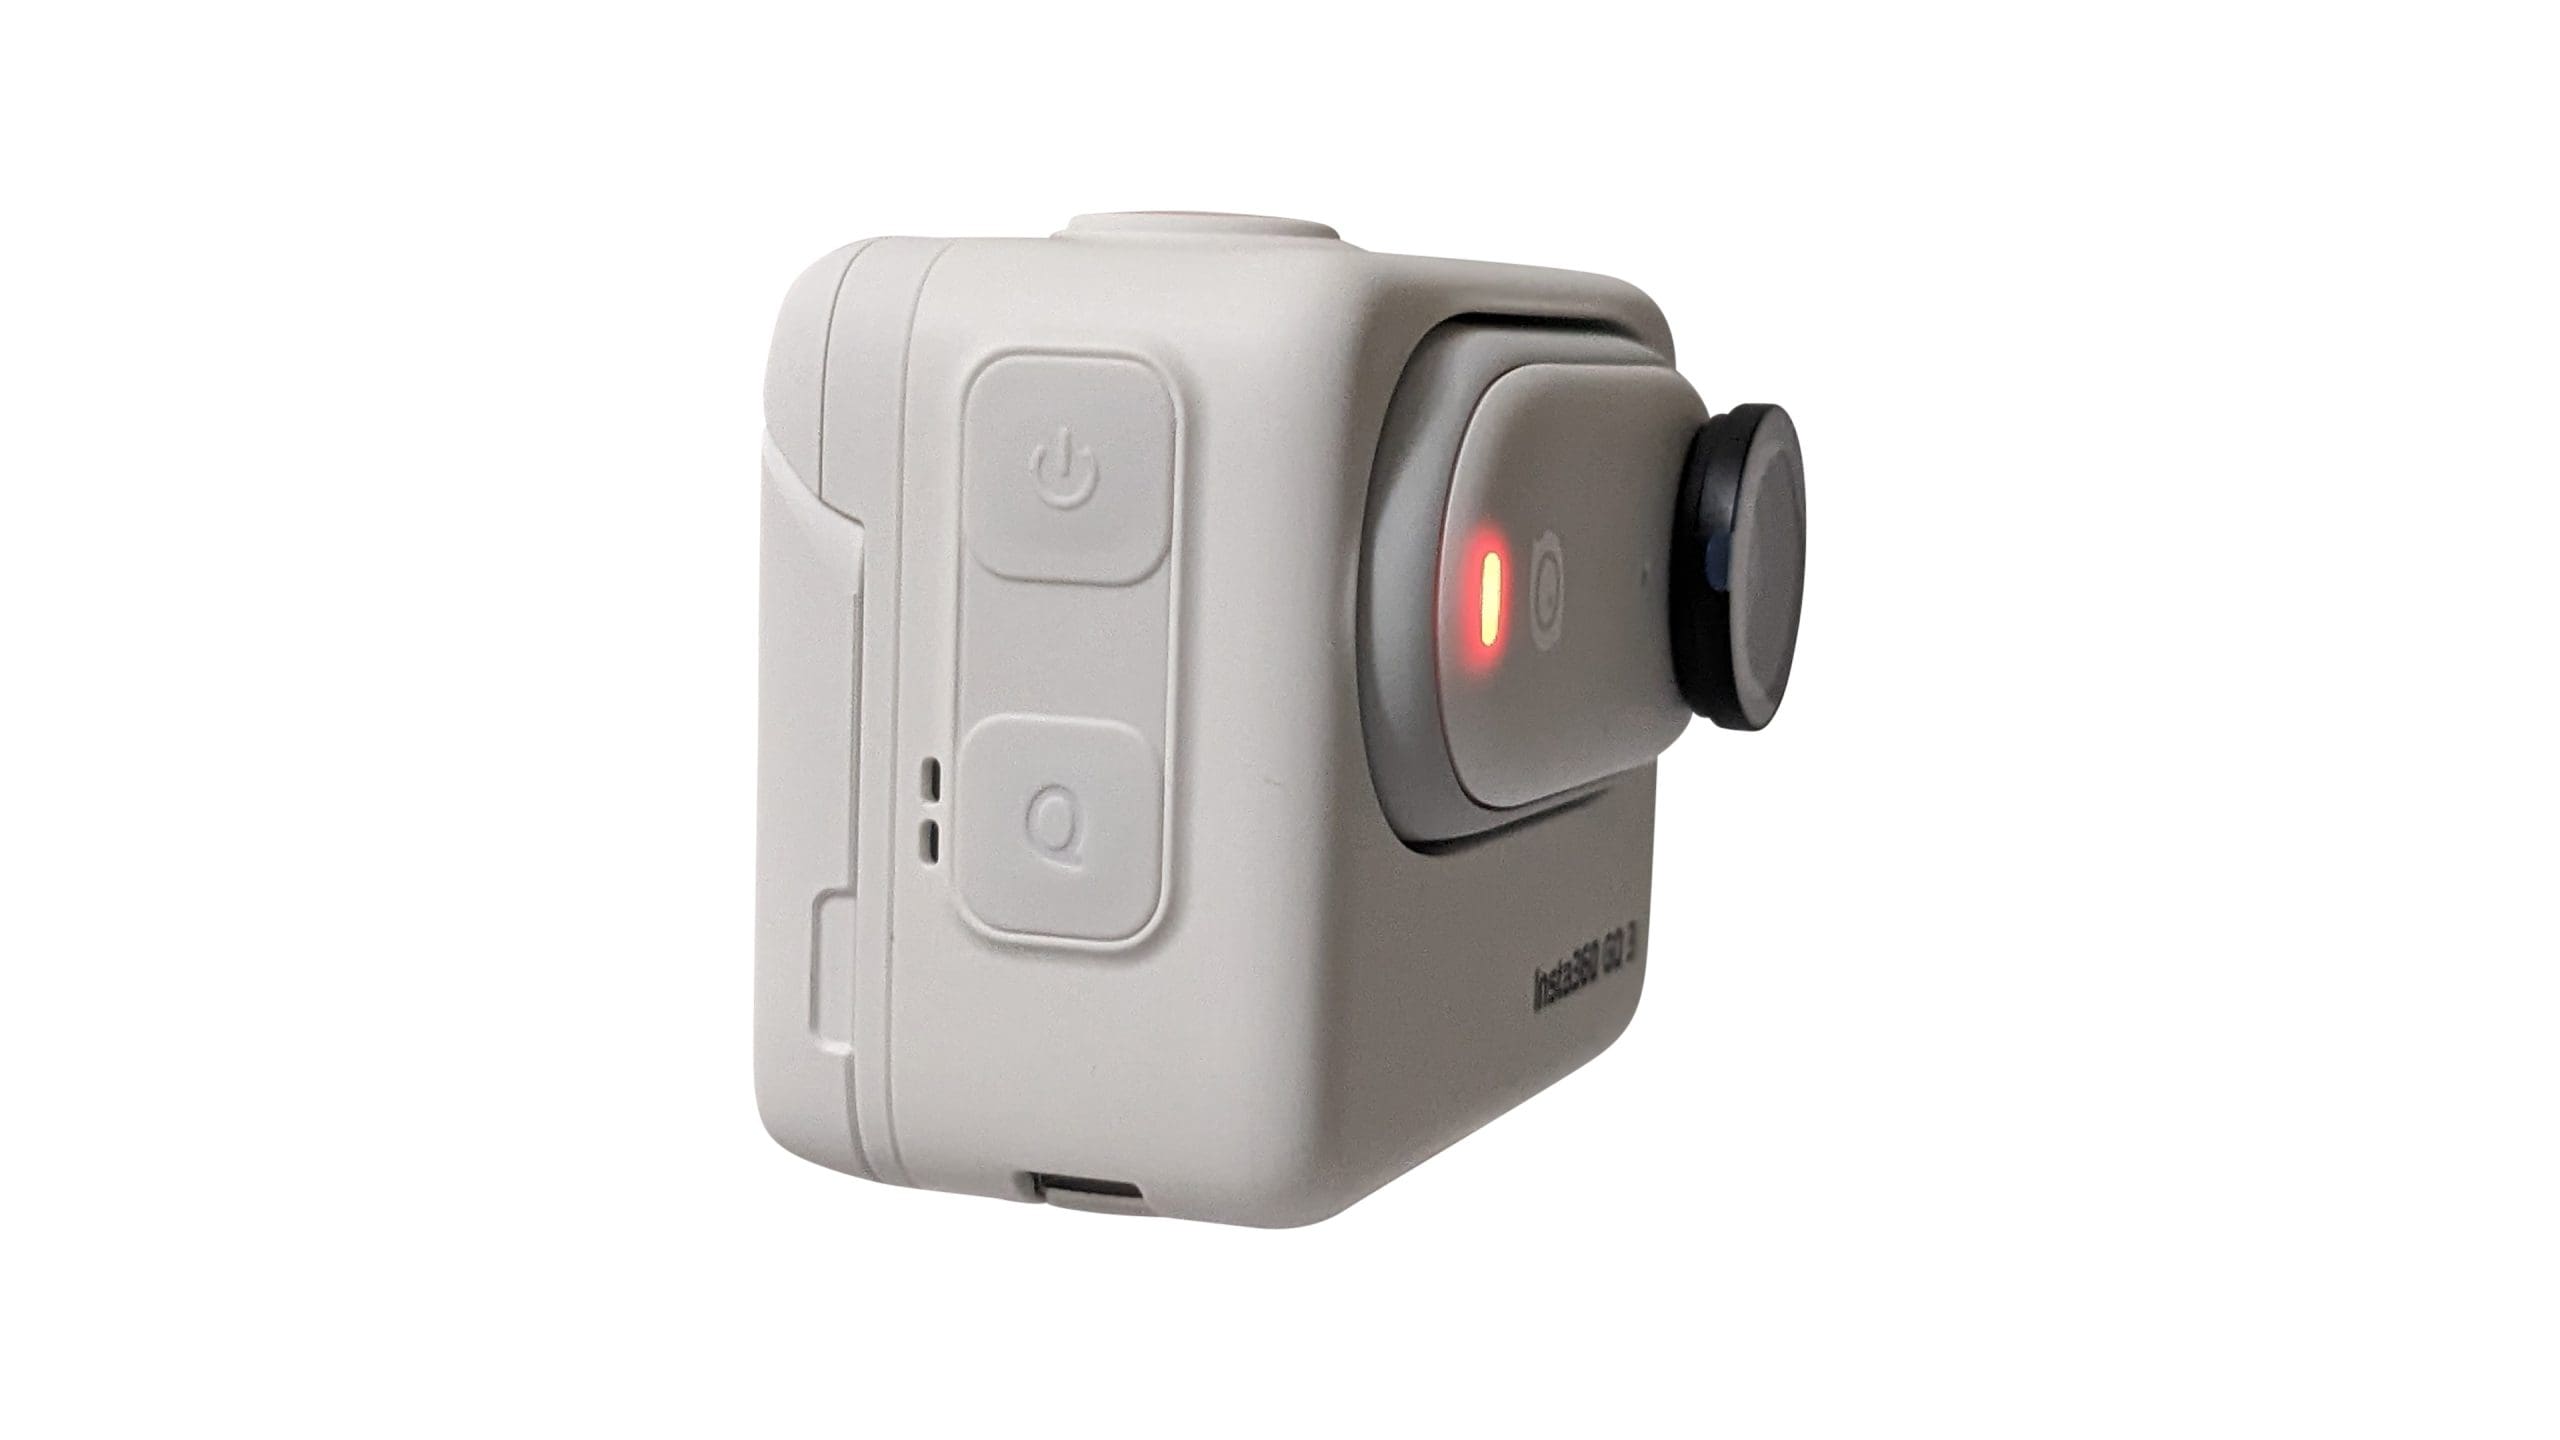
The Action Pod features three buttons. With the lens facing away from you, you’ll find the ‘Power’ button and a ‘Quick’ button below it on the right side of the housing, and a shutter button on the top-right. While the housing is made from a soft-touch plastic, the buttons themselves feature a rubber-like finish. The left side of the Action Pod features a spring-action button that lets you remove the GO 3 camera from the Action Pod.
On the bottom of the Action Pod, you’ll find embedded magnetic attachments that let the housing seamlessly collaborate with the several accessories it’s compatible with.
With the Action Pod, the most obvious improvement over the previous iteration is the addition of the 2.2-inch flip touchscreen. The screen pivots 180°, along the upper edge of the Action Pod on a well-engineered hinge. I say this because you can set the screen to any angle and it will stay put irrespective of how vigorously you shake the camera. Yet, adjusting it is still extremely smooth and requires little effort.
Overall, I have no complaints about the materials used on the Insta360 GO 3 or how it’s put together. The matte finish to the plastic feels smooth to the touch, but not to where grip is a concern. That said, I’ve been extra mindful with the little camera, as I usually am with my electronics, so I can’t comment on how it would hold up to surviving a drop.
You should also know that the Action Pod has an IPX4 rating, meaning it can handle water splashes like rain, but you can’t submerge it. The camera itself, meanwhile, has an IPX8 waterproof rating, which means you can use it at depths of up to 16 feet (5 meters).
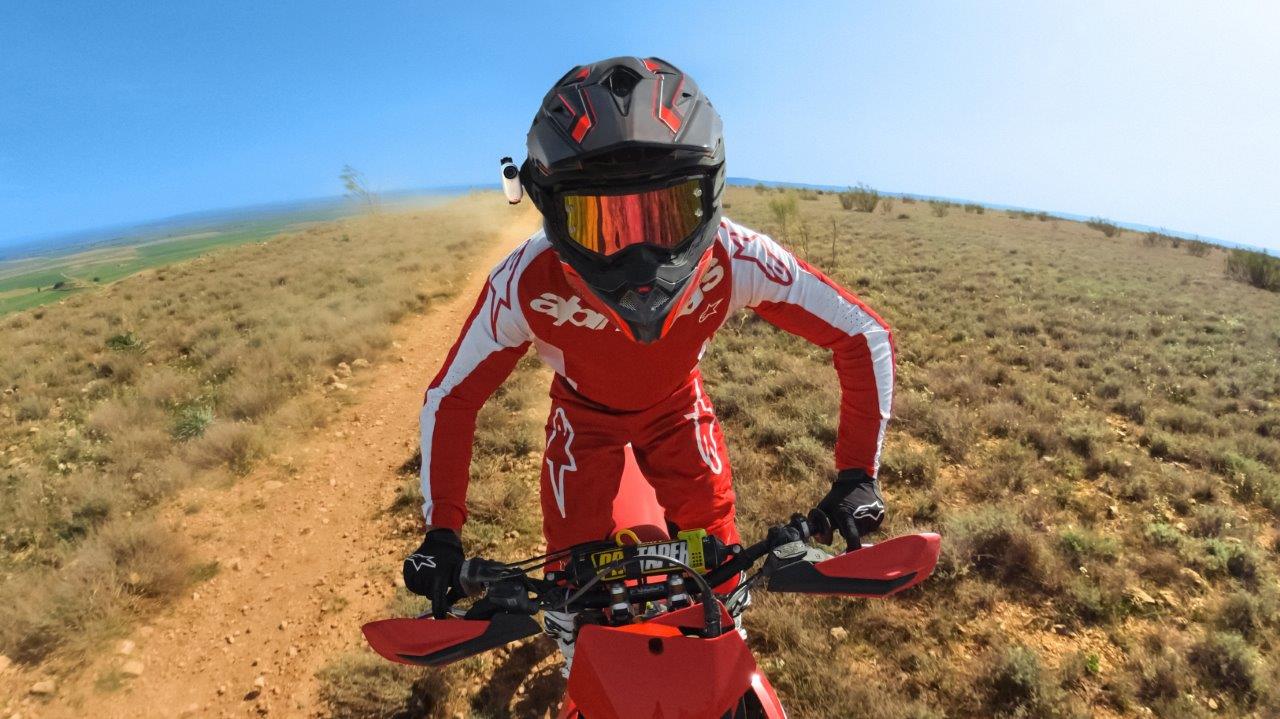
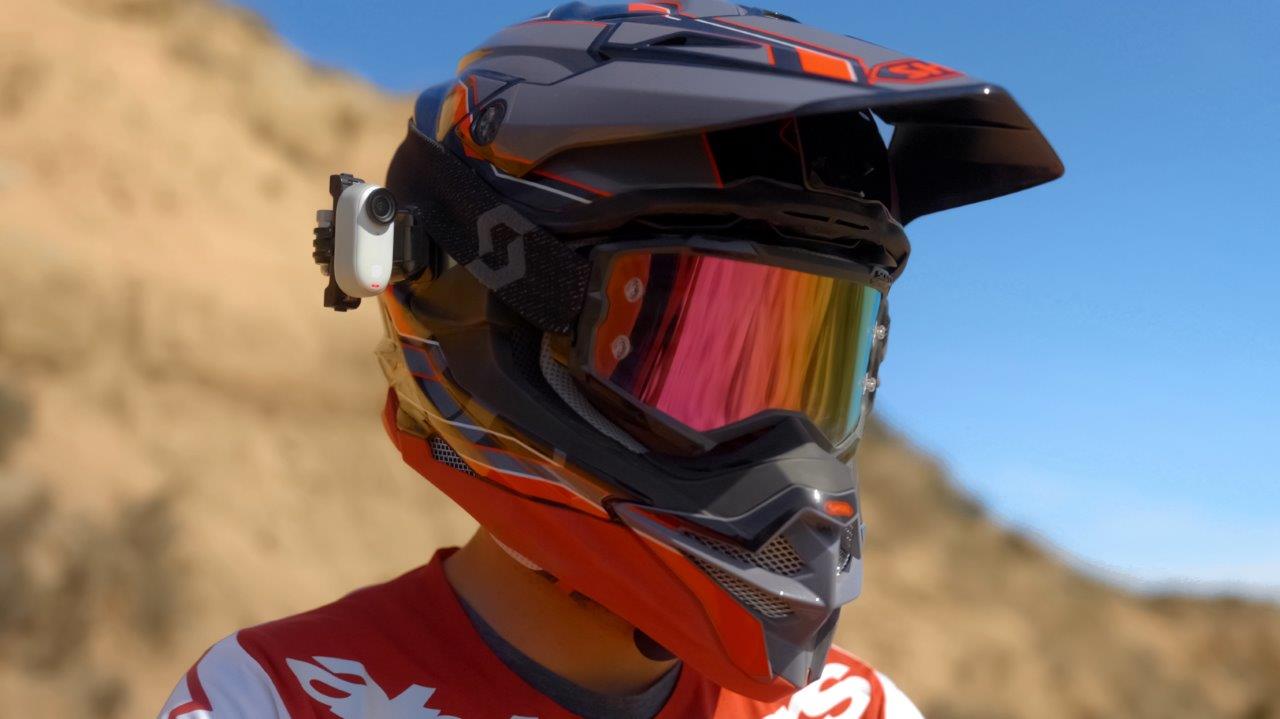
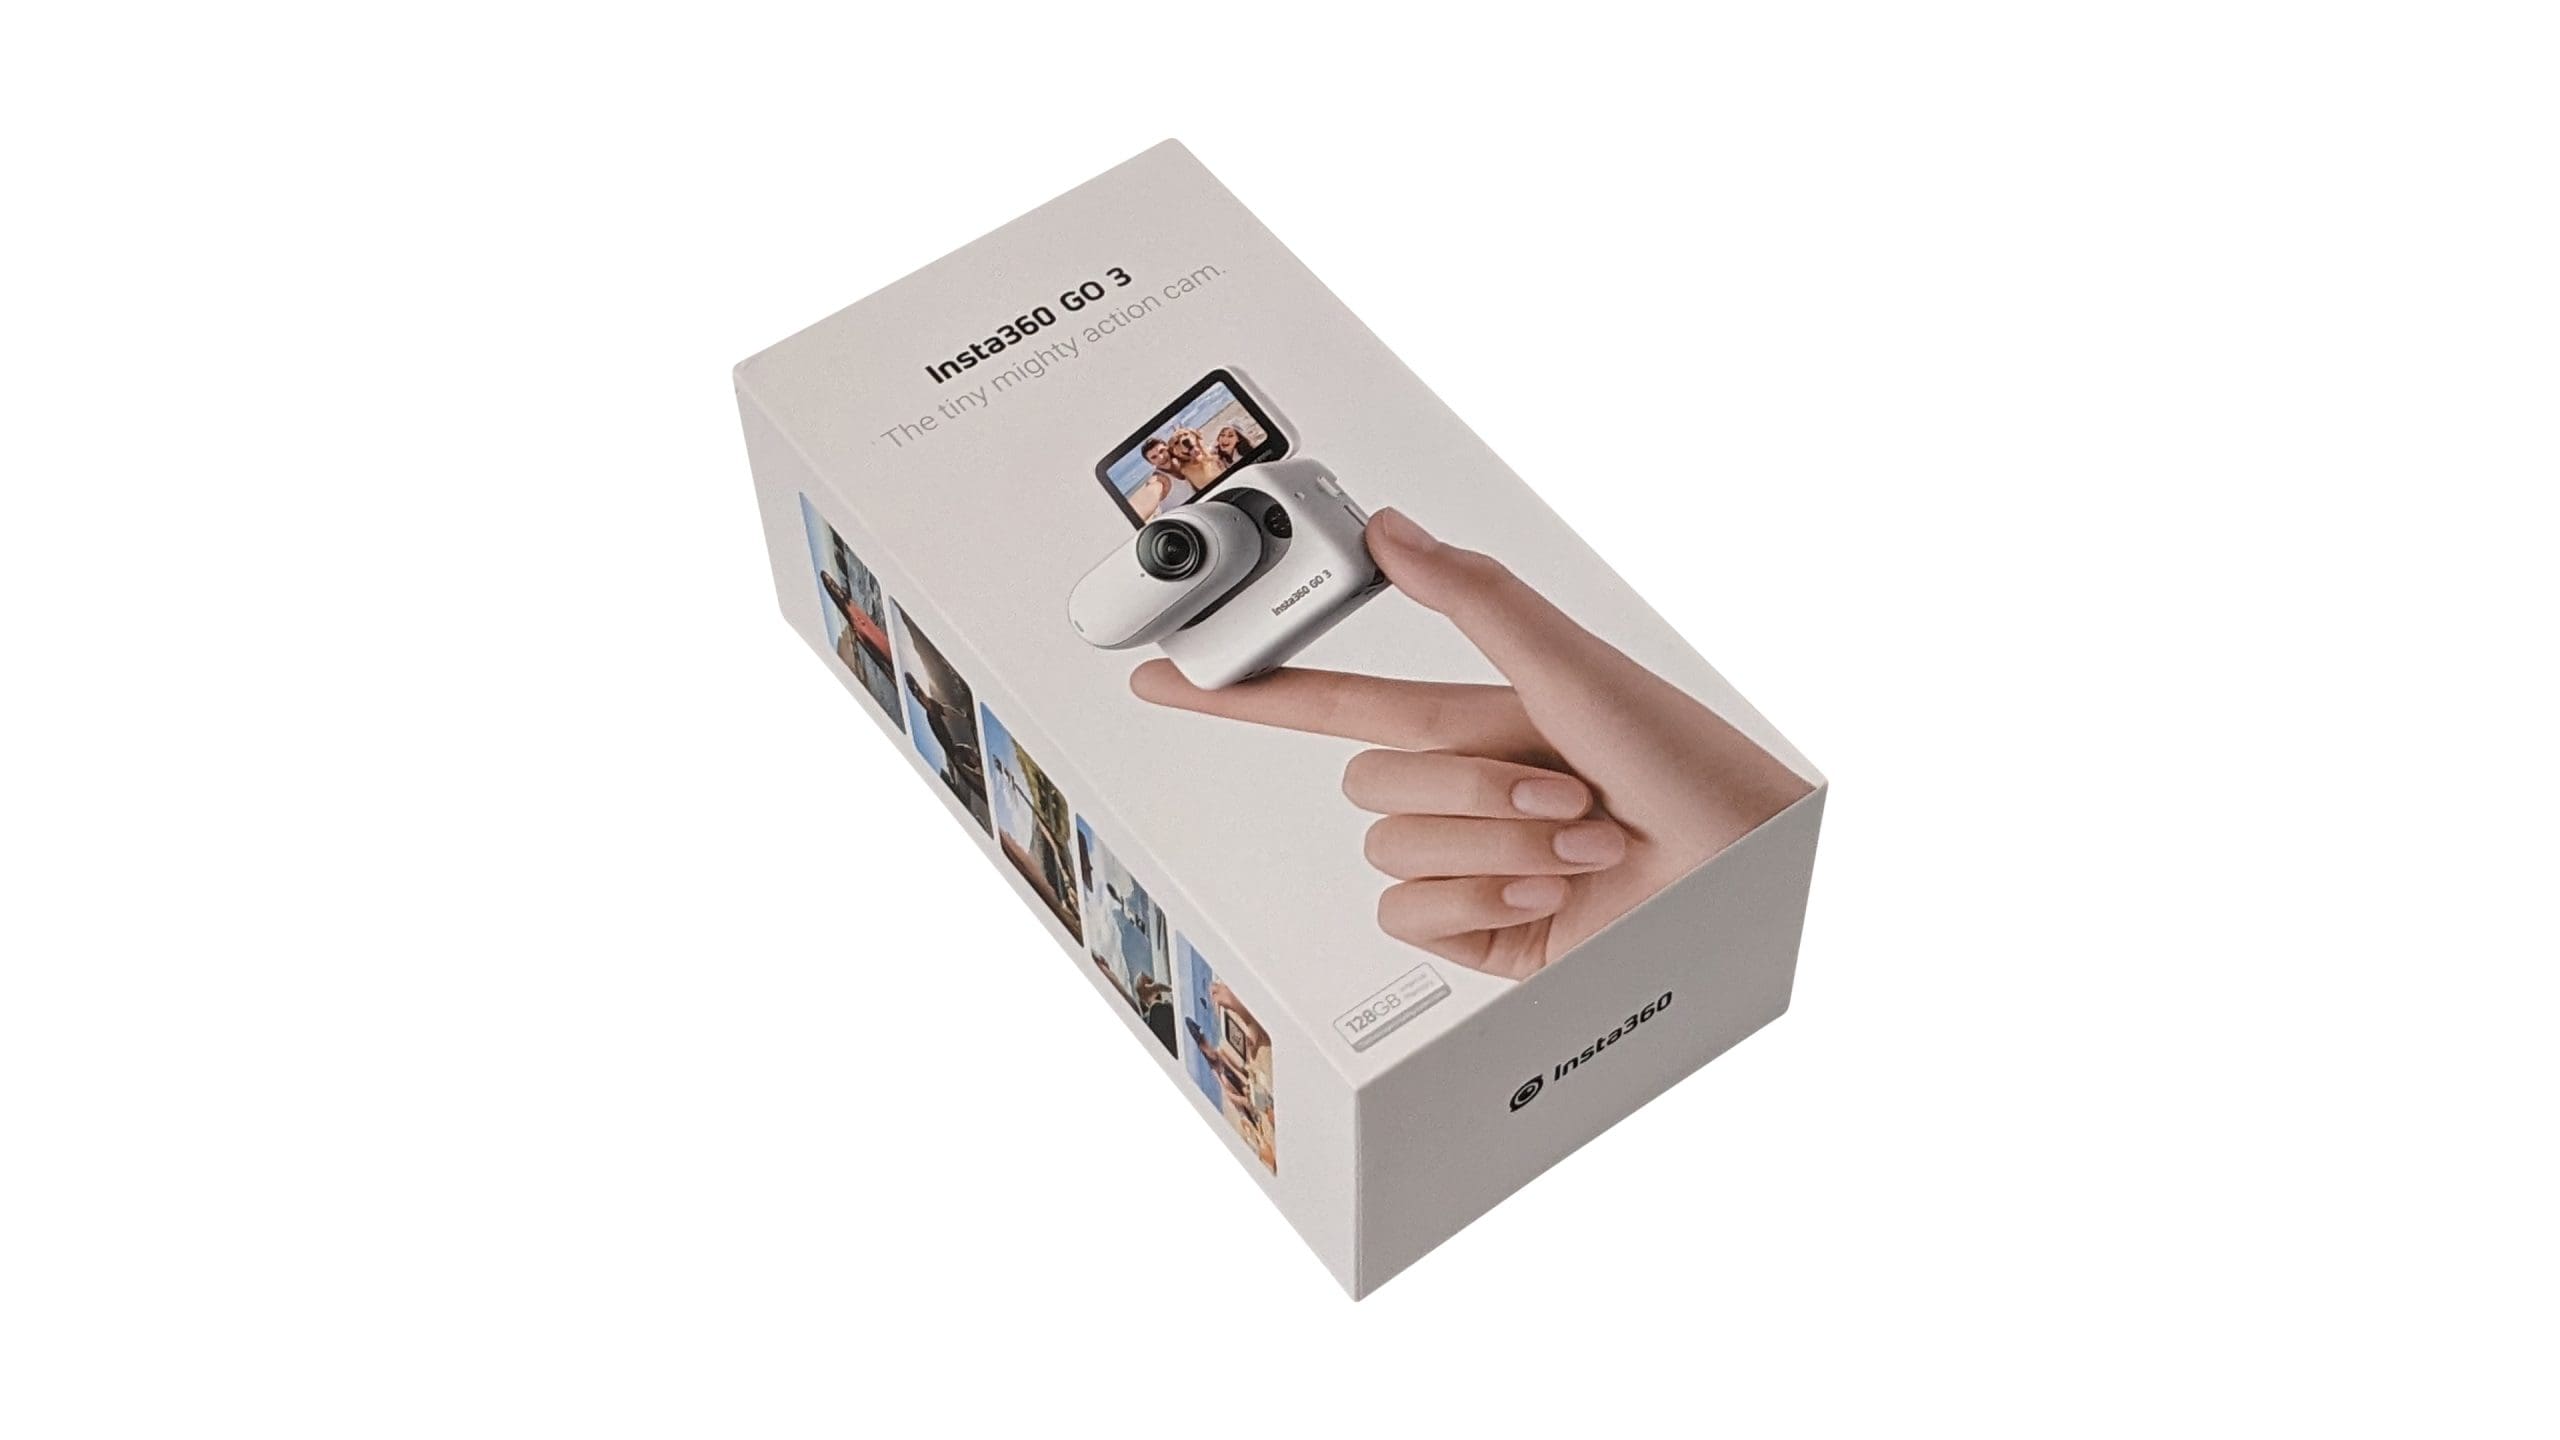
When Insta360 sent me the GO 3 for this review, the only color option available was the Arctic White you see in these images. Like with anything white, I wish you the best if you intend to keep it looking brand new throughout your ownership. I mounted it to the front of my helmet several times and getting bug stains and dirt off was quite a hassle.
As of writing this, there’s a Midnight Black available, which might be the better color to go for if you’re like me.
Action Pod Dimensions:
- Screen Folded: 63.5 x 47.6 x 29.5mm (2.5 x 1.9 x 1.2 in)
- Screen Unfolded: 63.5 x 86.6 x 29.9mm (2.5 x 3.4 x 1.2 in)
- Weight: 96.3g (3.40oz)
GO 3 Dimensions:
- 25.6 x 54.4 x 23.2mm (1.0 x 2.1 x 0.9 in)
- Weight: 35.5g (1.25oz)
Insta360 GO 3 Setup and User Interface
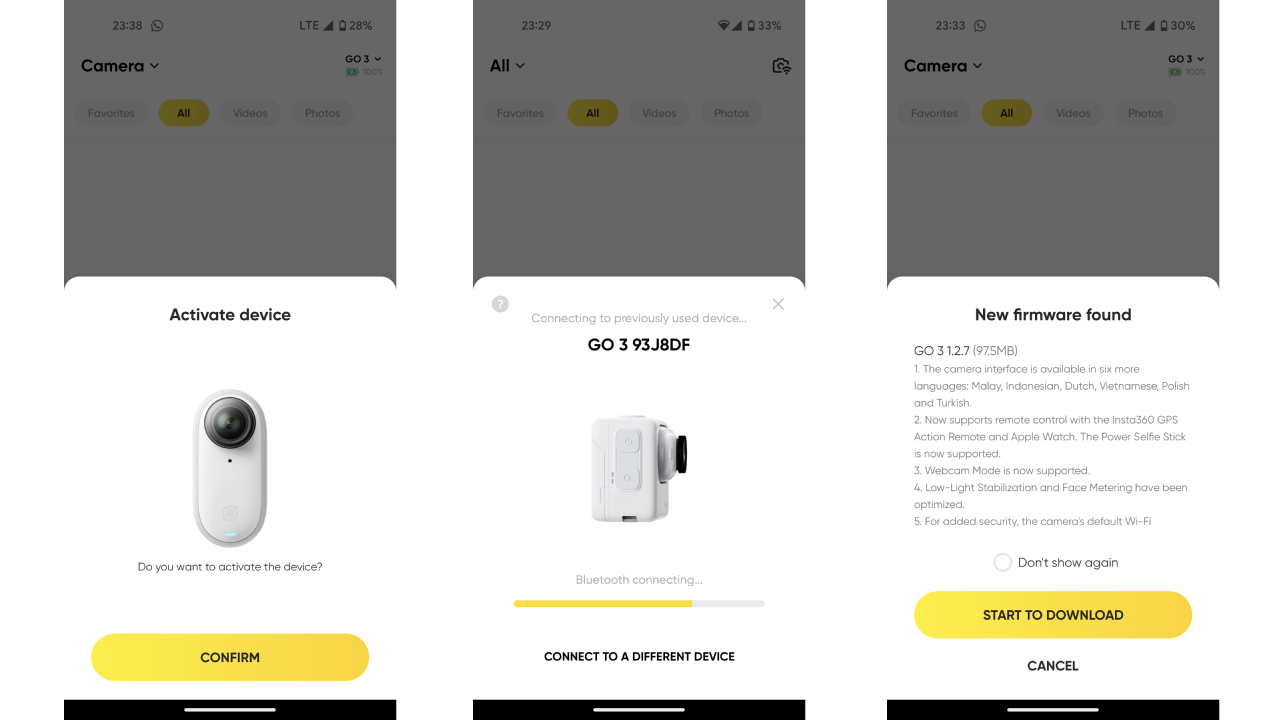
Once you set up the Insta360 GO 3, it has an intuitive and easy-to-use interface. What’s worth noting is that you will have to activate the device with the Insta360 app before using it for the first time. This is a straightforward process and took only a few minutes, including the firmware update that my camera was due for when I first powered it up.
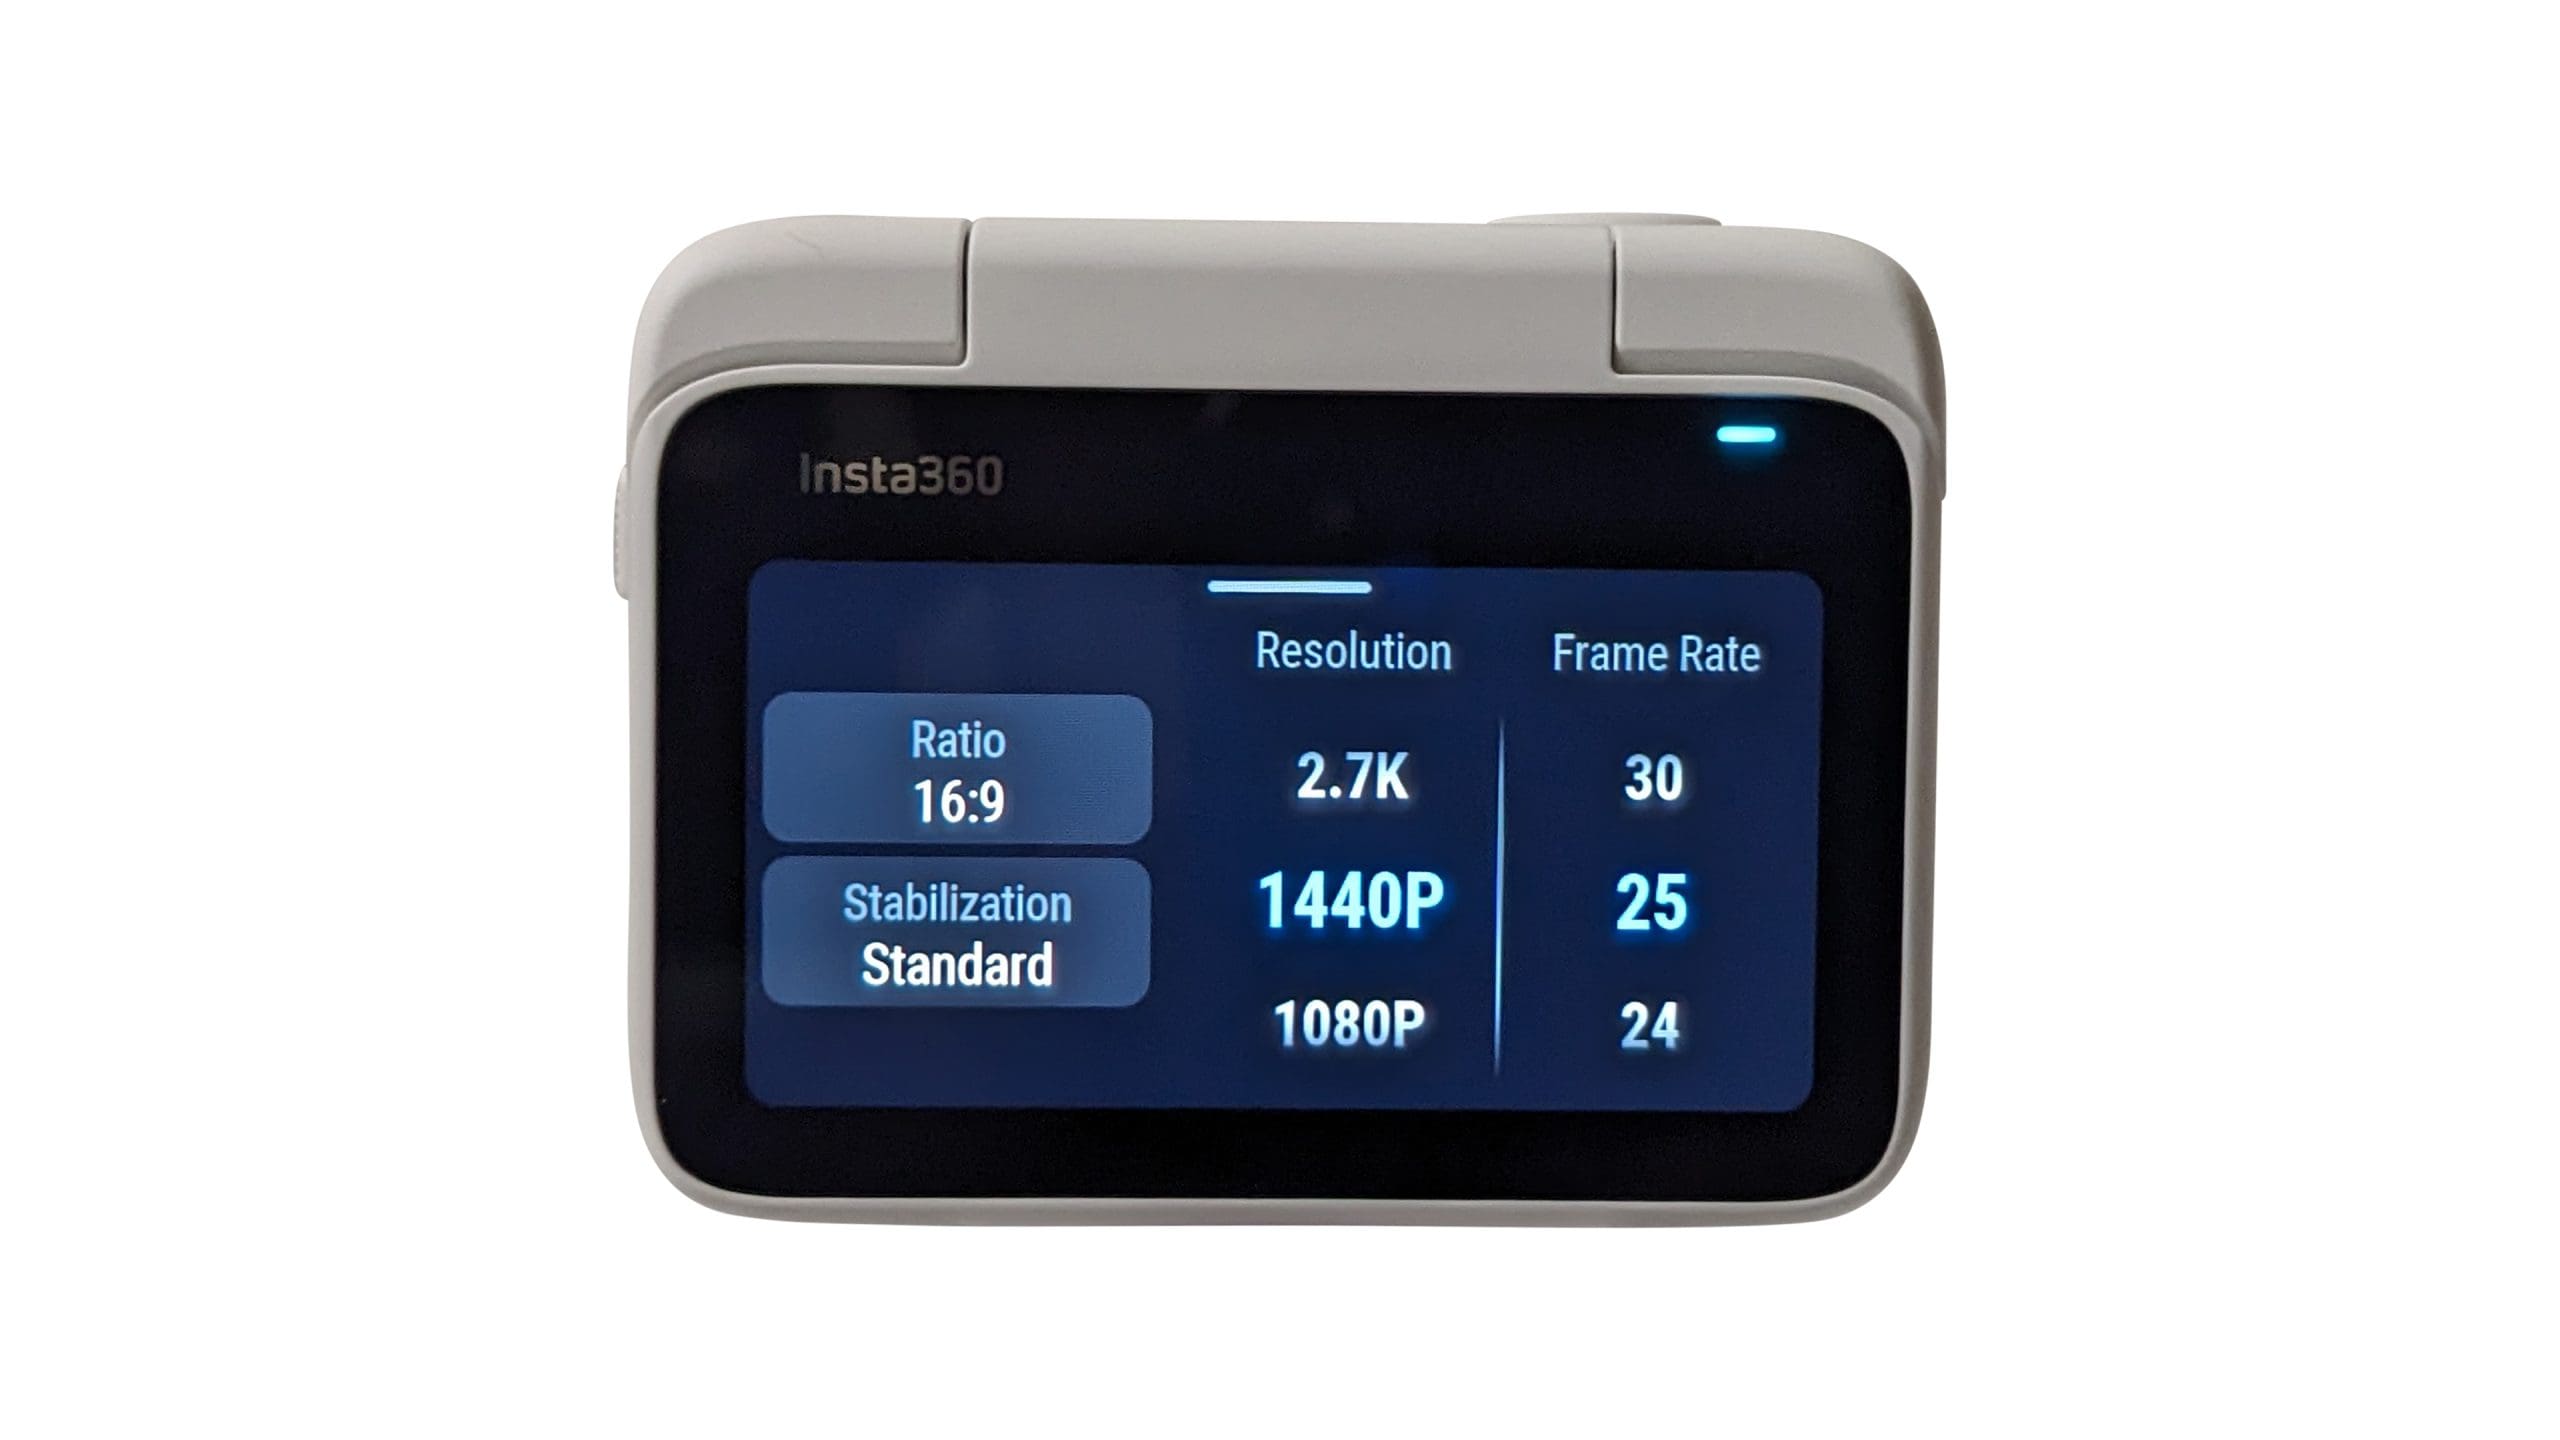
When the device is on, swiping left or right on the screen brings up the different shooting modes: Photo, Video, FreeFrame Video, Timelapse, TimeShift, Slow Motion, Loop Recording, Starlapse, Interval, and HDR Photo. Within each mode, the default screen displays a considerable amount of information without appearing too crowded. The top left displays the remaining memory on the device, the top right has the battery levels for the Action Pod and the camera itself, the bottom left displays the current shooting mode, and the bottom right lets you adjust the field of view.
Once you select a mode, swiping up from the bottom of the screen will bring up specific settings for that shooting mode. For example, with ‘Photo’ mode, swiping up will let you adjust the aspect ratio, image format, and set a timer. Similarly, within ‘Timelapse’ mode, you’ll be able to adjust the interval between the shots that make up the timelapse, the length of shooting, and the aspect ratio.
Each shooting mode has its own options and settings you can adjust in a matter of seconds.
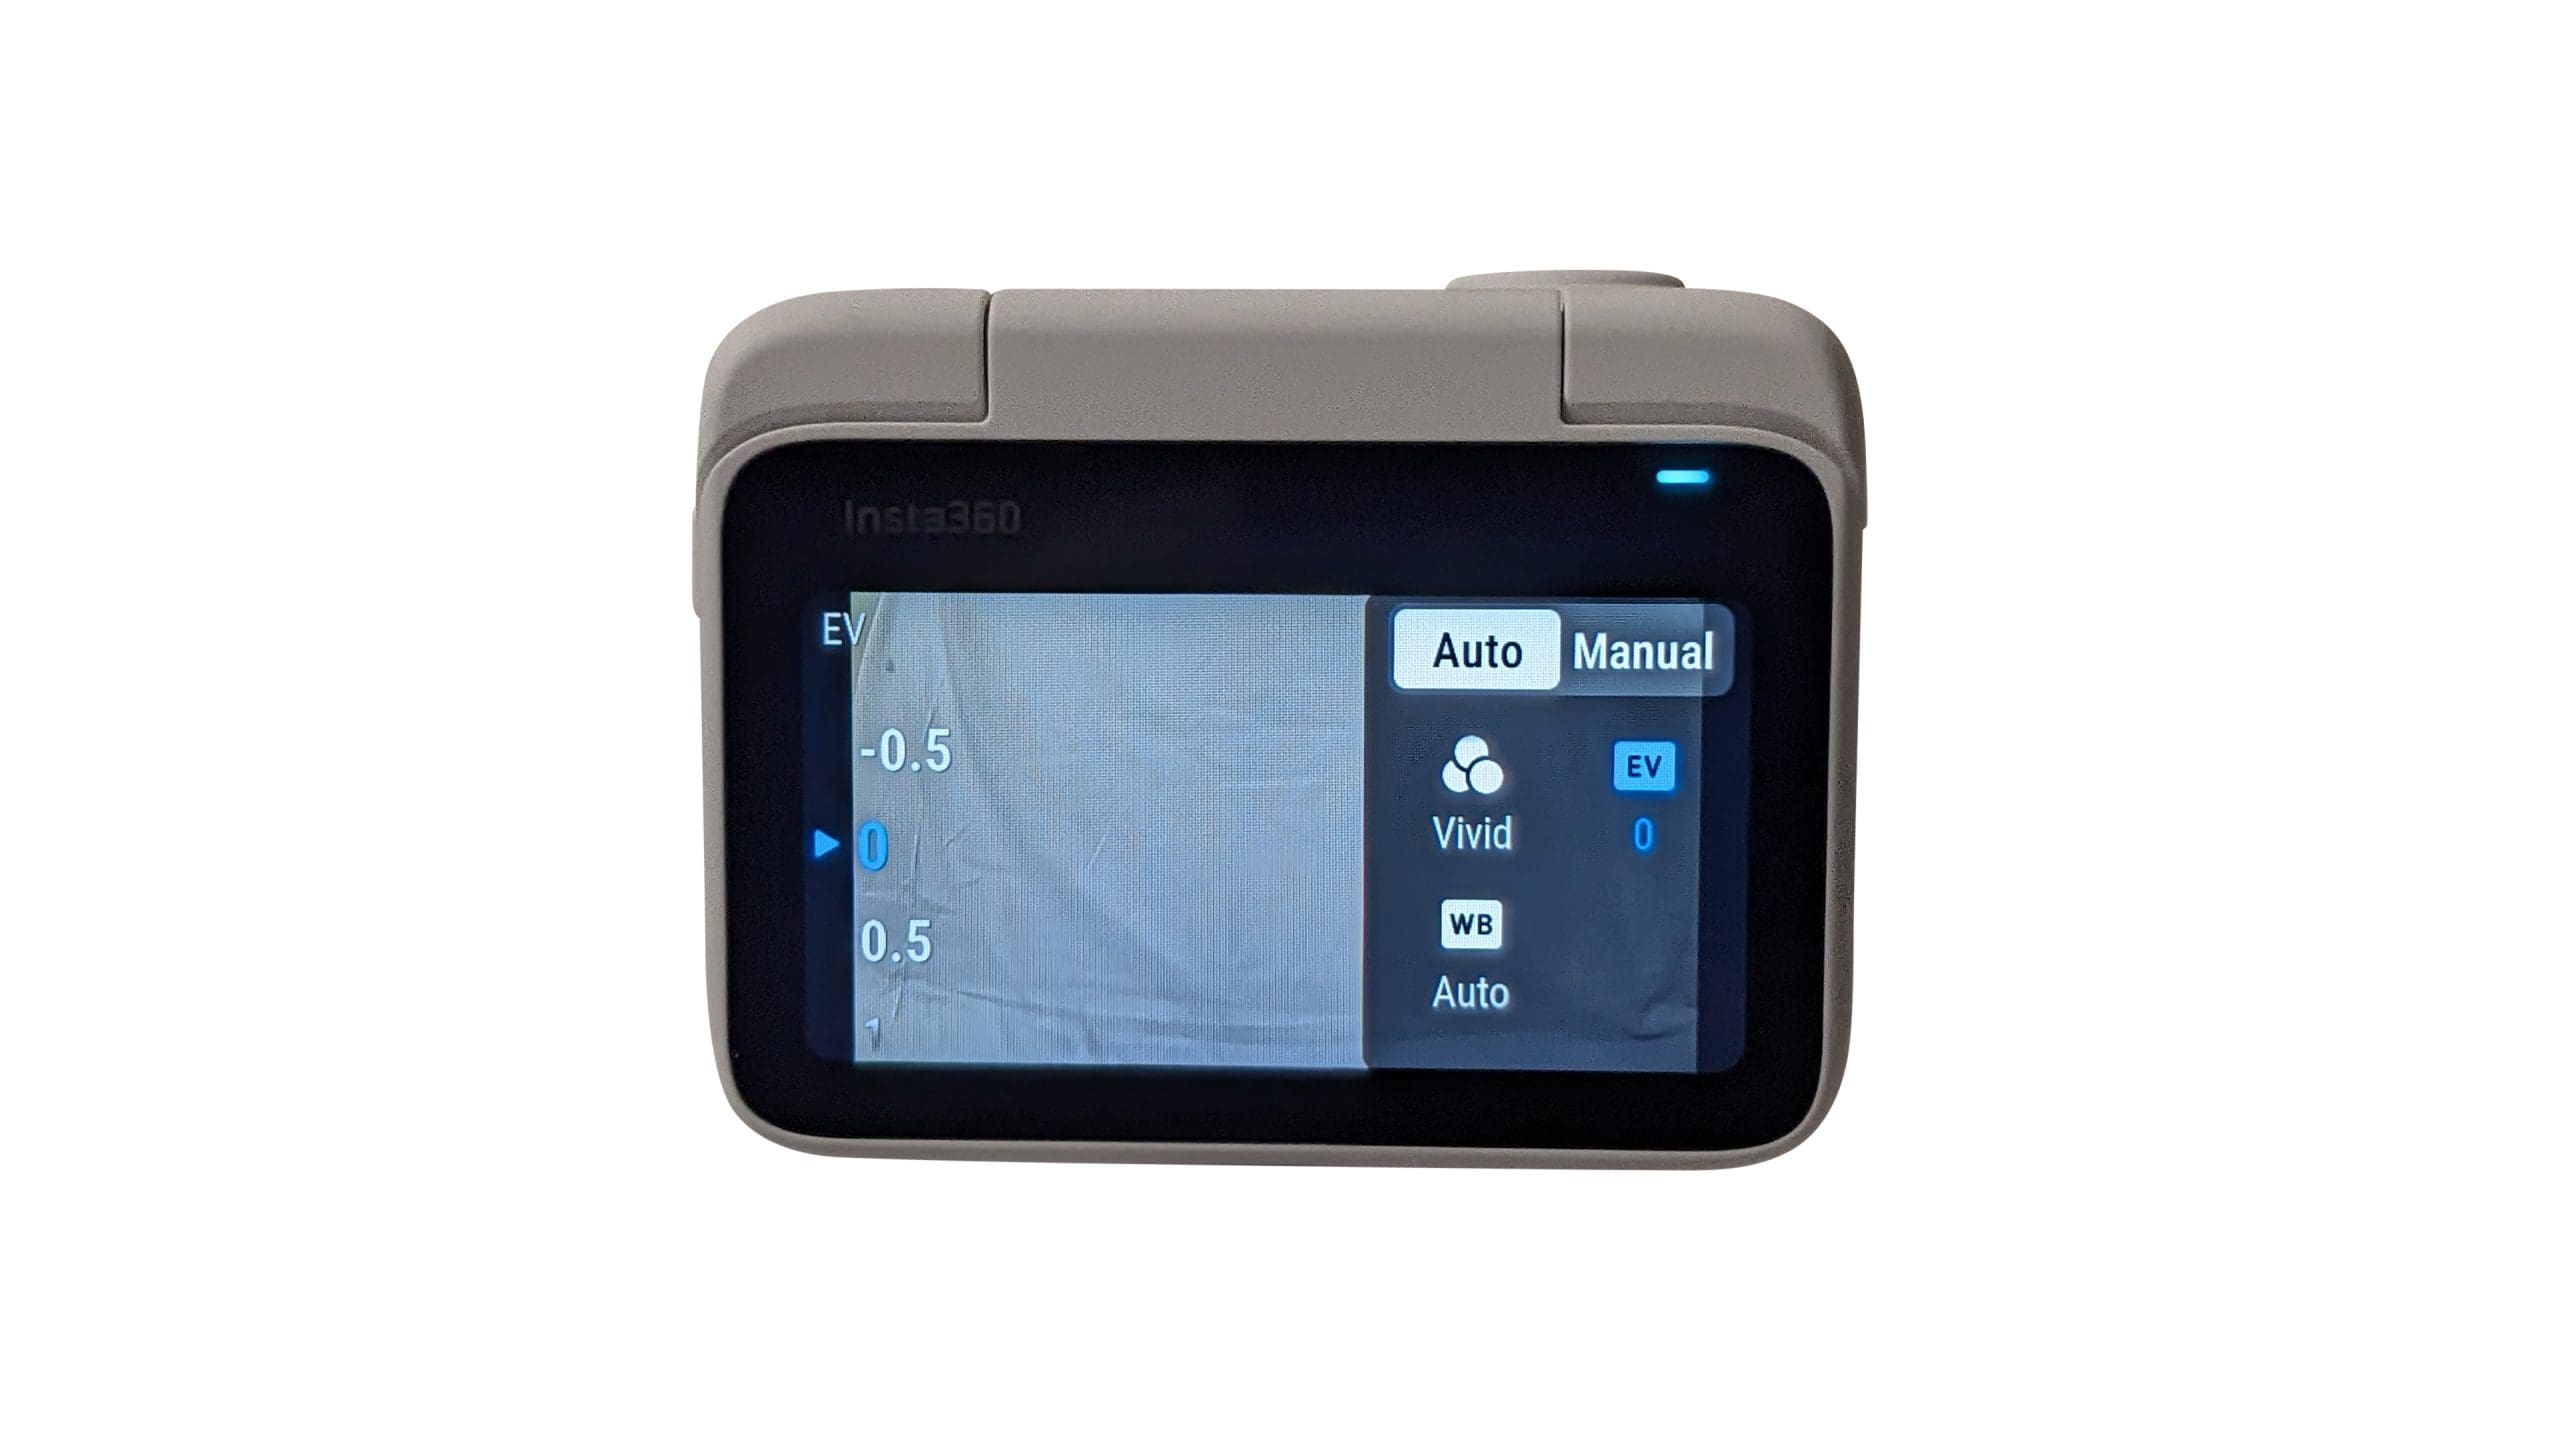
Swiping left from the right edge of the screen across all modes will pull out a menu that lets you adjust the ISO, shutter speed, exposure, white balance, and low light stabilization. If you’re not keen on experimenting with the manual settings of each of these, you can also set the camera to ‘Auto’ mode, like with most modern-day cameras.
If you want to access the gallery, you can do so by swiping right from the left edge of the screen where you can scroll through footage individually or view them in a grid. The gallery also lets you multi-select files in case you need to delete more than one piece of content at once.
Using the Insta360 GO 3
Once you’ve gotten the hang of navigating to your desired shooting mode and adjusting your settings, using the GO 3 is extremely straightforward. You can use the shutter button to take a picture or start recording while the camera is within the housing and when it’s not. Insta360 mentions that you can use the Action Pod for remote control and live preview up to 16 feet (5 meters) away, but I found that there are some caveats to that claim.
For starters, the Action Pod connects to the camera via Bluetooth, so the connection quality is affected by how direct a view the two have of each other. If there are objects in between the two, or if you simply turn your back to the Action Pod while holding the camera, the connection quality drops drastically. I found that if I were to look at the Action Pod screen while holding the camera behind my back, the live preview would drop in quality and lag by a second or two.
That said, in such a case, the remote control feature remains unaffected, allowing you to hit the shutter button on the Action Pod and start recording on the camera immediately.
What I’d like to see an improvement with is how long the camera takes to save a picture. I found that it takes about 5 seconds from when you click the shutter button to when it’s done saving the picture and allows you to take another one. Even in ‘Interval’ mode, the shortest interval you can set between consecutive pictures is 3 seconds. Now, this isn’t a camera that was designed with burst photography intended to be one of its primary use cases, but if you’re going to use it for pictures, this is a caveat that is definitely worth knowing.
While the Action Pod vibrates when you use the shutter button, a similar feature on the small camera itself would have been an excellent addition. For instance, a single vibration when you start recording and a quick double buzz when you stop shooting could have made the usage of the camera without the action pod easier. Especially in scenarios when you can’t see the recording light on the camera easily, like when you’re riding a motorcycle and it’s mounted on the handlebar facing away from you or on your helmet.
Insta360 Phone App
I’ll be honest when I first used the Insta360 app, I was a bit startled by how much was going on. When you open the app, there’s a lot happening and I won’t be surprised if you’re apprehensive about using it, too. However, if you’re not creatively inclined to edit your footage with software like Premiere Pro or DaVinci Resolve, but still want to create something, the app can be an exceptional tool to help you do so.
As a matter of fact, the app lets you do more than just edit your footage. Within the ‘Explore’ tab, you can view a Quickstart Guide for your camera and even look through multiple tutorials for different shots. I thoroughly enjoyed going through these because they’re specific to each of Insta360’s cameras. The video tutorials usually show you multiple shots, angles, and transitions you can try. If you’re a beginner with content creation and want to elevate the quality of your footage, these are some great tutorials to follow.
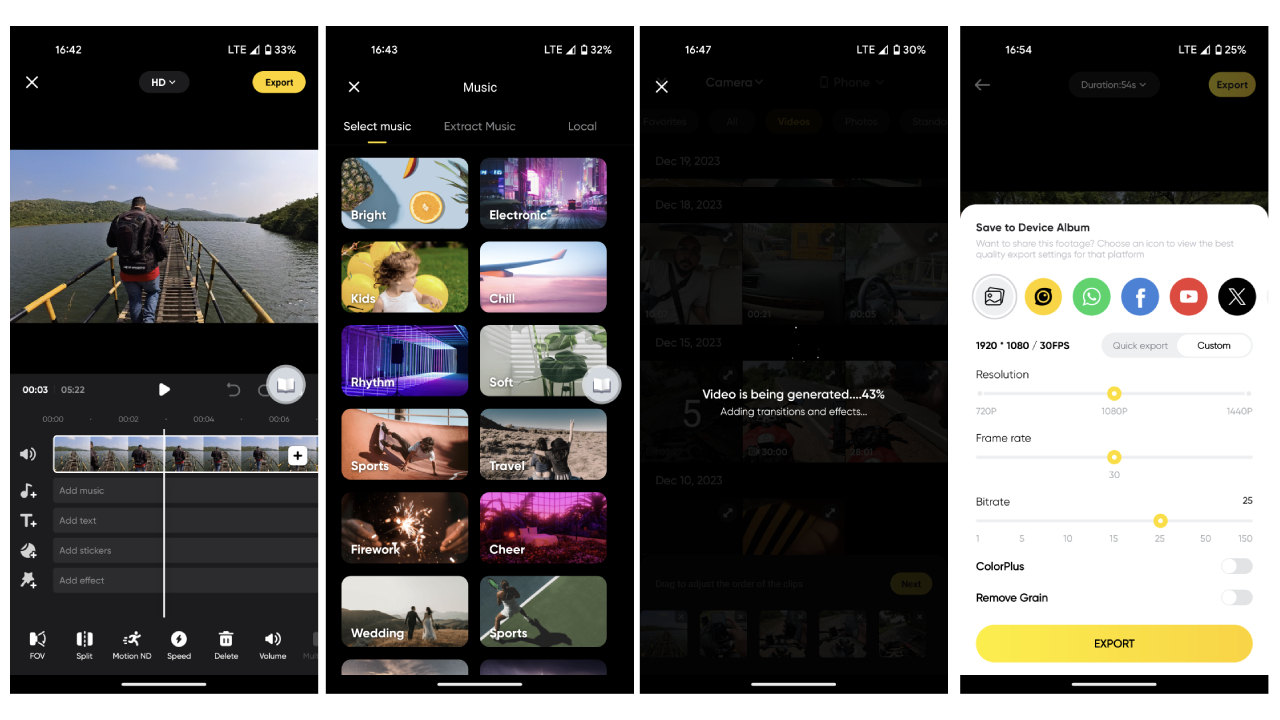
The app also features an AI-assisted video editor. Select the clips you want to add to the final video, and it will automatically create a timeline and stitch your footage together with some background music. There are different themes you can select from, each featuring different transitions and text elements to accompany the edit. The quality of the output really depends on the type of footage you’ve selected. I found that it helps create a starting point that you can further edit to keep in or remove parts as necessary.
Embedded below is the first draft of a video put together by the auto edit feature on the app. The app took just under 3 minutes to compile this. As you can see, the edit isn’t the best — there’s a lot of footage of me checking my phone to see if the camera’s recording, which leads me to think the app prioritizes footage short towards the start and end of a clip. But, it’s definitely a good first lineup that I can tweak for a better video. I exported this clip in 1440p and it took 2m10s to export.
One major downside I found with the app is that scrolling through the timeline for longer videos can be extremely cumbersome. There’s no way to skip to different parts of the timeline when you’re just viewing footage in the gallery, so if you want to find a particular moment in a 20-minute long video, you will have to add it to the editor and then do so. A feature to long-press the timeline to enable faster scrolling would be a welcome addition.
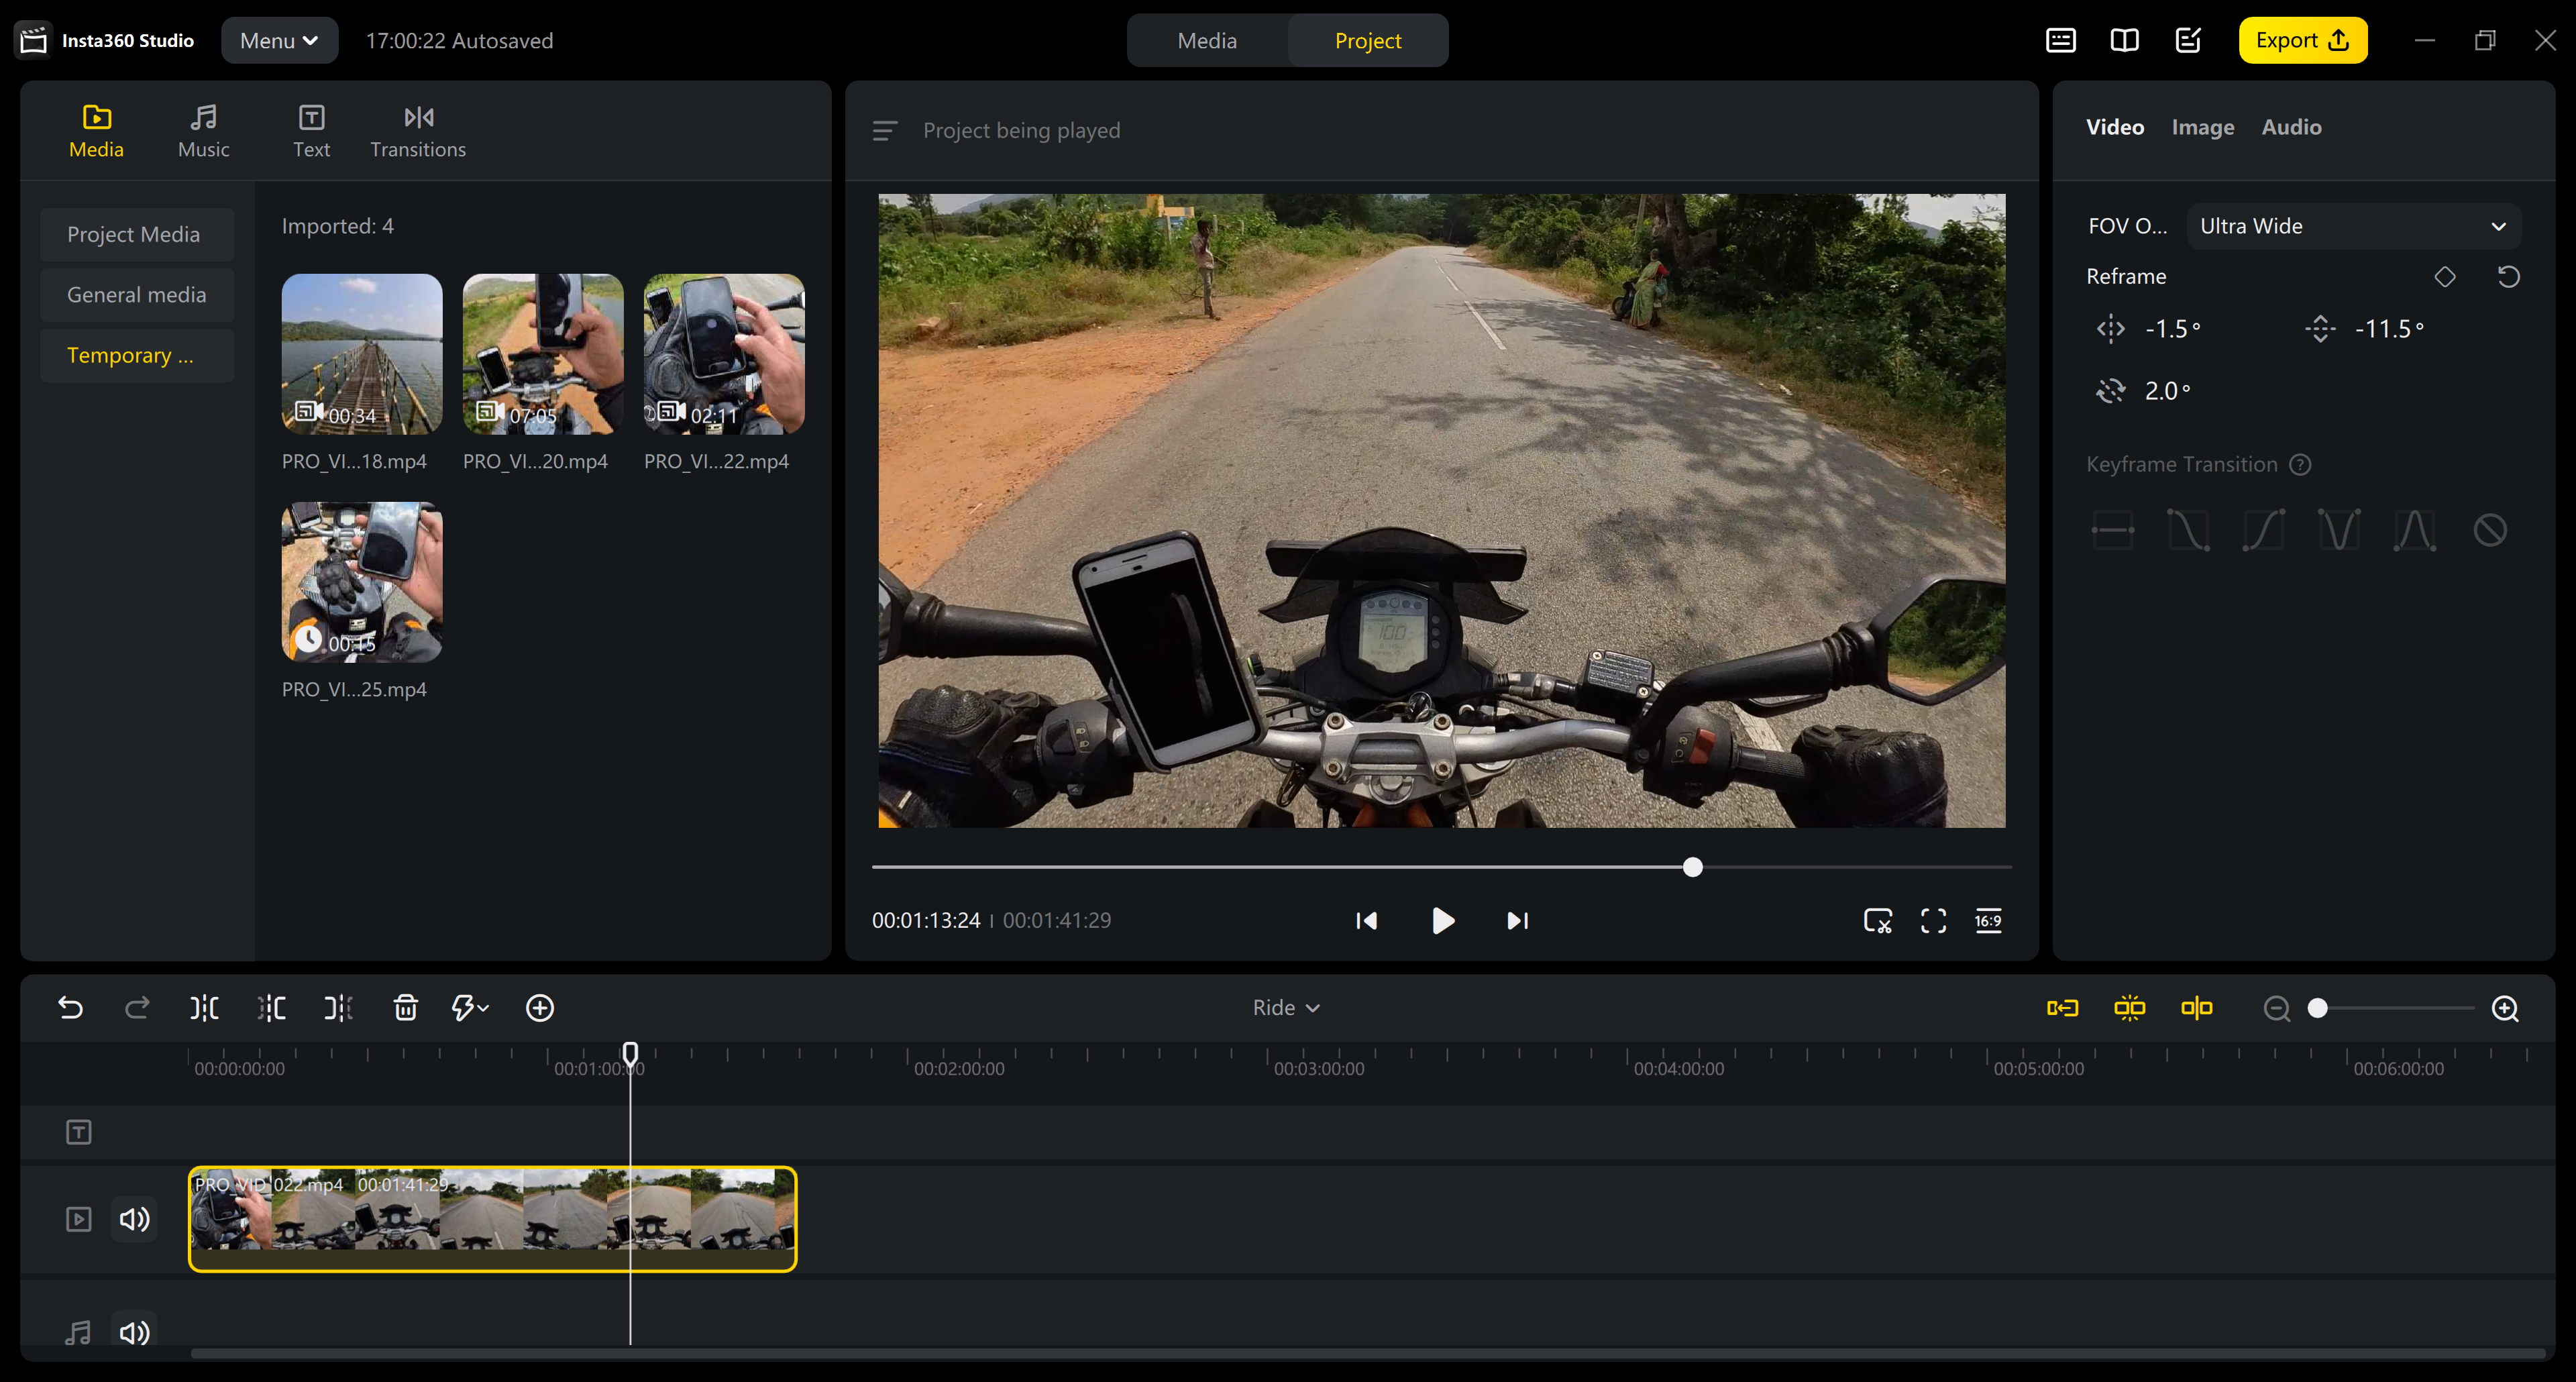
Insta360 Studio
Insta360 Studio is the company’s PC application to view and edit footage. It features all that the phone app has to offer but in a more minimalistic manner. The editor is extremely simple to use and you can drag-and-drop footage and trim it easily. Like the phone app, the PC version also features dedicated tabs for transitions and music that you can simply click and add to your footage.
The latest version of the Insta360 Studio (available for download since 26/03/24) comes with updates that let you add individual keyframes to multiple clips in a single timeline, the ability to work on multiple projects, and editing tools that make the editing process more efficient.
Photo, Video, and Audio Quality
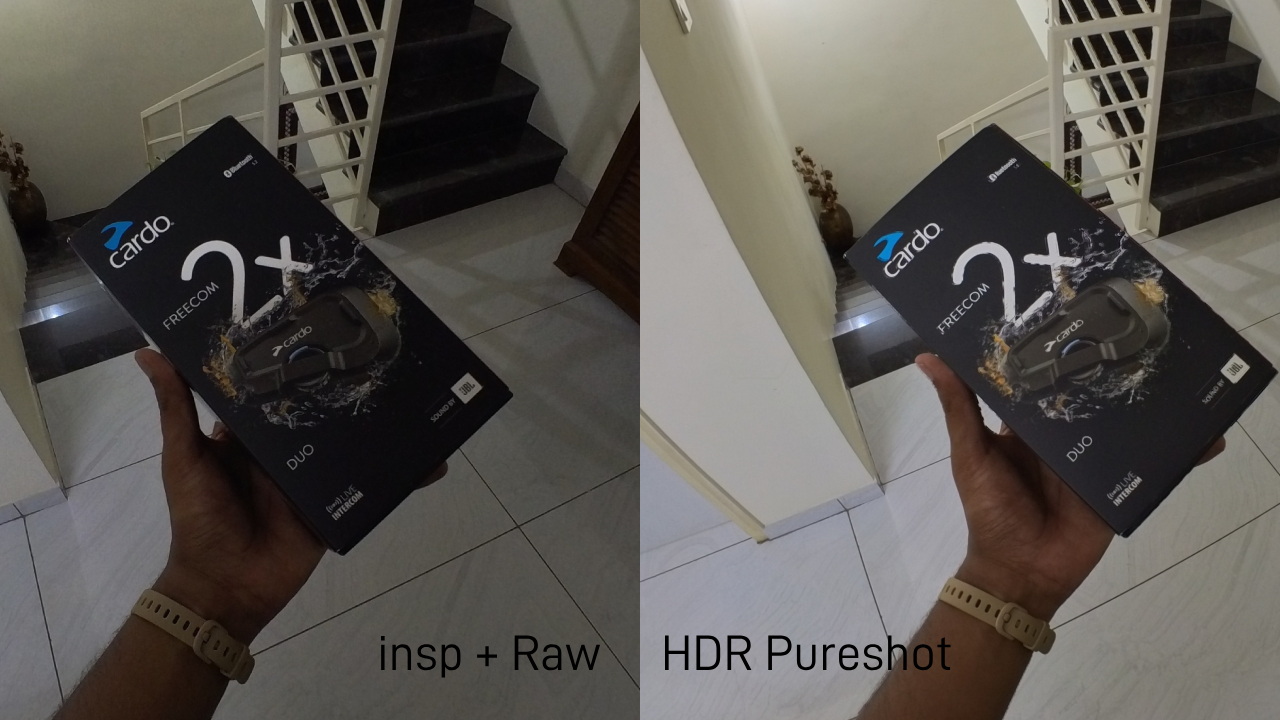
The GO 3 features four photo modes: Photo, HDR Photo, Interval, and Starlapse. Starlapse mode is a long-exposure setting that, as the name suggests, lets you shoot a picture with a star trail effect. Besides adjusting exposure, white balance, and aspect ratio, the camera also allows you to toggle between Linear and Ultrawide FOV.
While the pictures are crisp, the Insta360 GO 3 is not a photo camera, and I’d be hard-pressed to find a situation where the average smartphone camera would be incapable of capturing a better-quality image.
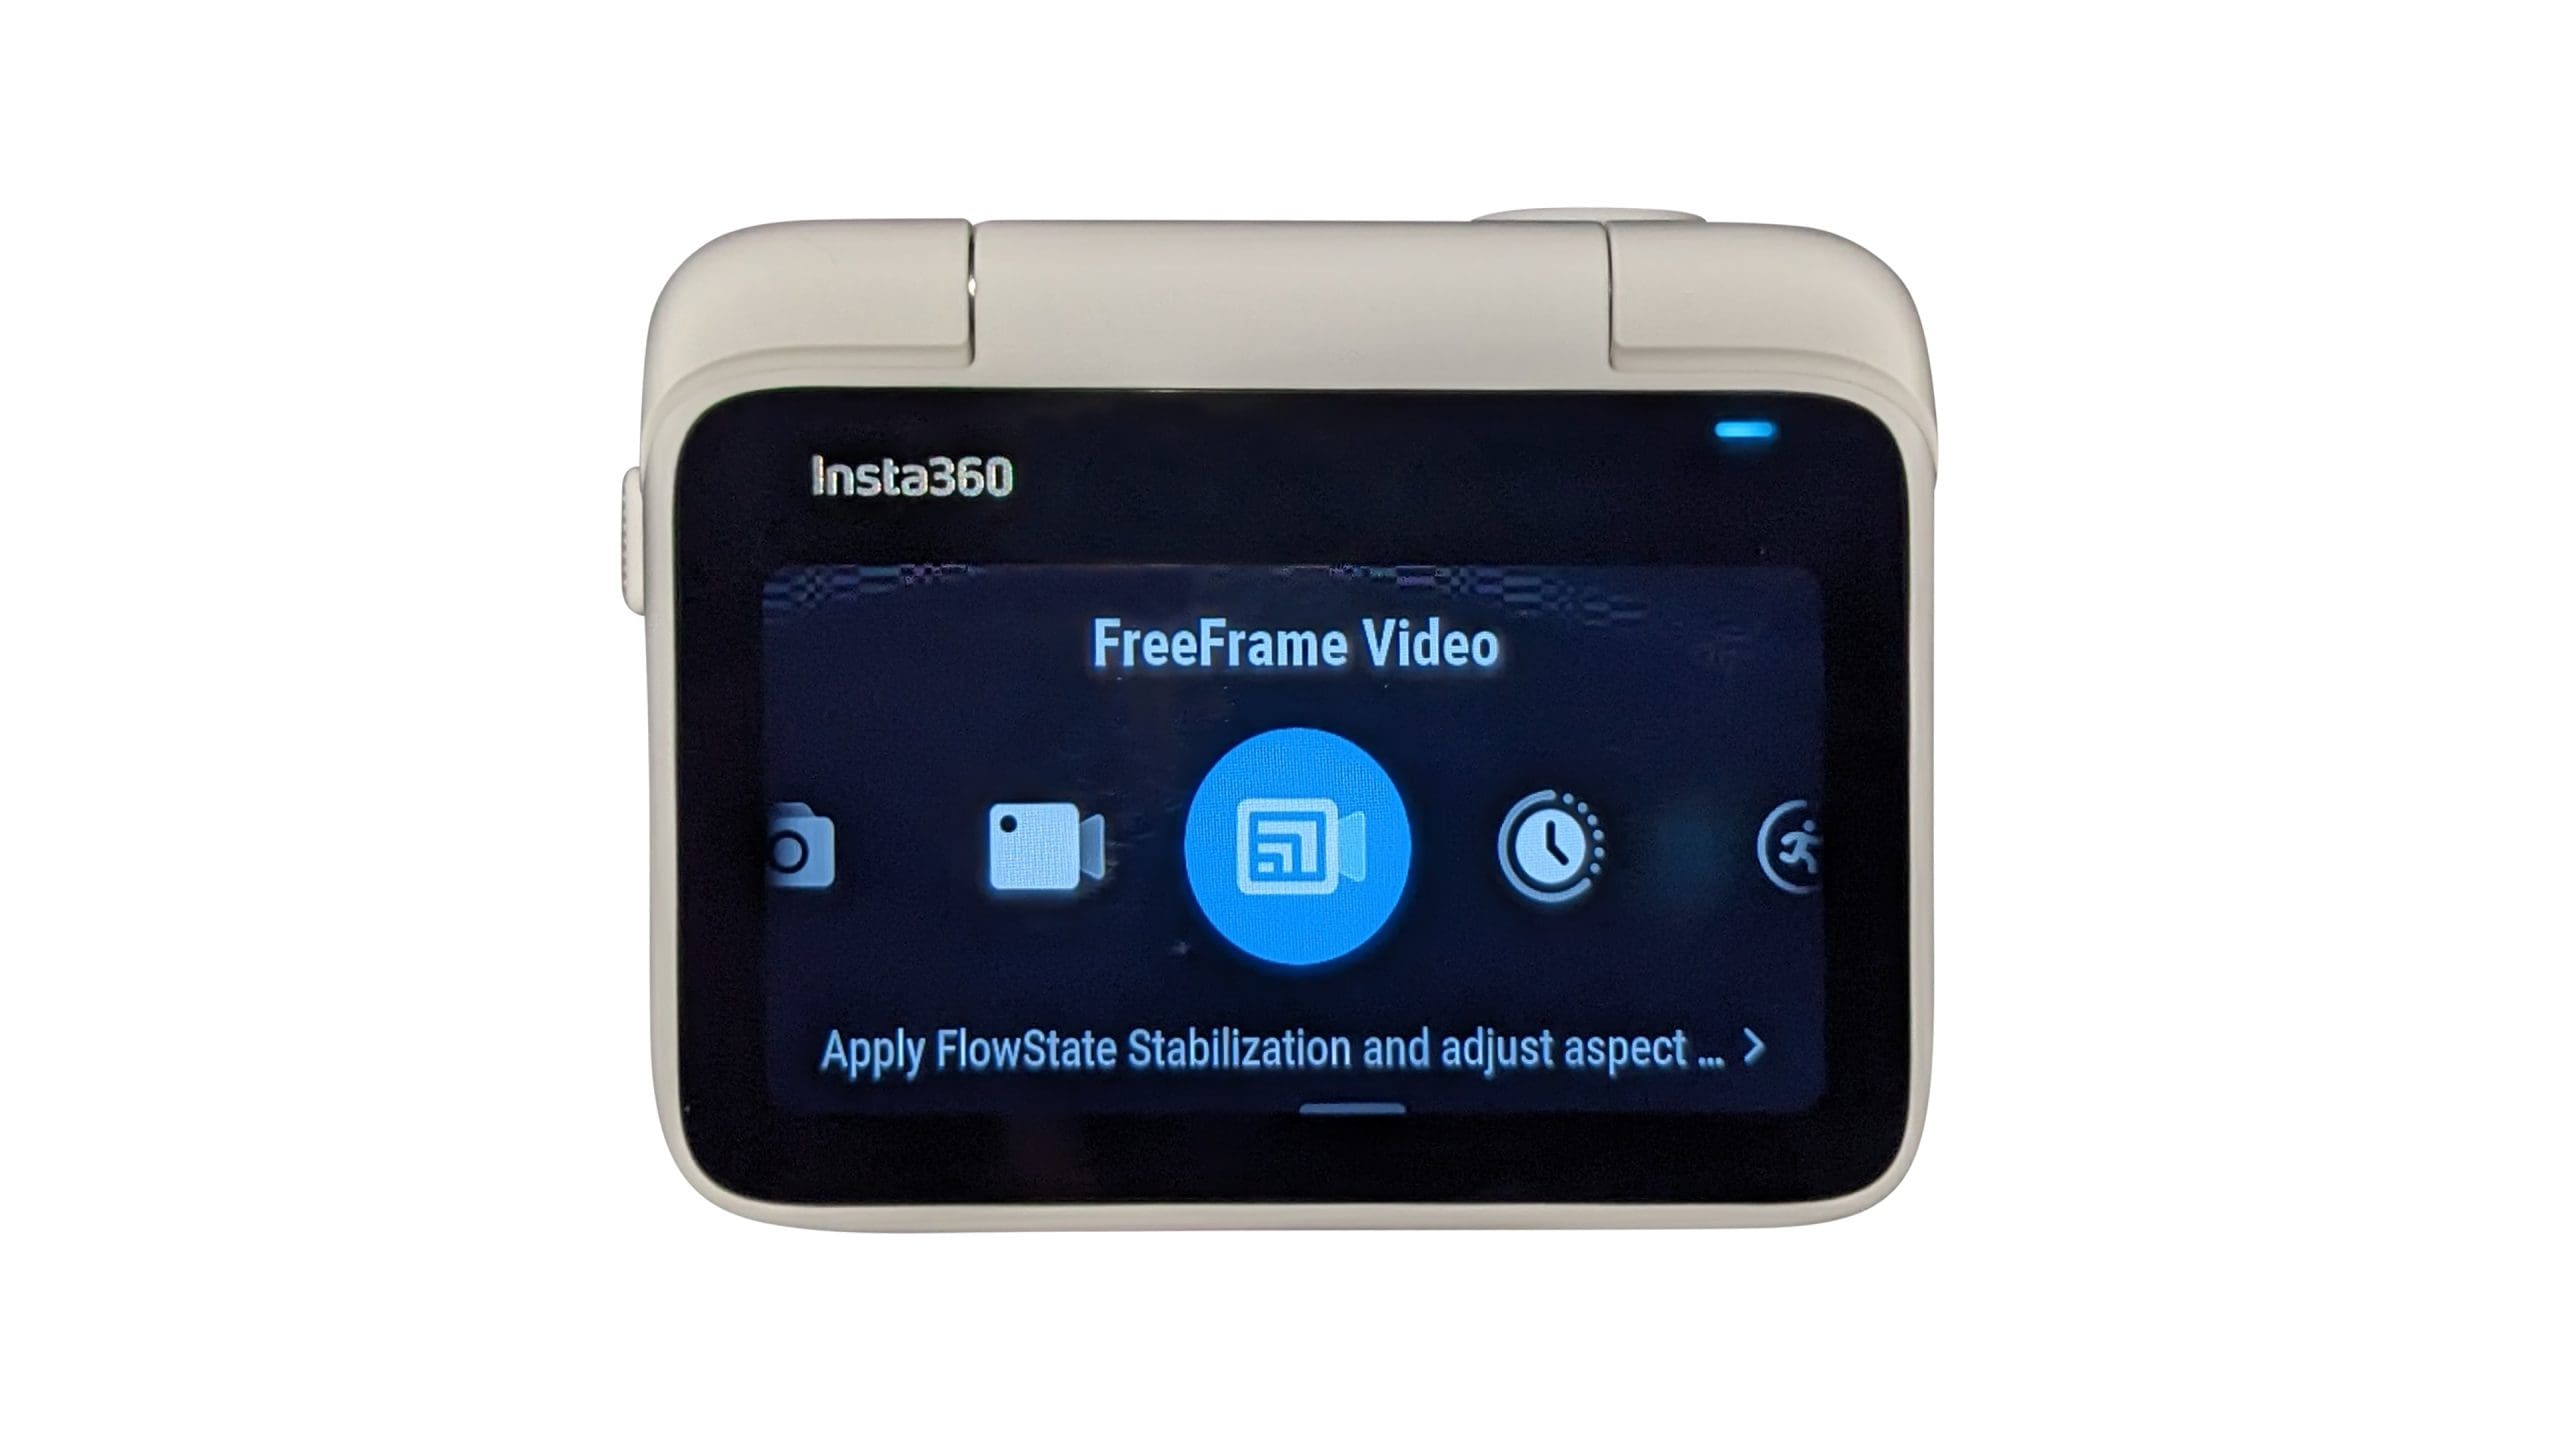
That isn’t the case with the video modes. Like many action cameras, the appeal of the Insta360 GO 3 lies not in its video quality but in its versatility. One of the standout features of this camera is the FreeFrame video mode. It allows you to shoot a video and then make adjustments to the aspect ratio or FOV to the output via the app. So if you’re not sure whether you want to shoot a horizontal or vertical video, you can shoot in FreeFrame mode and then pick your aspect ratio later.
Here’s a comparison of the different FOV options available with FreeFrame video mode:
The key downside with FreeFrame video is that it maxes out at 1440p at 50fps. With regular video, you can shoot up to 2.7k at 30fps.
Audio quality is impressive and on my motorcycle rides, the camera did an impressive job of cutting out wind noise without eradicating the sound of the engine, which I assume is what most would want. I took the camera and shot some footage at a live hip-hop gig that got pretty loud, and I’m happy to report that the camera captured the sound without distortion and with a good balance. Here’s a brief sample:
A major downside to the GO 3 regarding audio is that you can’t connect an external mic to it. So if you’re looking to use this as your primary device for motovlogging, for instance, you will need to use another device solely to record sound from within your helmet.
Battery Life and Storage
The Insta360 GO 3 features a non-removable battery that the company claims can shoot up to 170 minutes with the Action Pod, while the detachable camera can go up to 45 minutes on its own. During my time with the camera, I found that these claims were pretty accurate and I could get comfortably over 2 hours of usage even when I was shooting at 2.7k. Charging is also fairly quick with a drained camera and housing taking about 1.5 hours to fully charge.
The actual concern with the battery is that it is non-removable. It’s a well-known fact that batteries gradually lose their capacity to store energy as they age — you’ve likely experienced this with your smartphone at some point. I’ve owned the GO 3 for about six months now and there hasn’t been a drop in battery performance yet, but with the camera having been around for less than a year, it’s hard to comment on the longevity aspect of it.
Another factor worth mentioning is that the GO 3 does not have a micro SD slot and you’re limited to the internal storage of the device. You have three options to choose from when you buy the camera — 32GB, 64GB, and 128GB. At the time of writing this, the difference between the base model and the max storage option is $70, and if you can afford to spend the premium, it certainly does make sense to do so. You don’t want to be shooting something only to find you’re low on memory and then wait until the files are manually moved onto your laptop or another storage device.
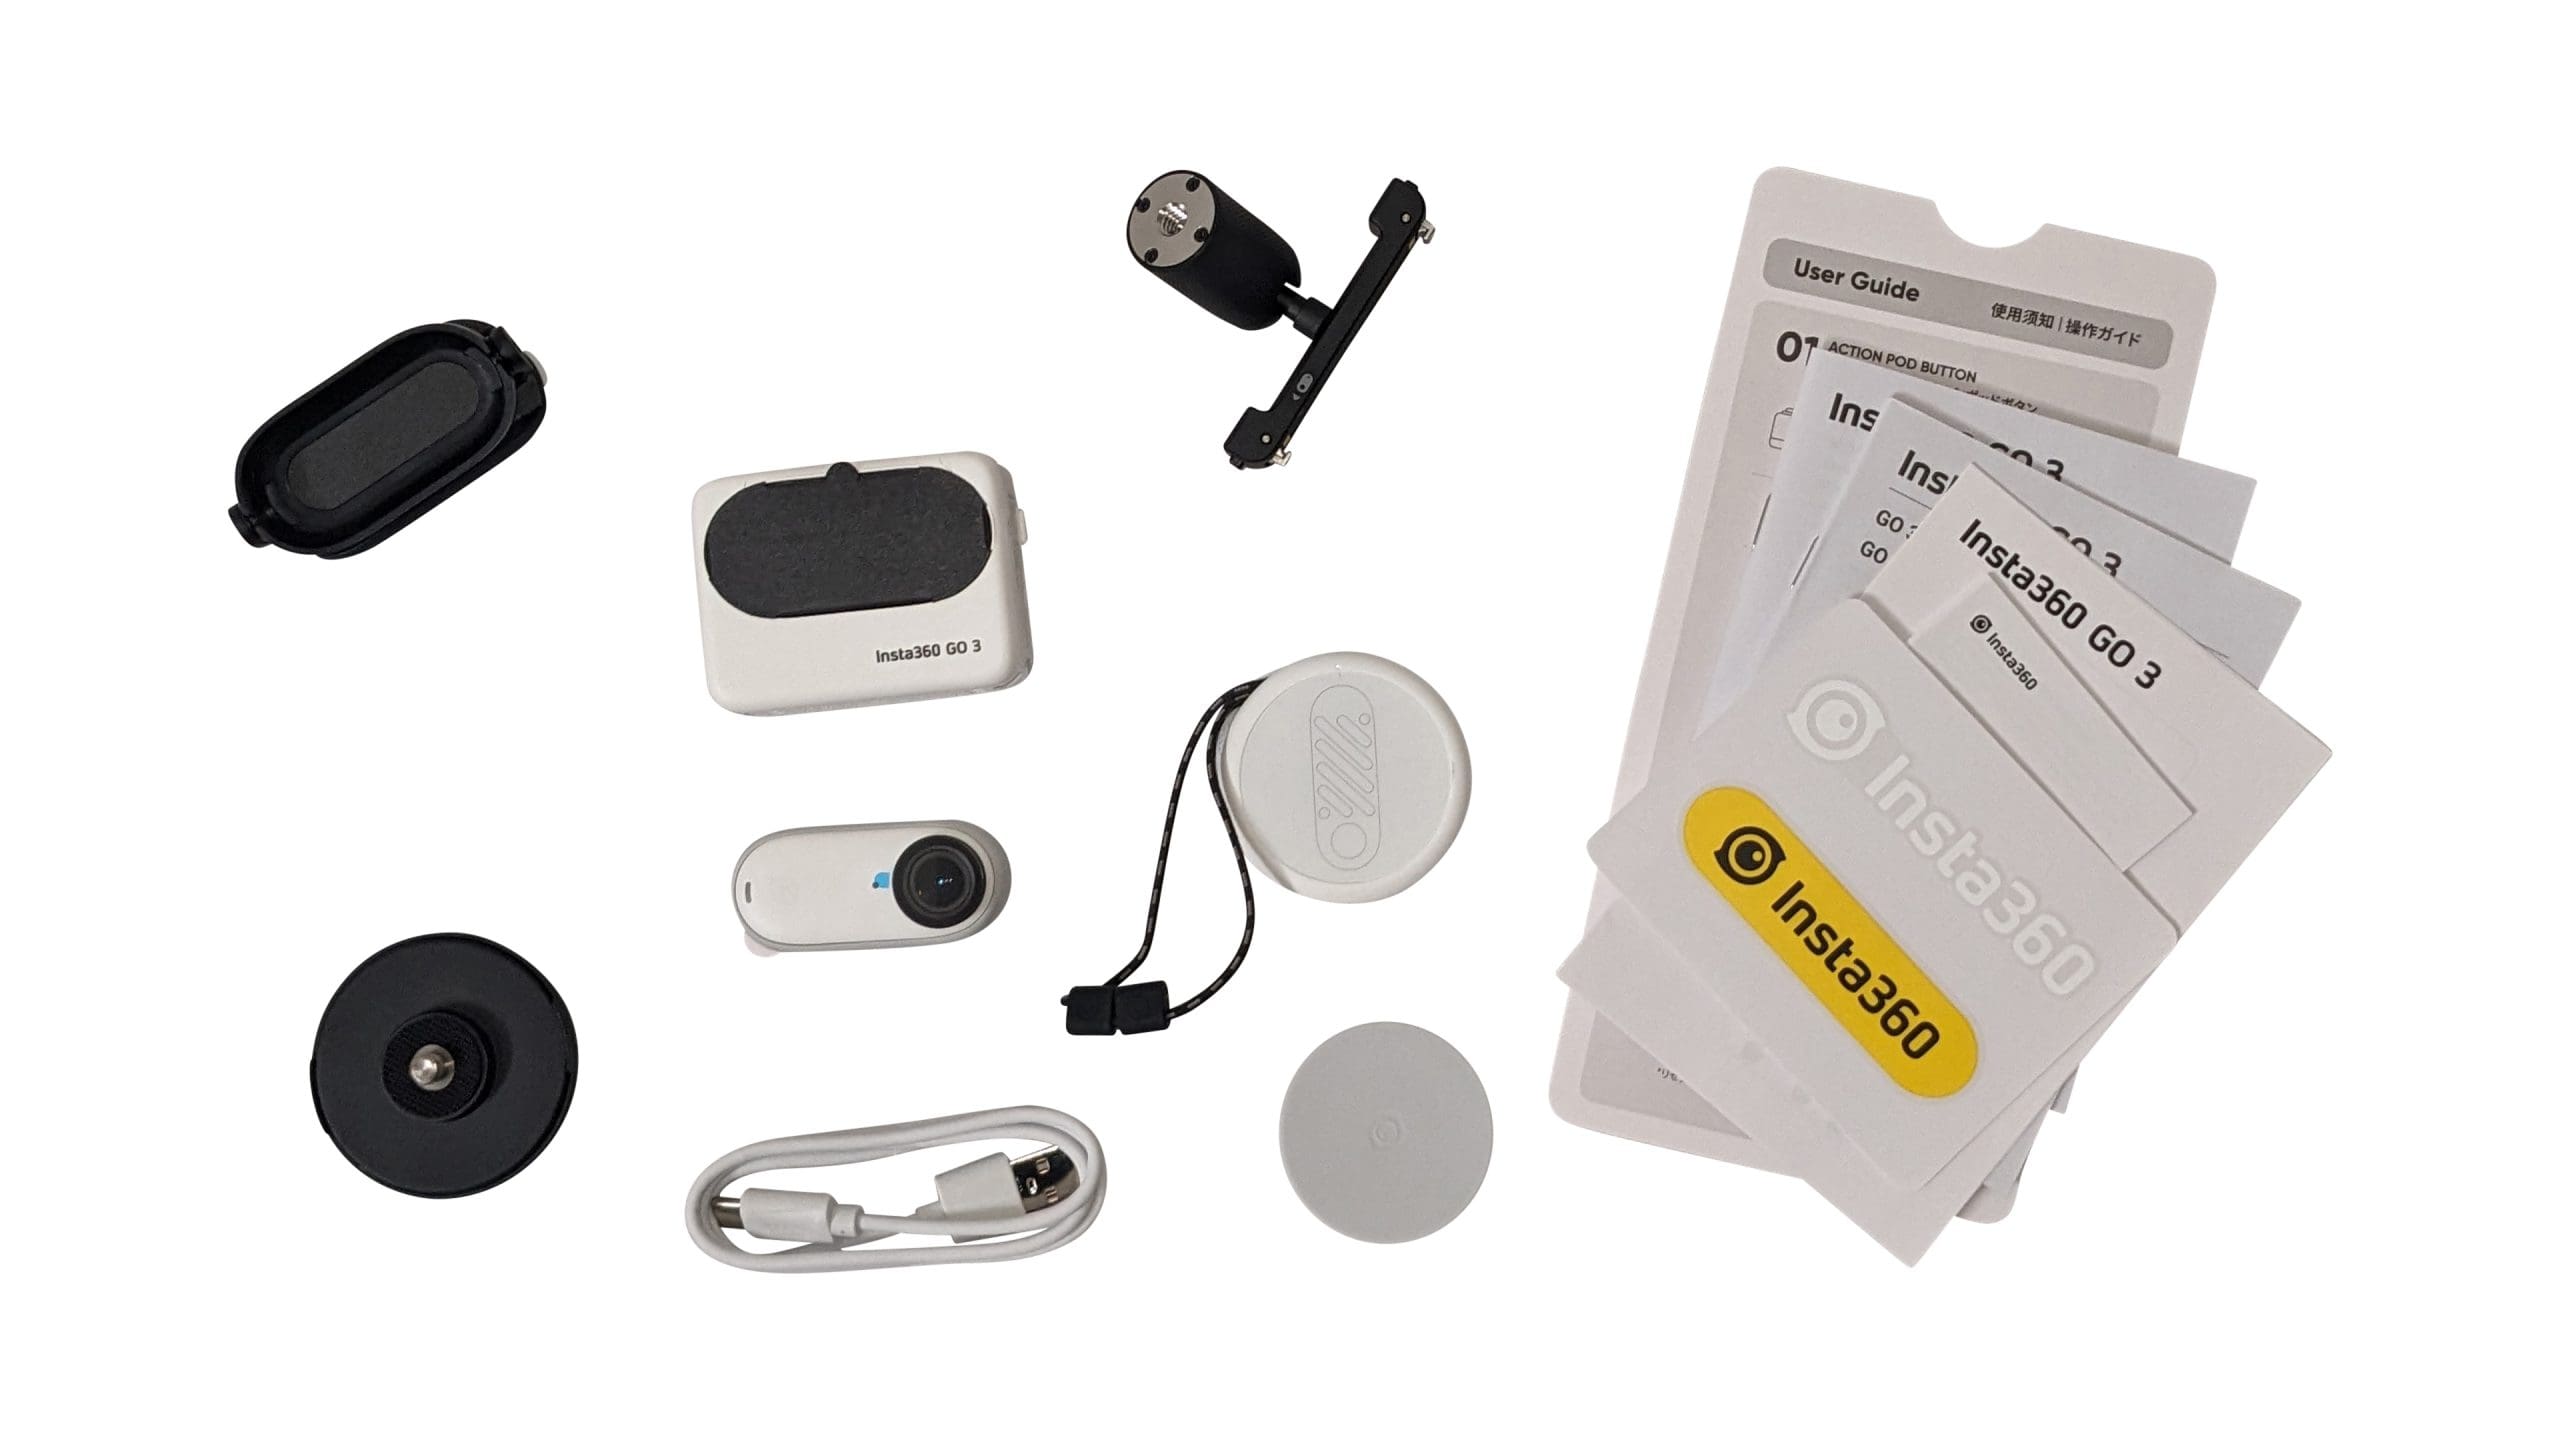
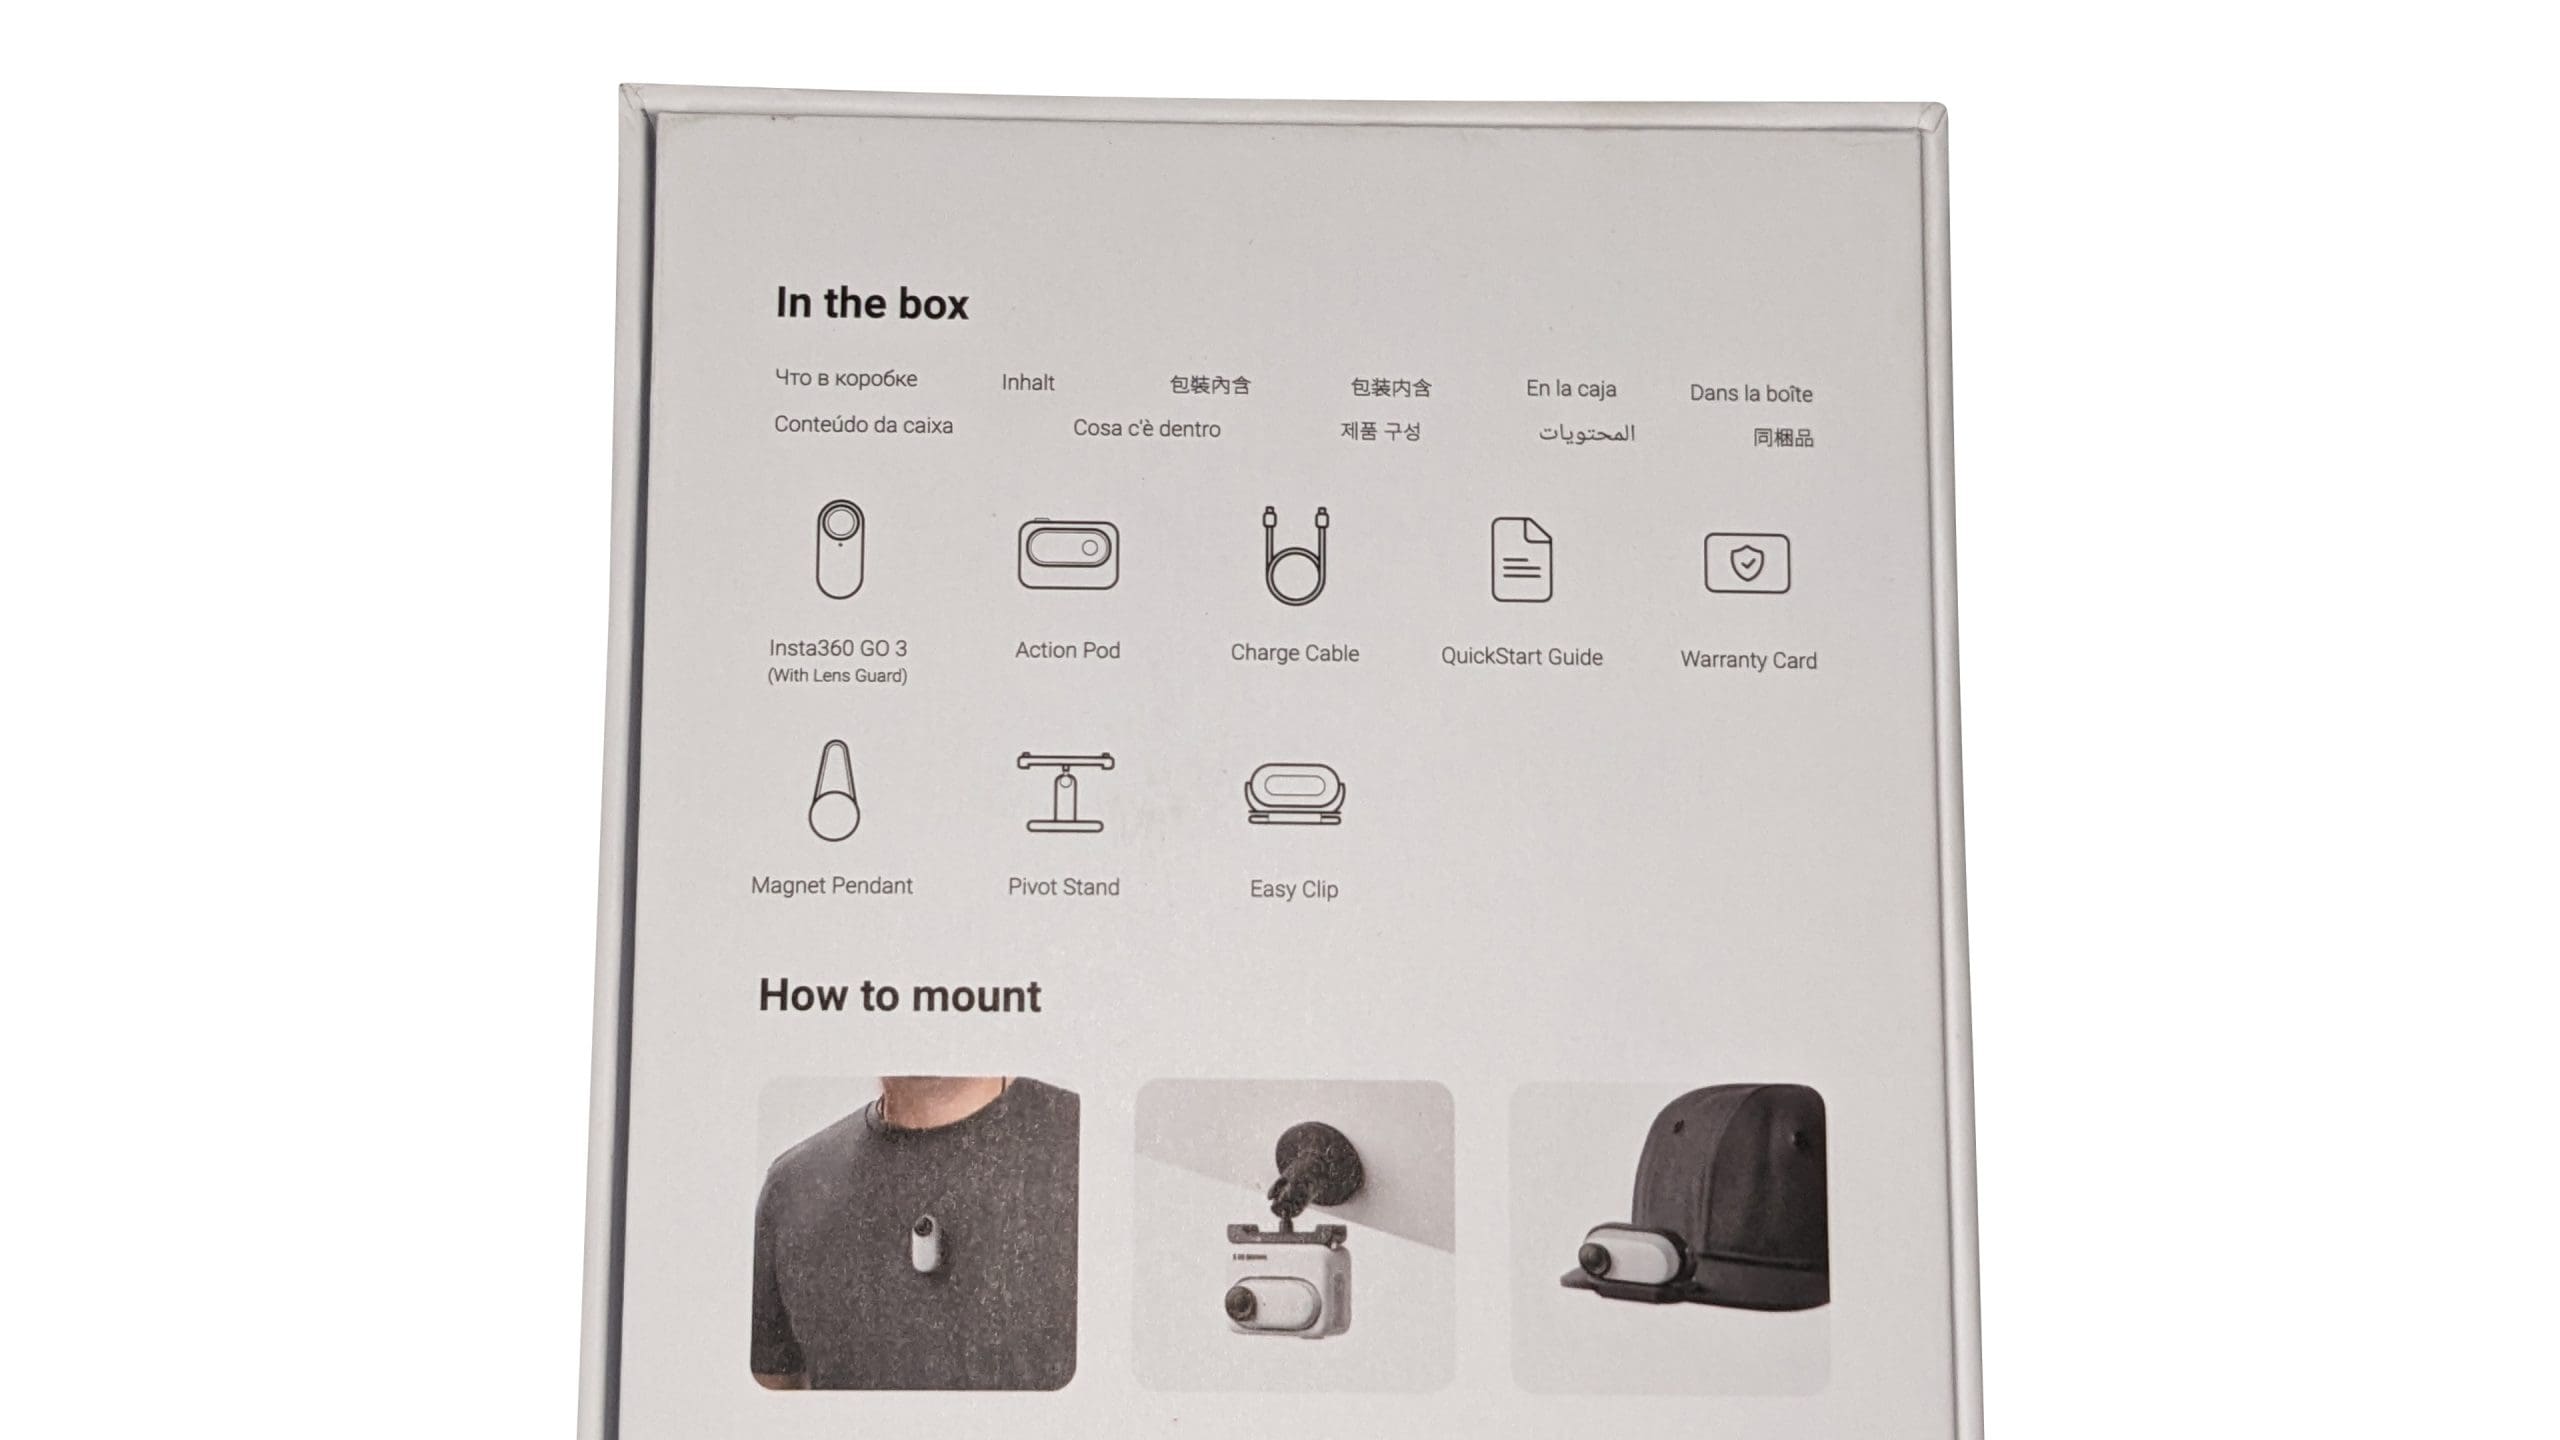
Accessories
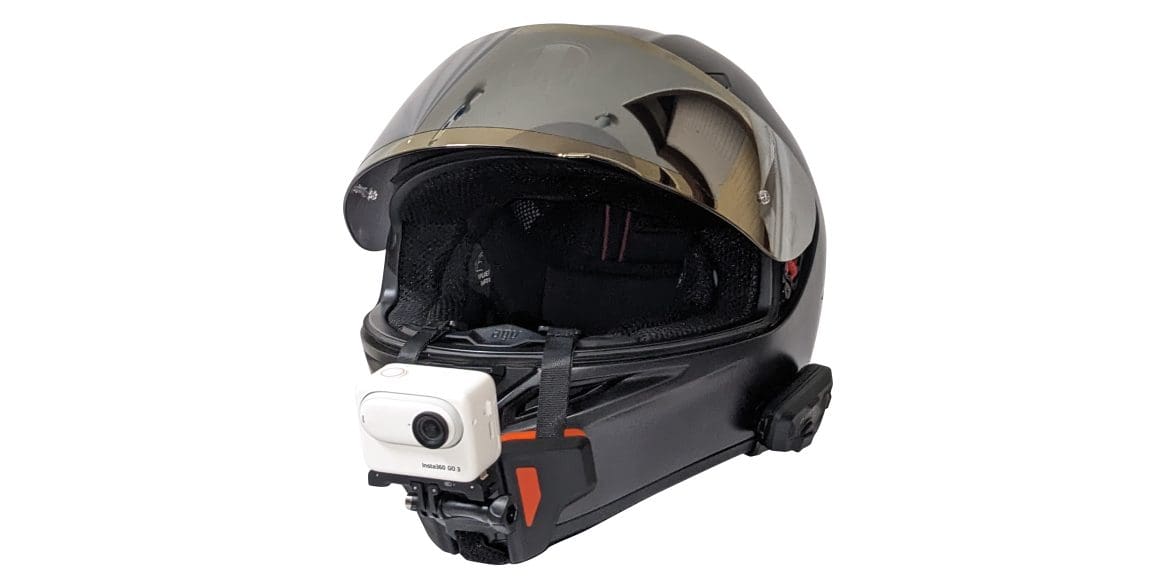
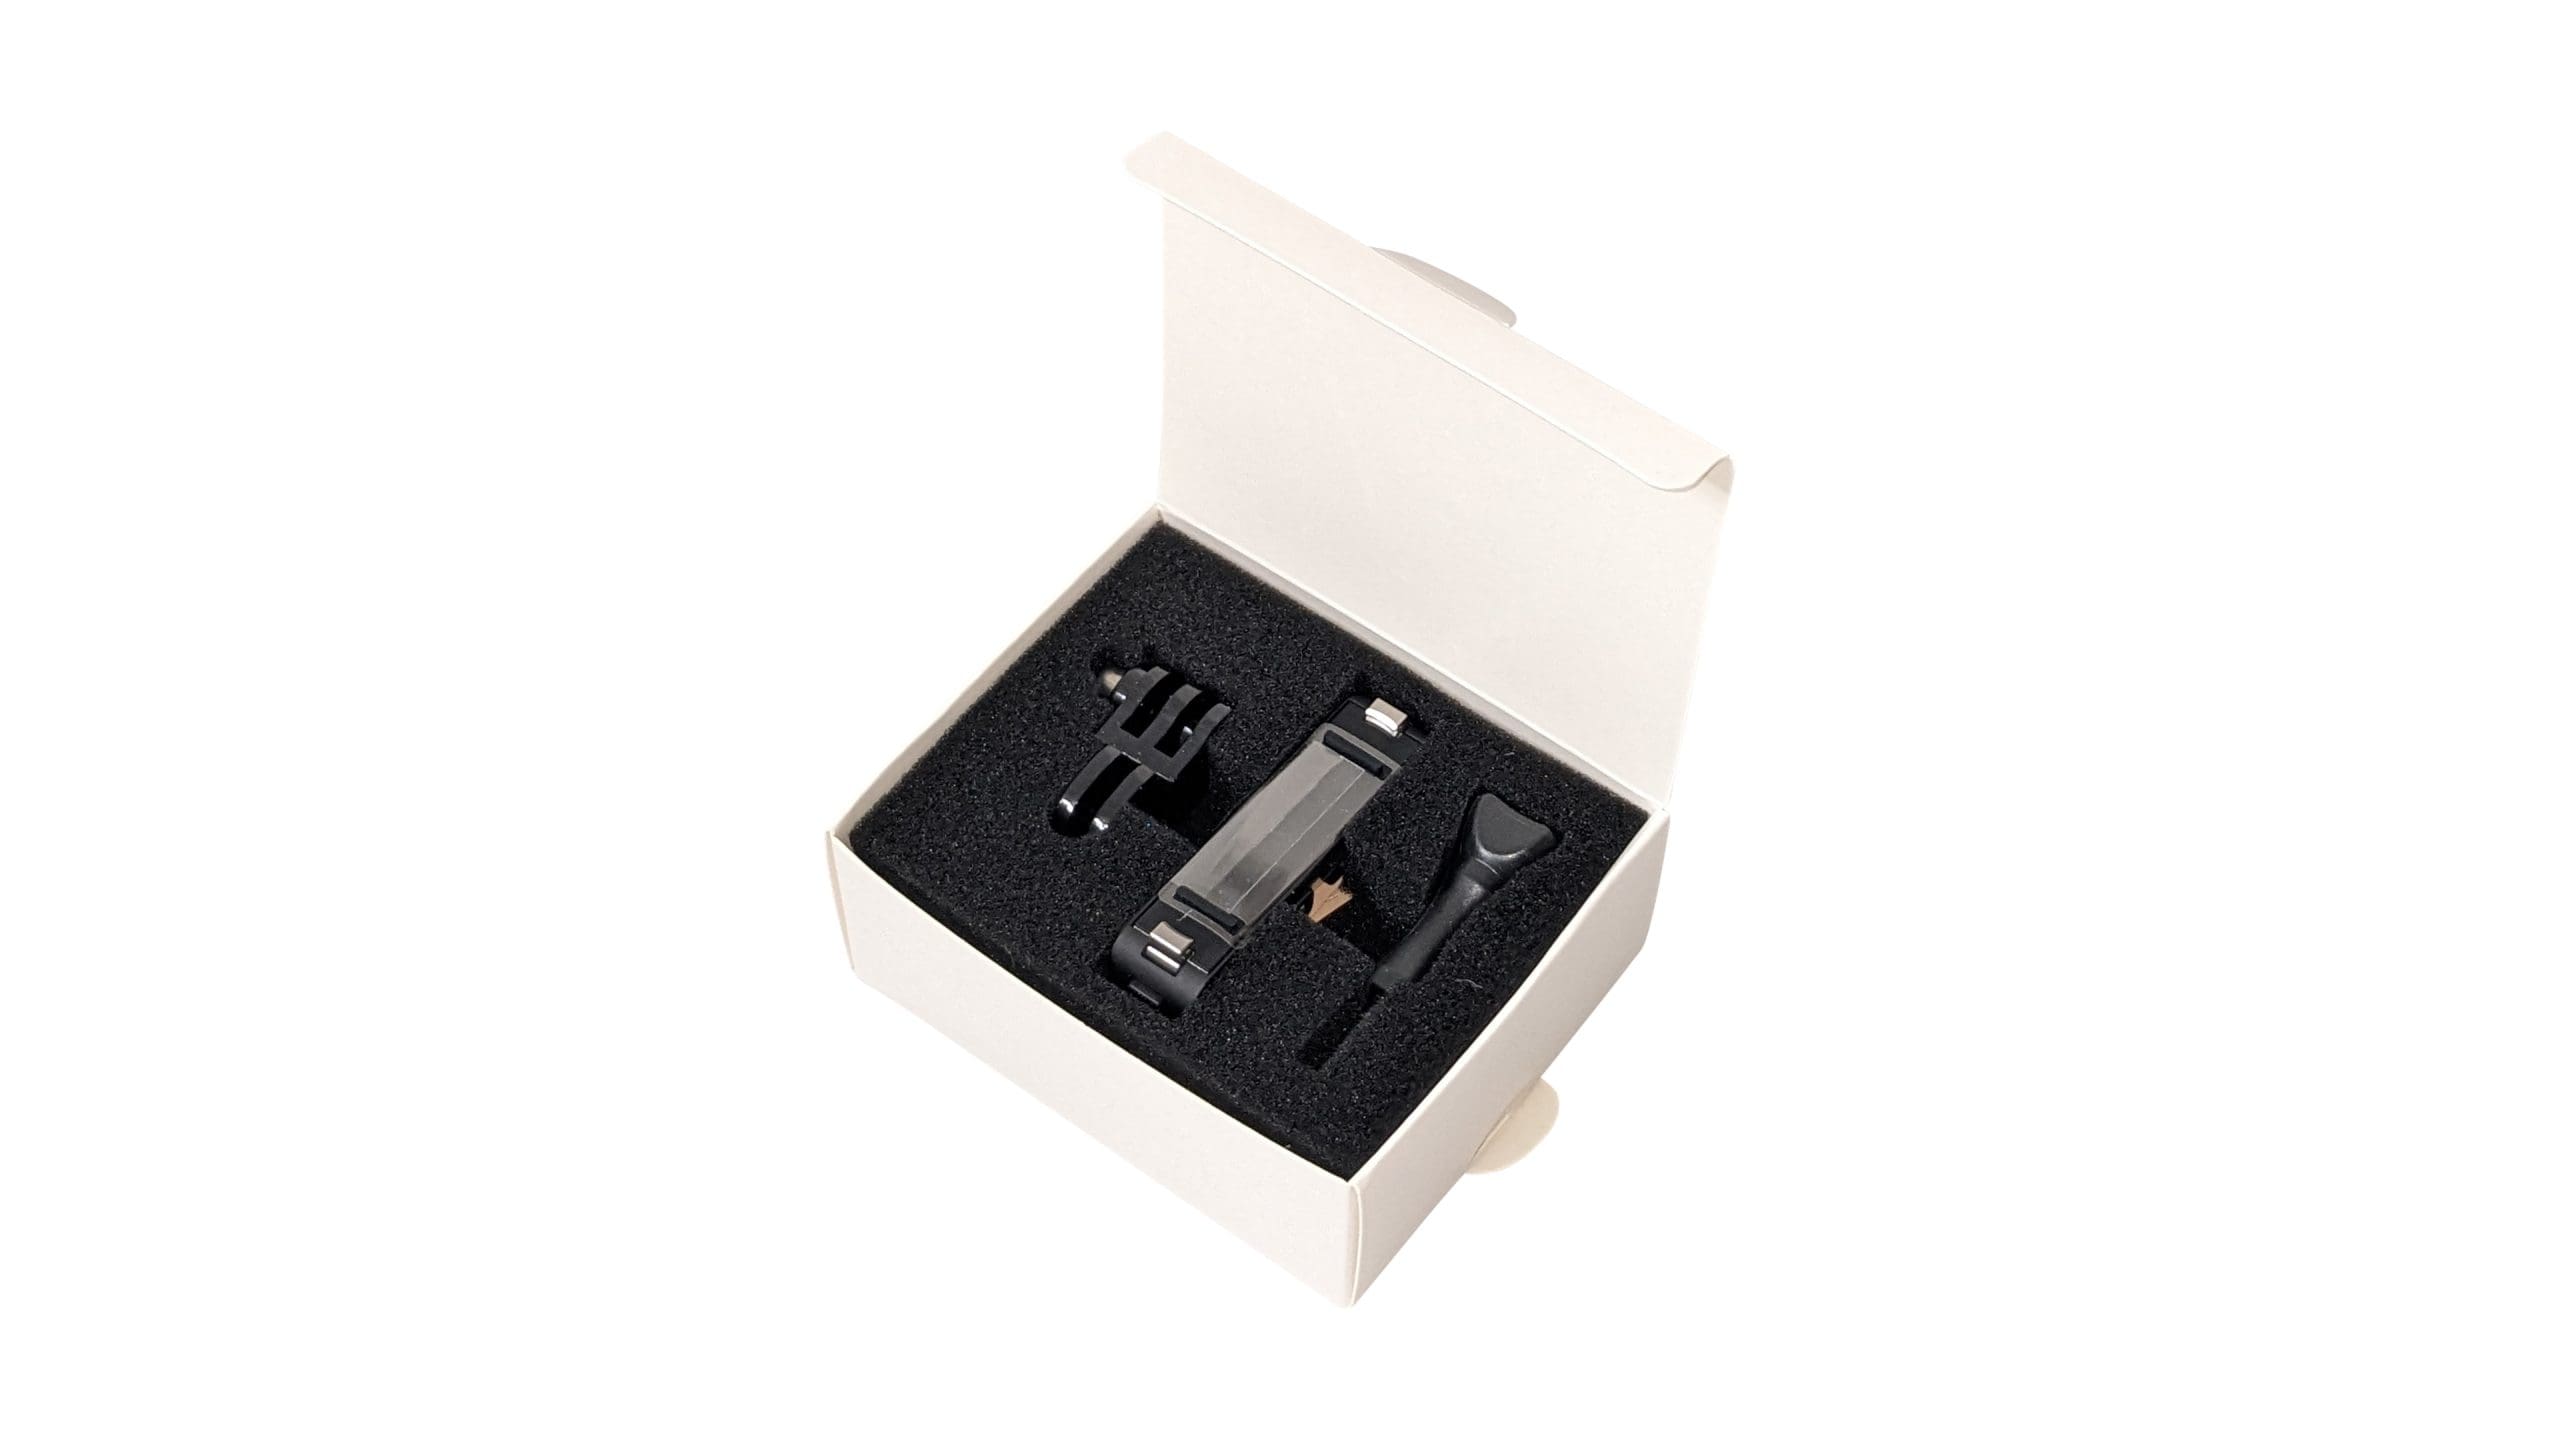
There are several accessories that you can select to accompany your GO 3 camera. Insta360 was kind enough to send me the ‘Motorcycle Kit’ which, aside from the camera, includes a Pivot Stand, Easy Clip, Helmet Chin Mount, Quick Release Mount, and my favorite of the lot, the Magnet Pendant.
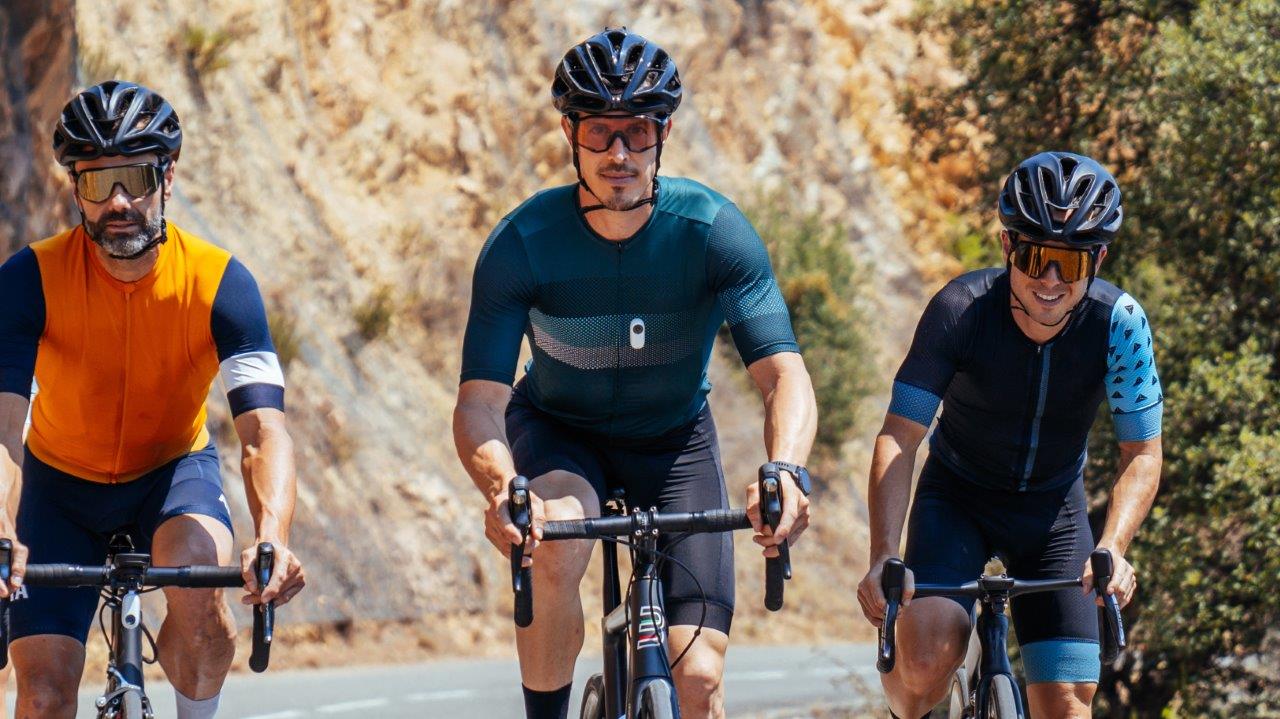
The magnet pendant makes using the camera so much easier than having to do so with a conventional chest mount. The magnetic bond between the pendant and the camera is great — I tested it out while playing football and badminton, and the camera remained secure throughout. If you were to wear the pendant under the thicker fabric, like that of a motorcycle jacket, the magnets still work, but I’d recommend using the safety tether as well, so it doesn’t fall off.
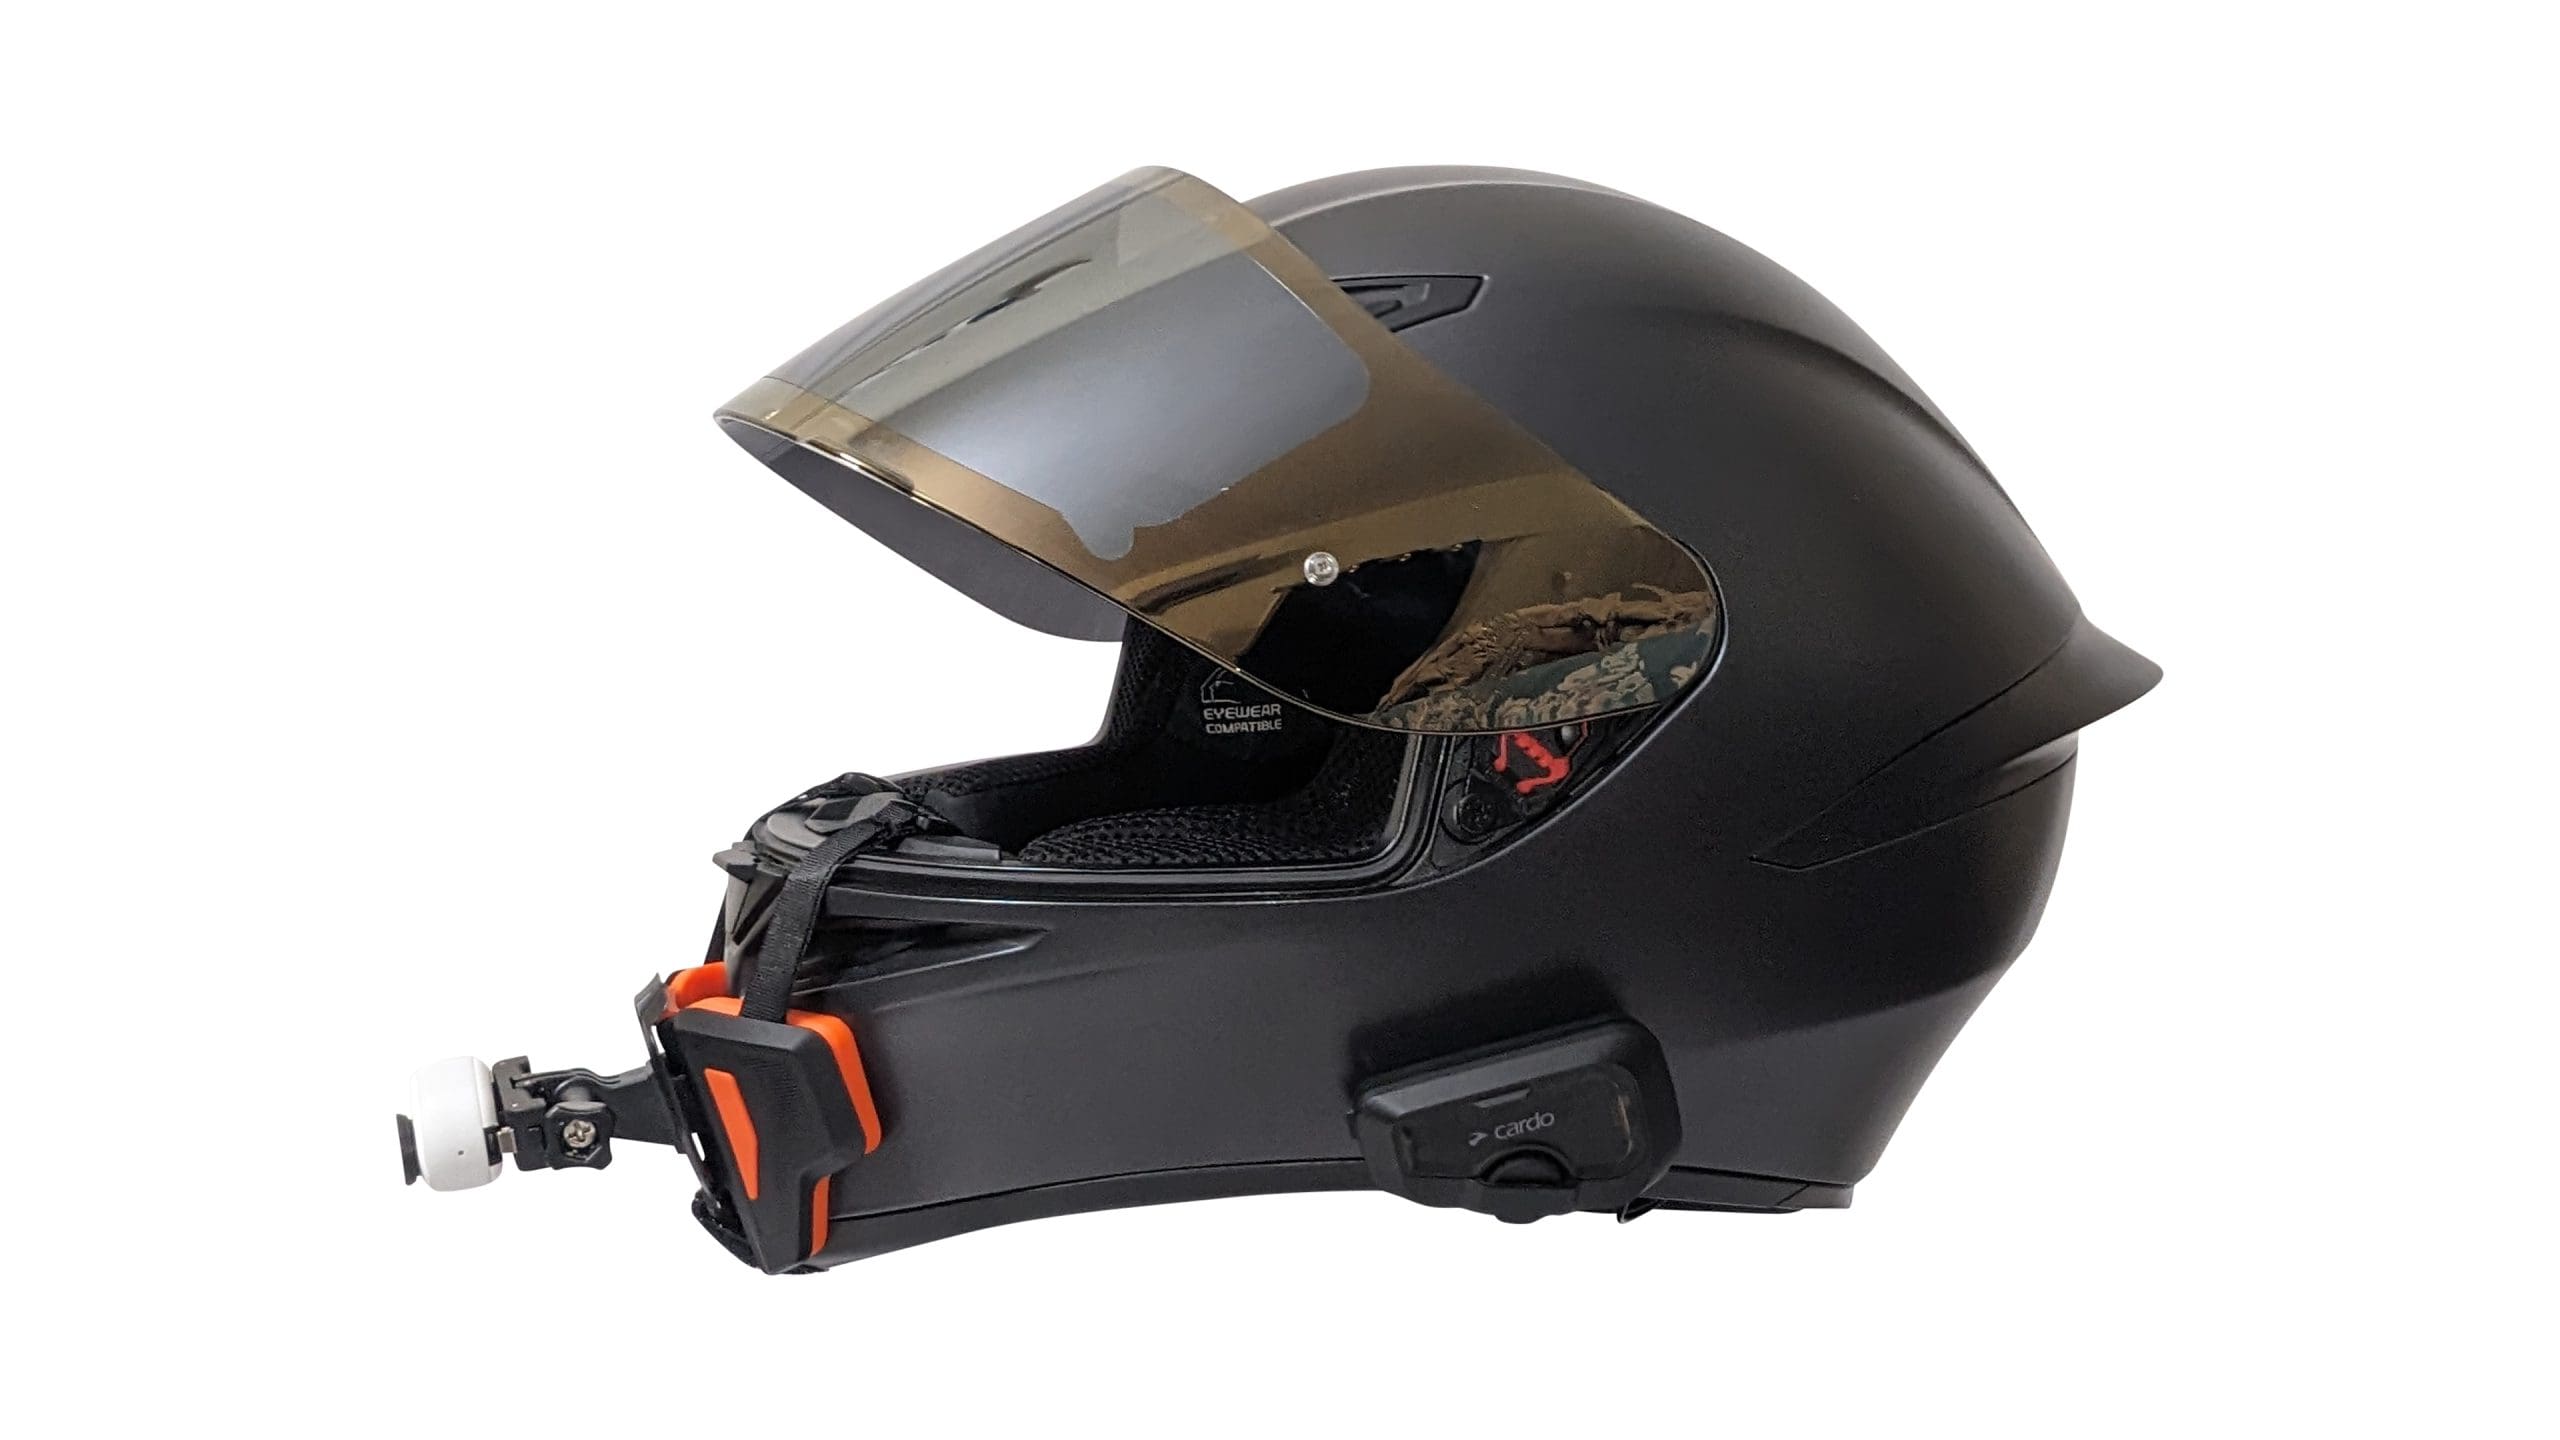
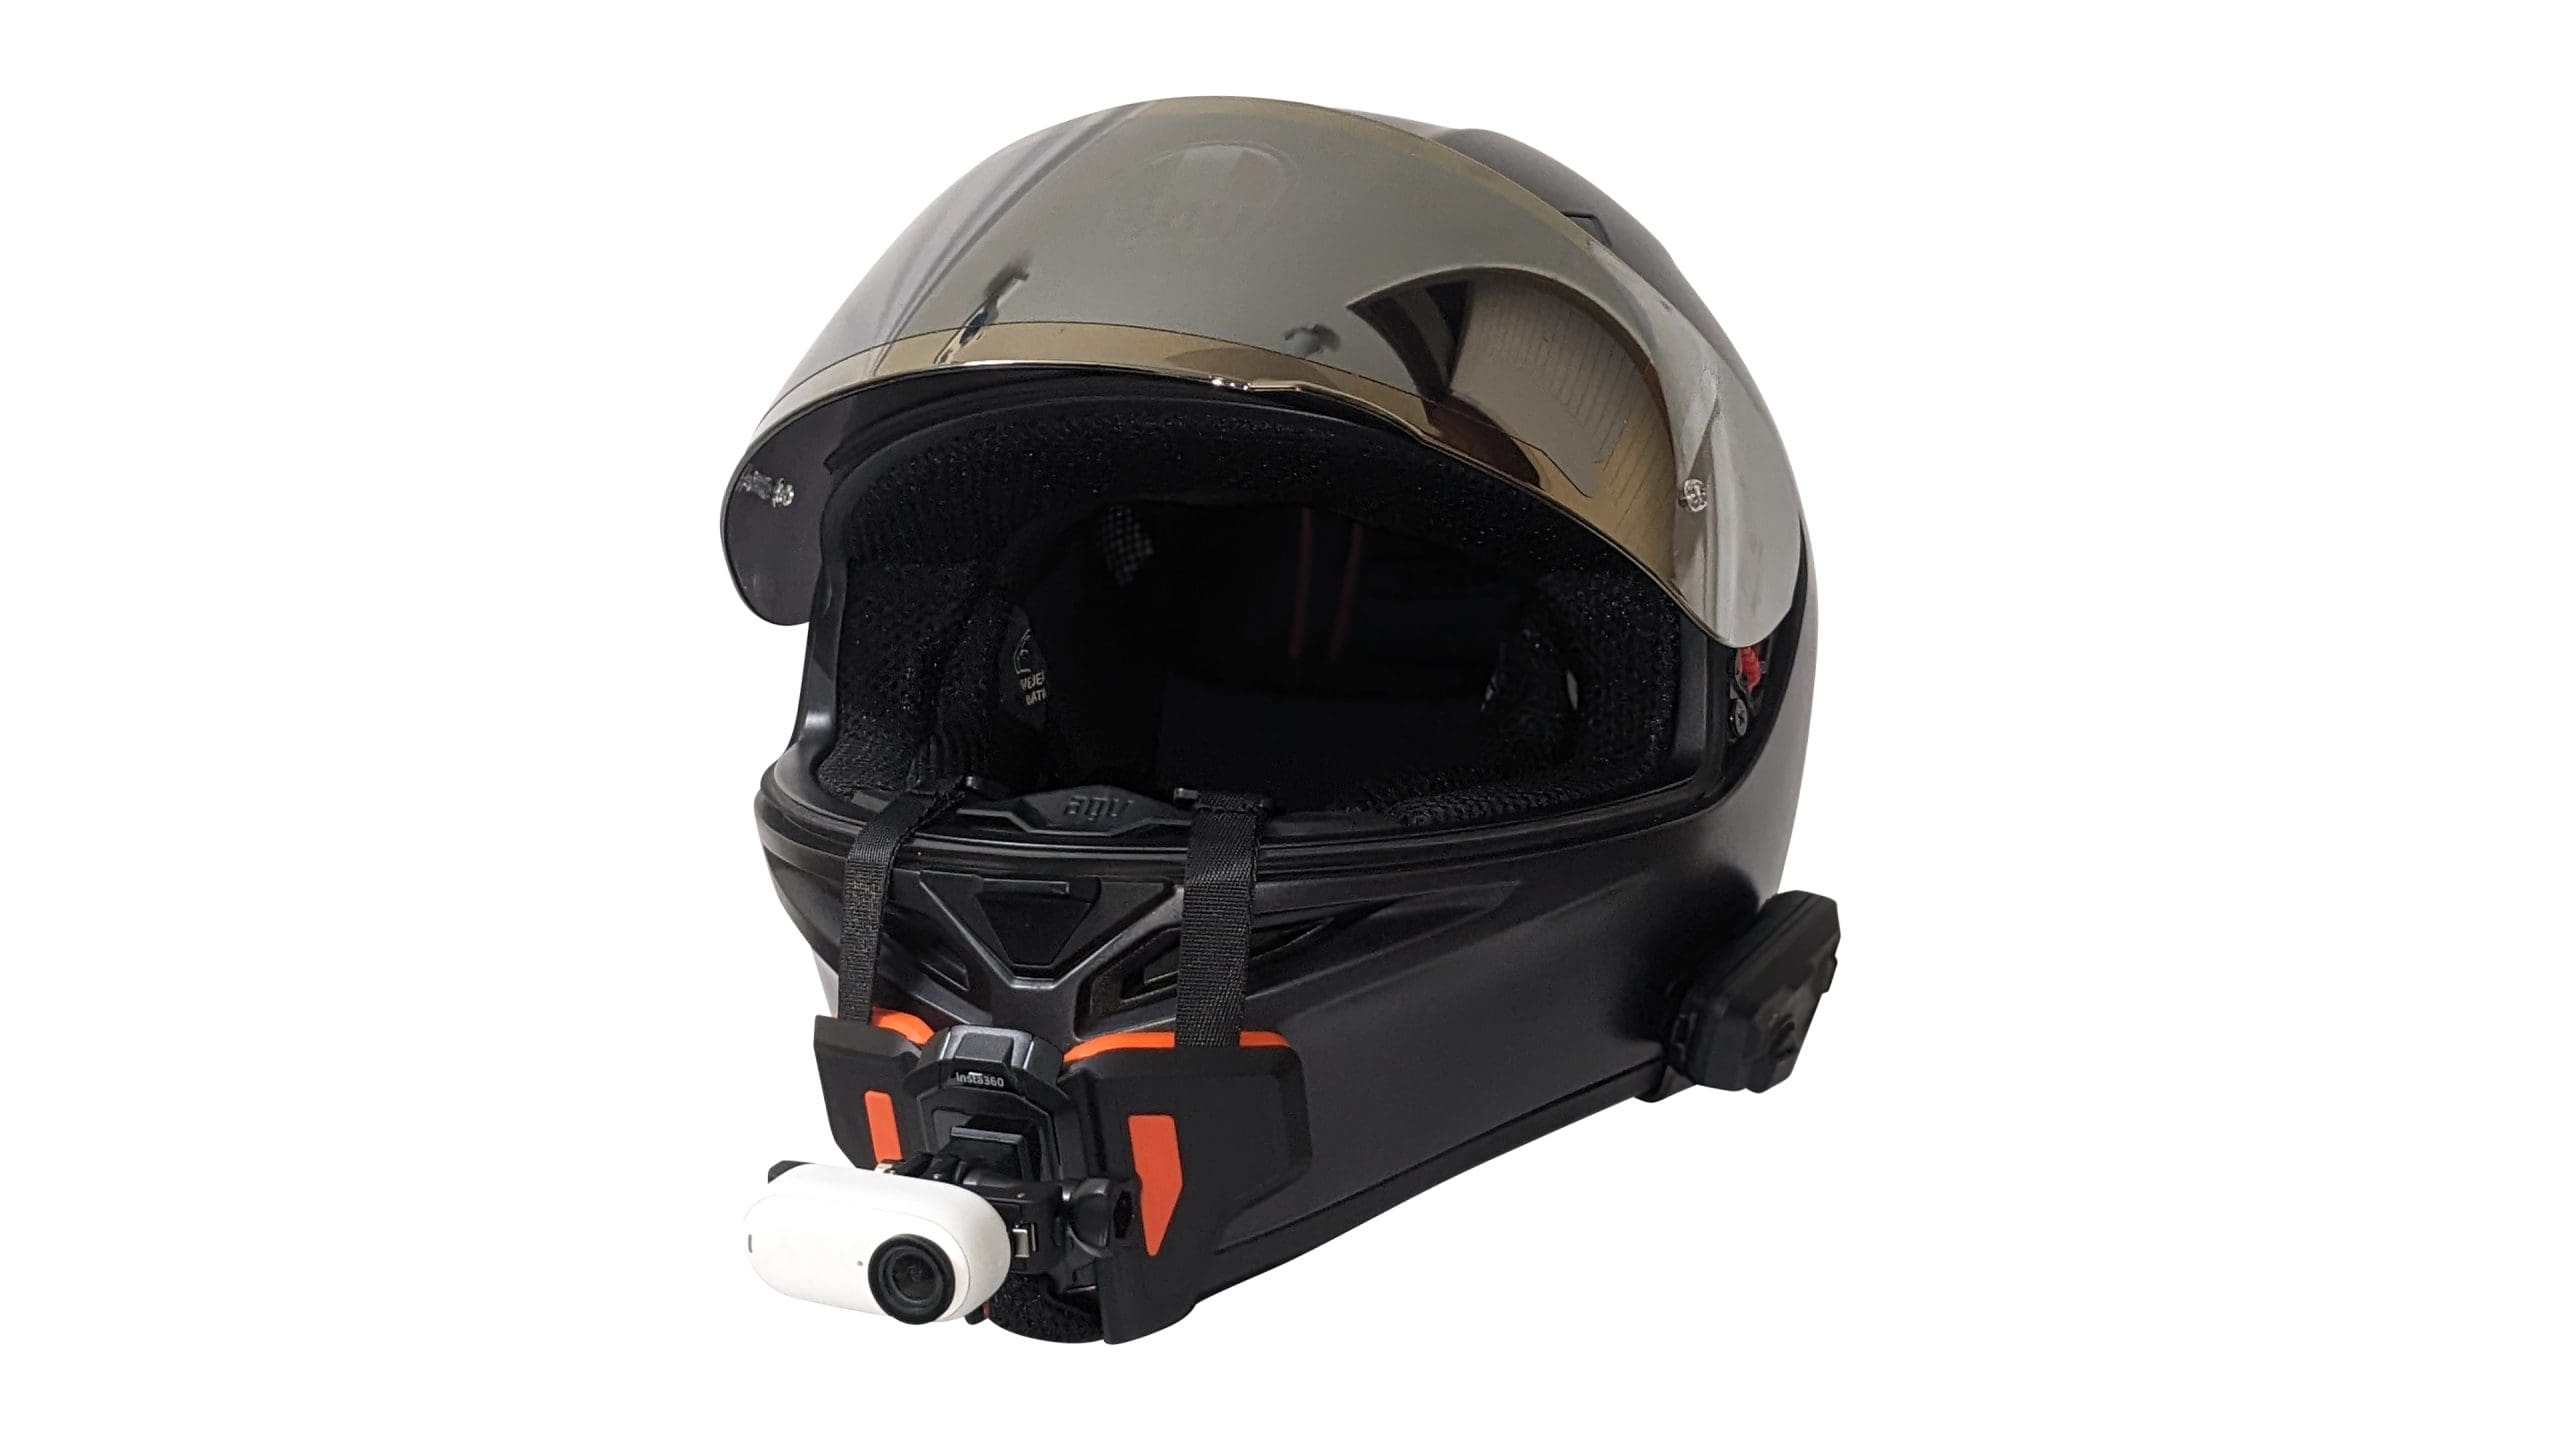
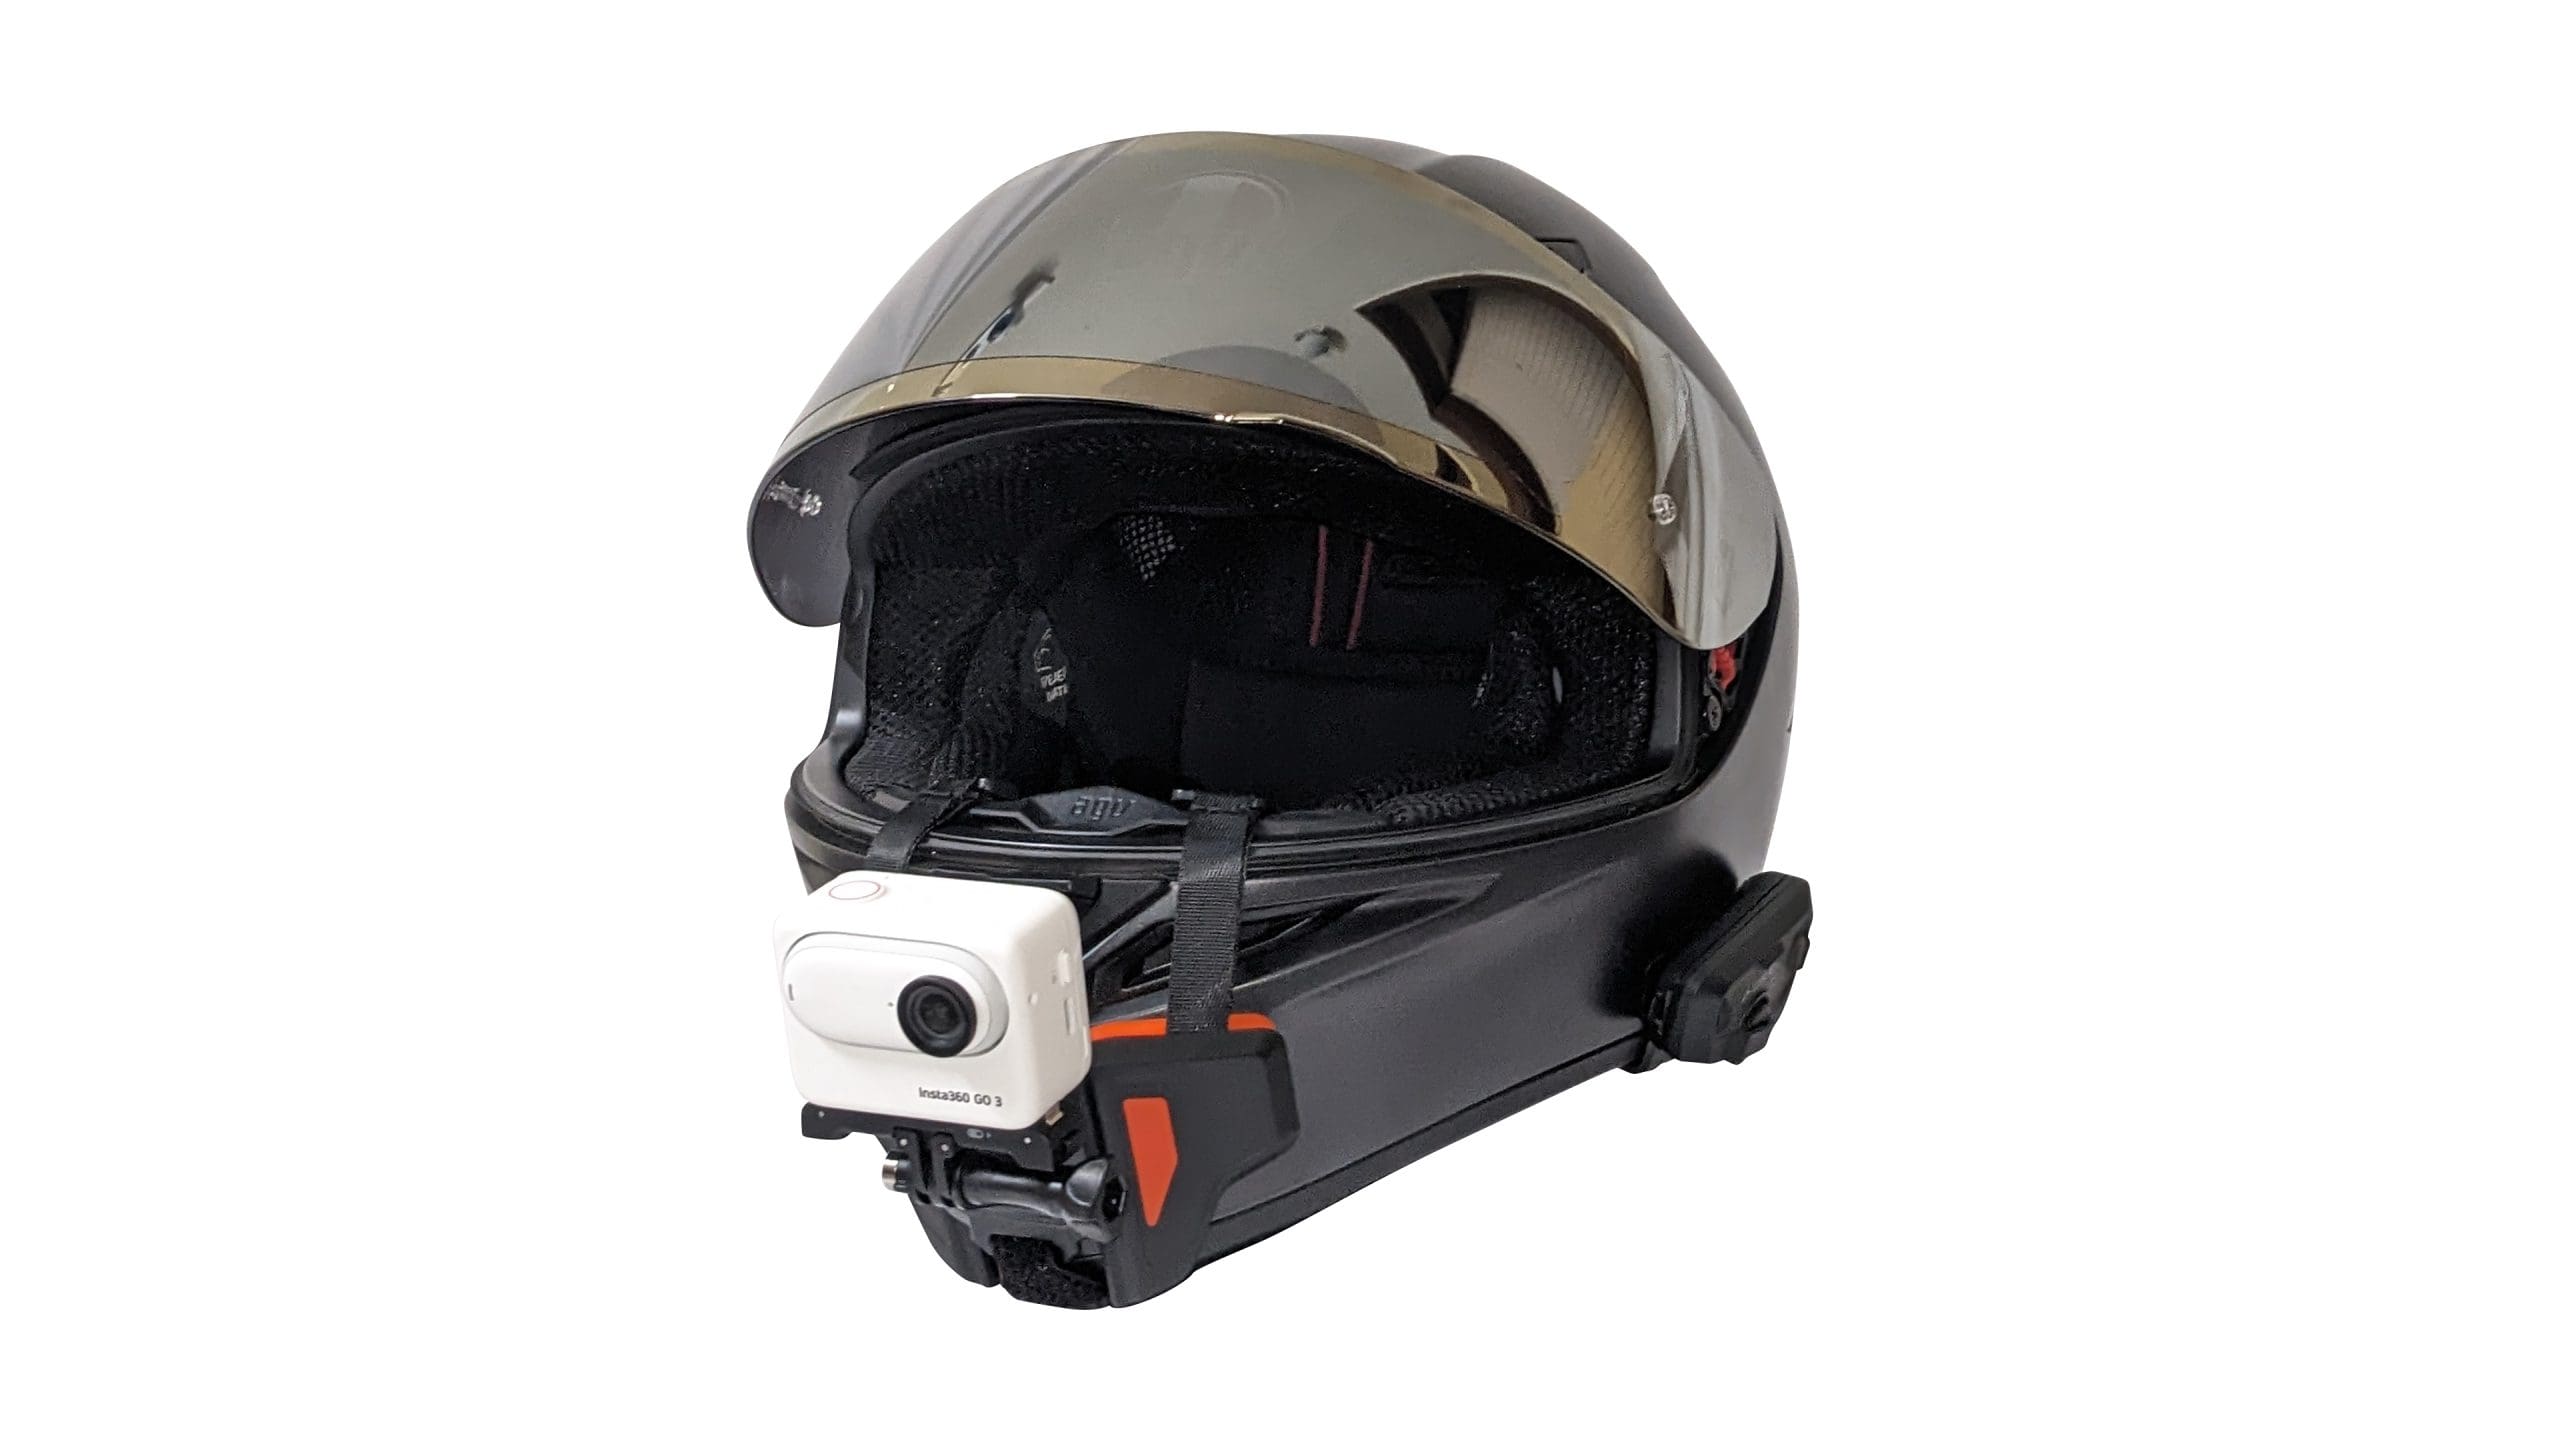
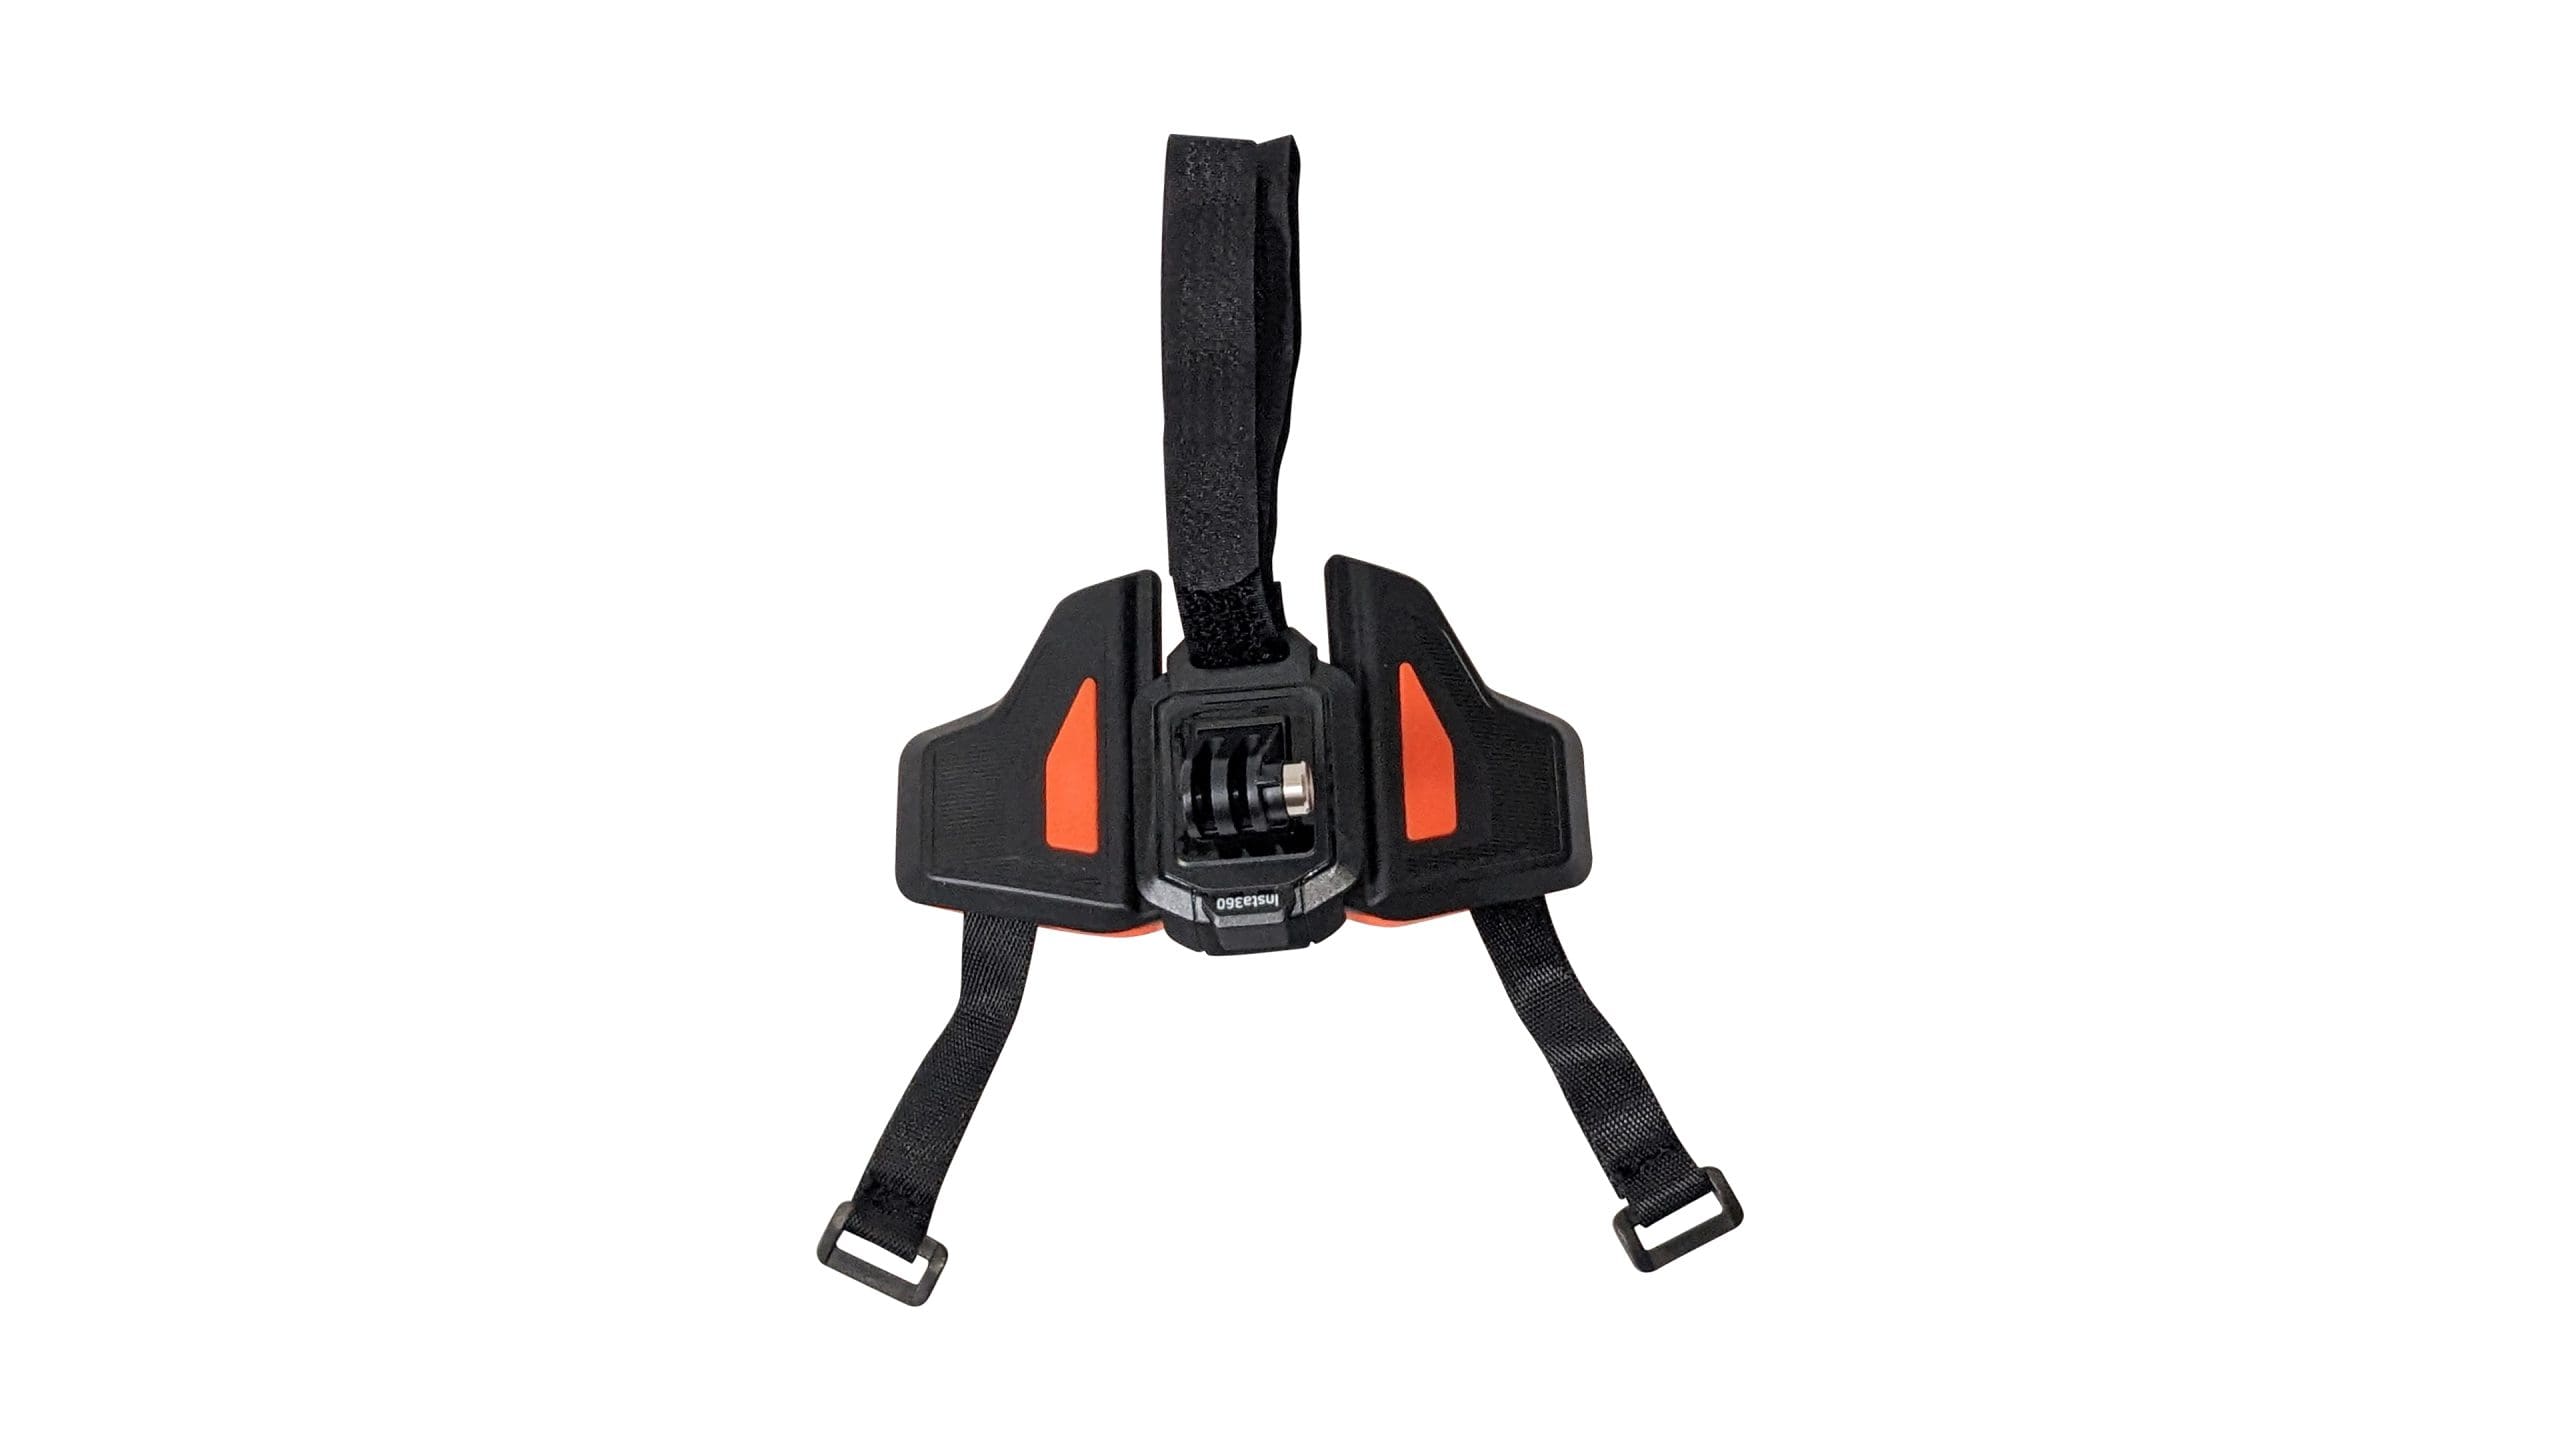
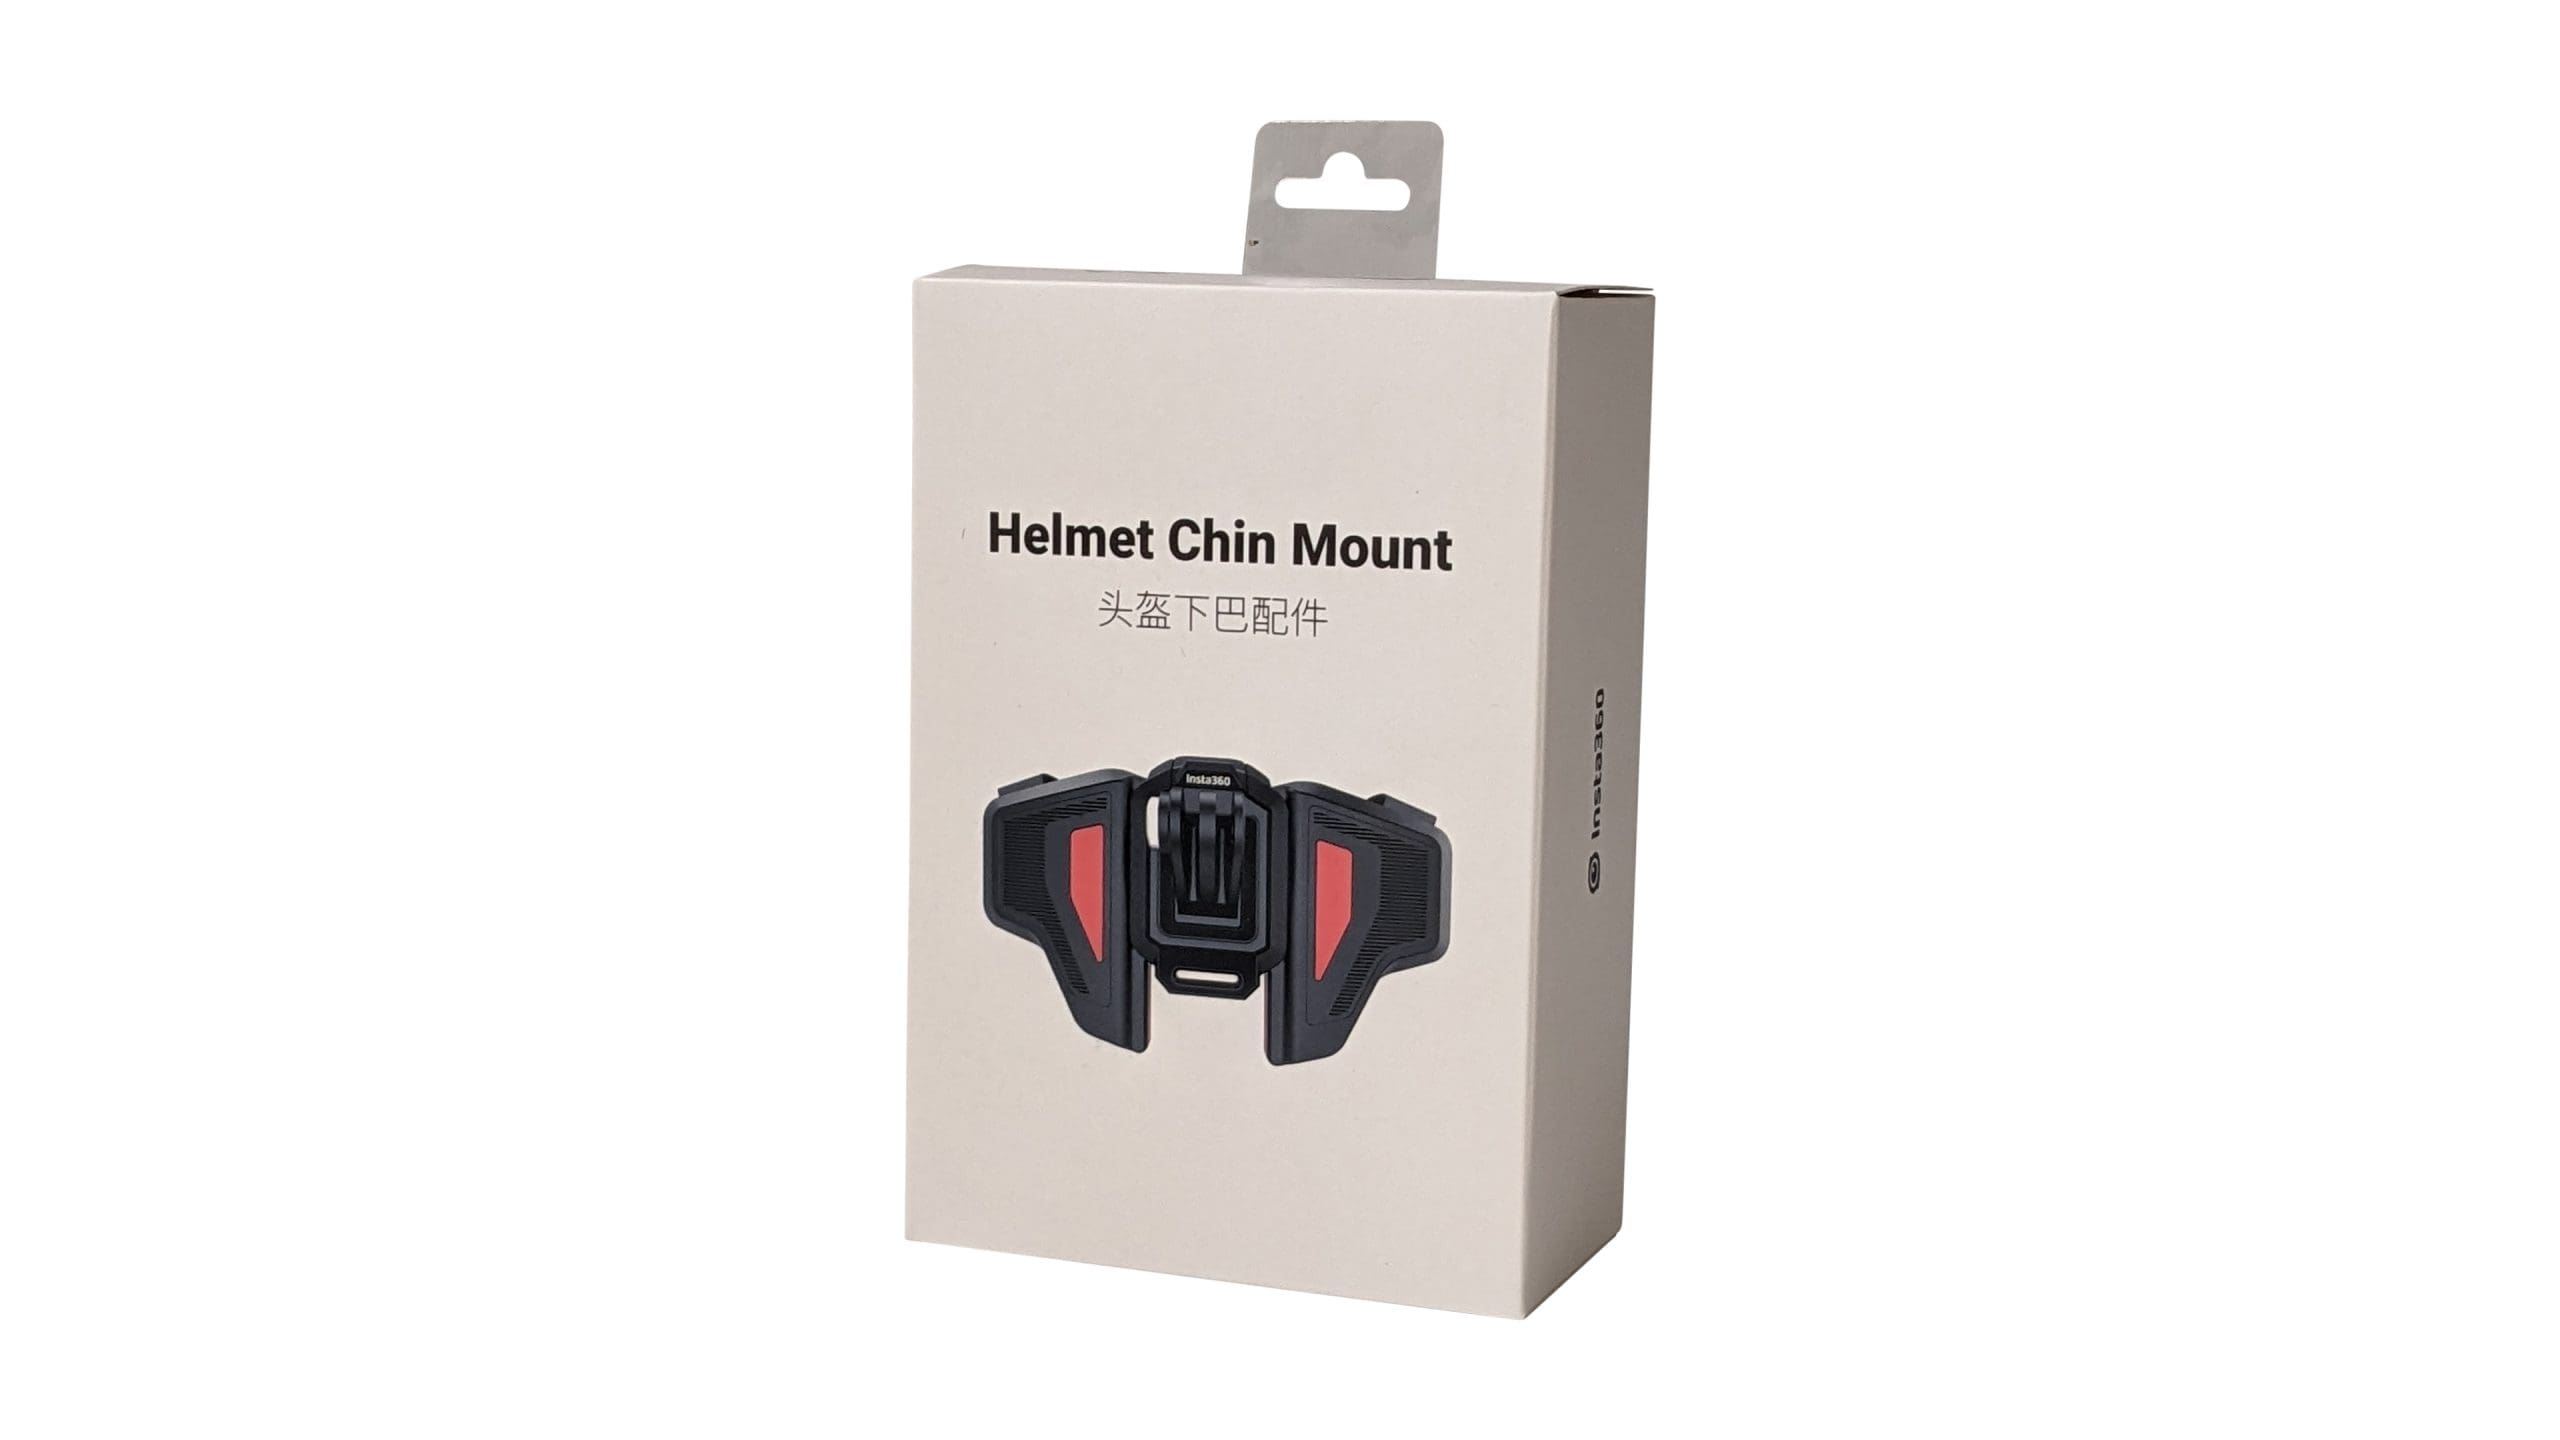
The helmet chin mount I received is similar to the generic strap-fastened mounts available on the market. It’s not revolutionary in how it works — two velcro straps loop around the chin bar and fasten the mount in place. I used the mount on my AGV K1 that has a tapered front and I found that after a few minutes of riding, the helmet mount would become ever so slightly loose. This results in the camera moving around more, but thankfully the in-camera stabilization does an excellent job of negating the effects of this vibration on the footage itself.
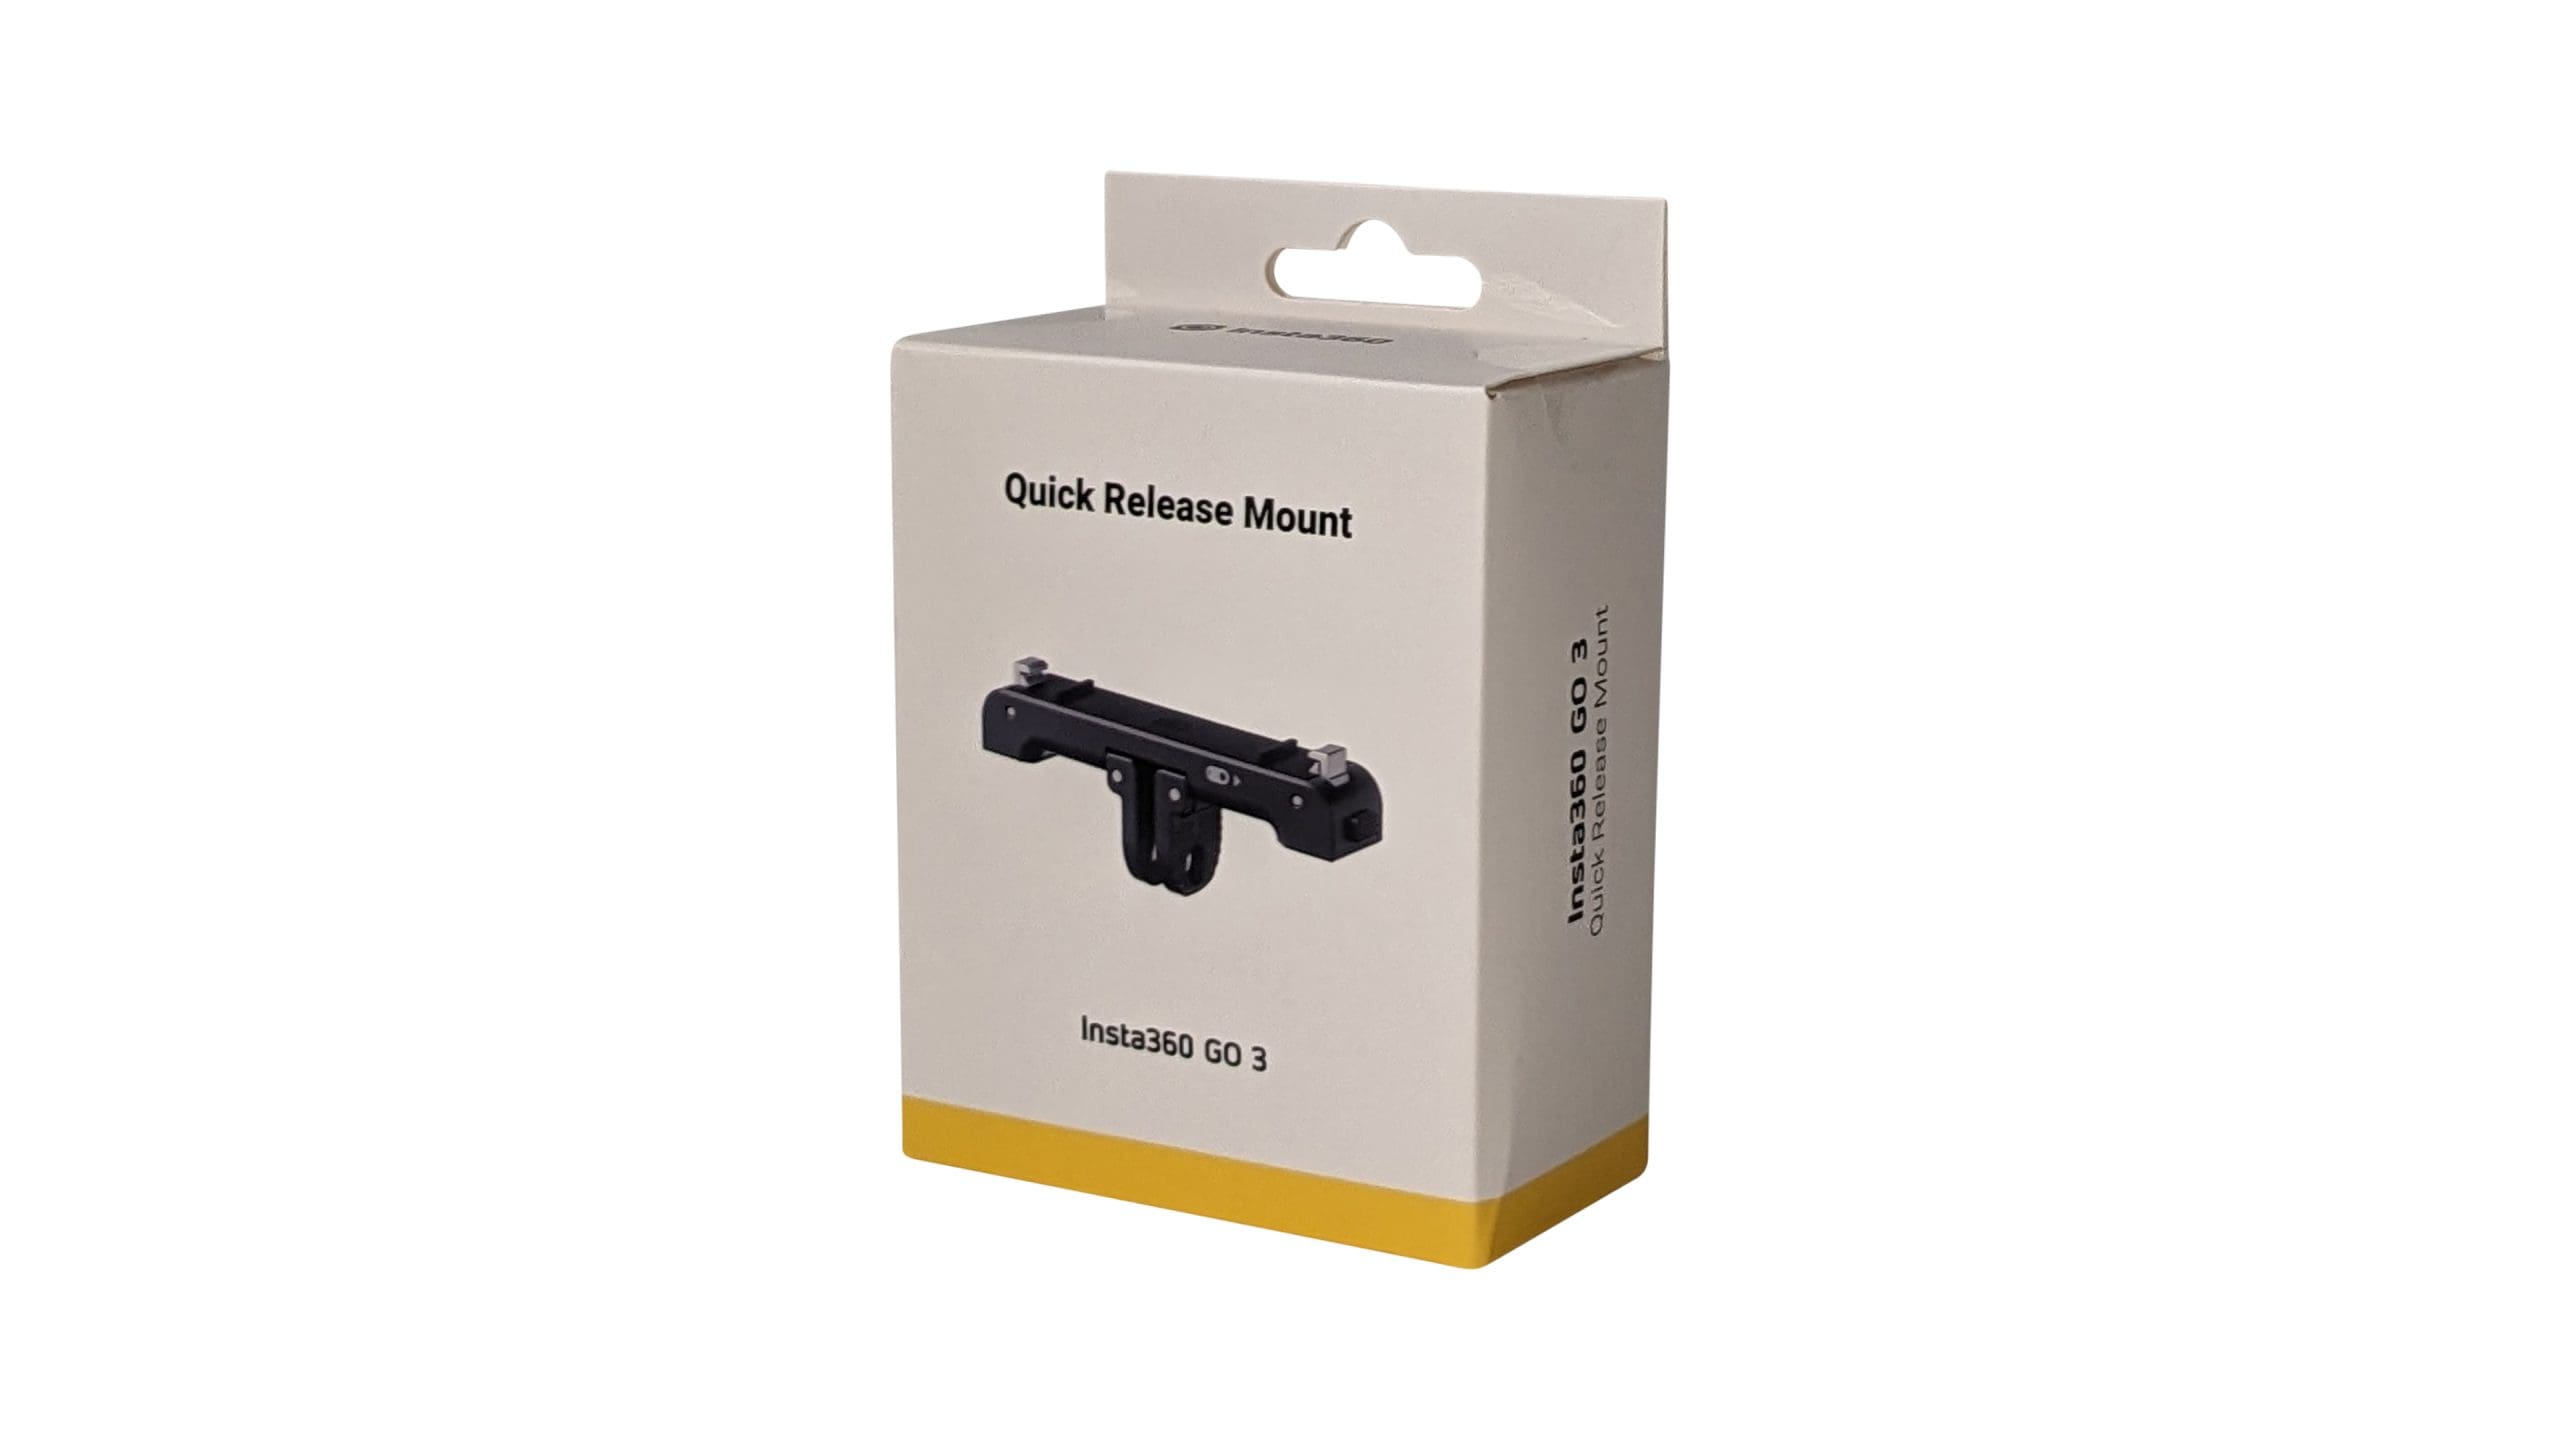
If you’re buying the standalone camera and are limited to picking just one accessory, I’d insist that it be the GO 3 Quick Release mount. This mount effectively makes the camera compatible with an array of GoPro mounts, which you may already have or are easier to come by. There are several other accessories for you to choose from, from a waterproof case to ND filters, and you can see the full list here.
Verdict
The Insta360 GO 3 is not without its shortcomings. The non-removable battery, limited storage, and lack of an external mic port might be deal breakers for some. If so, the Insta360 Ace Pro that sits higher up in the lineup addresses these problems and can shoot higher resolution video, which might make it a better option for you.
That said, I’m still a fan of what it has to offer since it steps away from the traditional action cameras we’re otherwise used to. Its compact size and magnetic features position it as an exceptionally versatile content creation tool and these aspects also introduce a wide range of creative possibilities.
Pros
- Versatile, compact design
- Action Pod with flip touch screen allows you to better see what you’re shooting at different angles
- Magnetic camera mounting system lets you attach the camera to several surfaces easily
Cons
- Non-removable battery and no memory card slot
- No option to connect an external mic
- Camera lacks haptic feedback to let you know if you’re recording
- Action Pod isn’t submersible