There’s a particular kind of frustration that comes with a motorcycle electrical problem, and it’s nothing like a blown fuse or a dead battery. What we’re talking about is the kind where the bike runs fine for a week, then leaves you stranded in a gas station parking lot for no apparent reason. You swap the rectifier-regulator, it keeps happening, so you buy a stator kit and three hundred dollars later you’re no closer to an answer than when you started. The problem almost always comes down to one step that most riders never take.
Why Motorcycle Electrical Faults Are So Frustrating
 Credit: Diamond Advanced Motorists
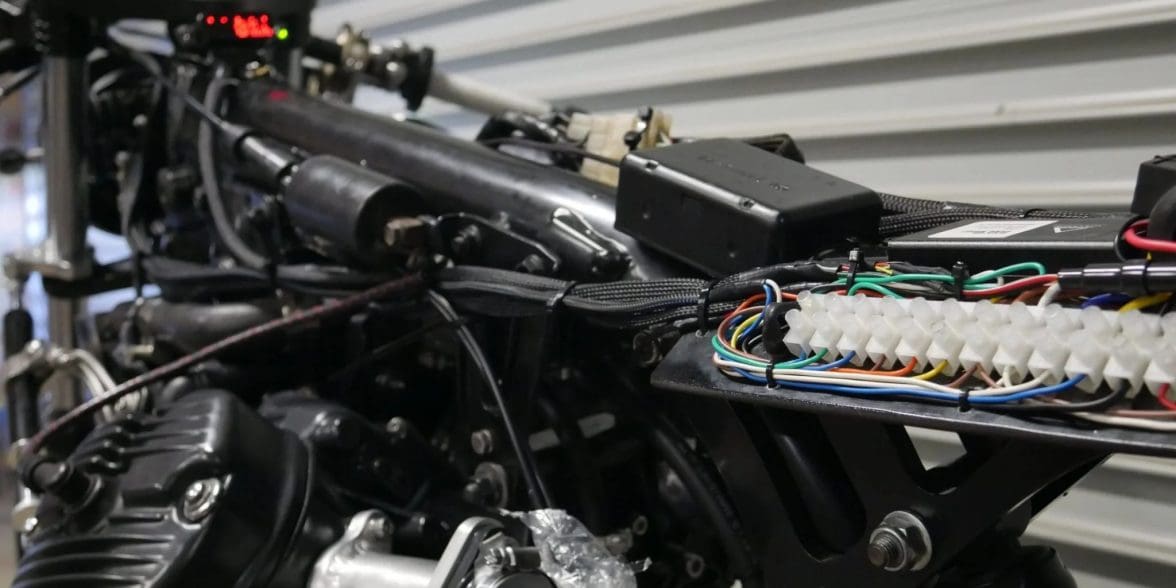
Motorcycles vibrate constantly, and that vibration works connectors loose over thousands of miles, cracks solder joints, and chafes wiring against frame rails in spots you’d never think to look. Most bikes also use shared ground points, meaning a single corroded connection can produce symptoms across completely unrelated systems, a flickering headlight, a rough idle and a low charging reading that all trace back to the same bolt once you start following the circuit.
Intermittent faults make everything worse. The fault only shows up when the engine is hot, or when you hit a bump at the right angle, or seemingly at random, which means you can’t reproduce it on demand and can’t test for it systematically. So you guess, and guessing gets expensive fast.
The Typical Approach (And Where It Falls Apart)
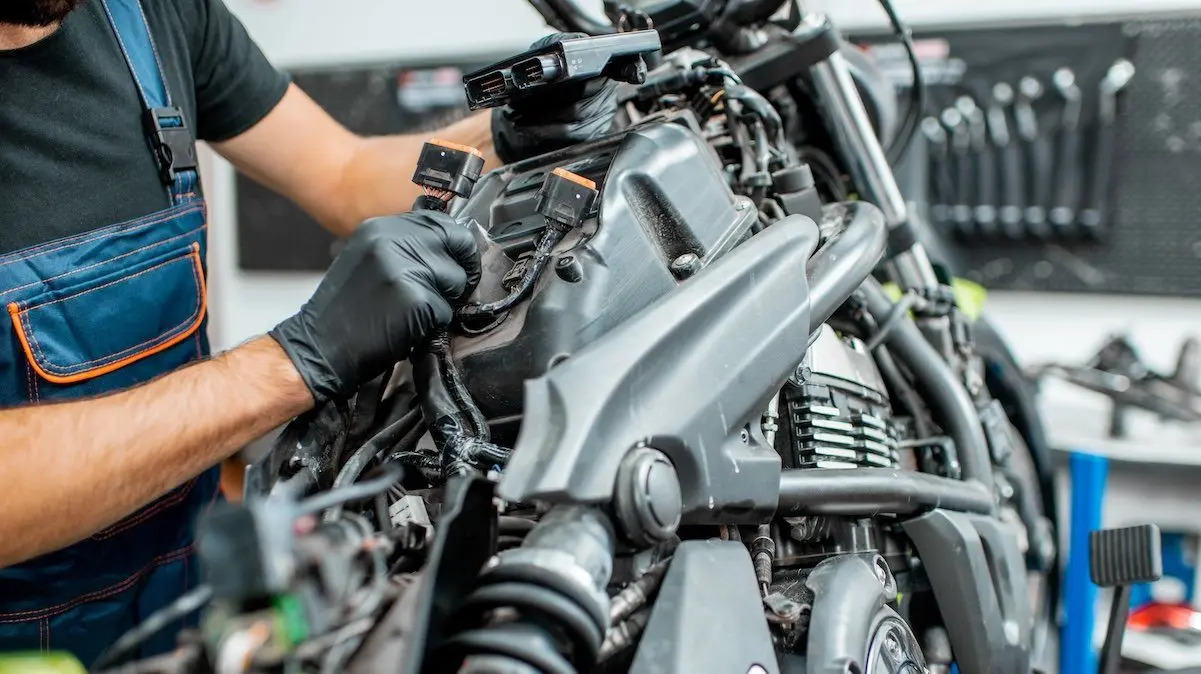
 Credit: Taverner Motorsports
Here’s how the parts-cannon method usually plays out. The bike keeps dying and the battery tests fine, so you find a forum thread where someone had identical symptoms on the same model and fixed it with a new rectifier-regulator, then you buy one and the bike runs fine for two weeks before doing exactly the same thing again. Someone else in the thread says it was their stator, so you order a stator kit and the cycle continues.
None of that tells you what the circuit is actually doing, because without documentation specific to your bike you don’t know what voltage the charging system should be producing at a given RPM, what resistance the stator coils should show at room temperature, or where the ground points for that circuit are even located. Without those numbers, you’re not really diagnosing anything.
Where to Get the Right Schematic for Your Bike
 Credit: Shutterstock
Most riders who do attempt a more methodical approach pull a wiring diagram off a forum or a generic repair site and assume it’s close enough, but manufacturers update wiring layouts between production years and a diagram that’s off by a model year can send you chasing a circuit that doesn’t exist on your bike.
Factory-level documentation specific to your make, model and year is the only thing you can actually trust. Sites like eManualOnline stock downloadable motorcycle manuals covering virtually every major brand, including BMW, Honda, Kawasaki, Yamaha, Ducati, Triumph and more, with full wiring schematics, connector locations, ground point maps and expected test values at each point in the circuit. It’s the same data a dealer technician is working from, available for instant download without waiting on a parts counter.
For older or carbureted bikes that most dealerships won’t touch anymore, this kind of documentation is often the only option, since the ignition timing data and wiring diagrams for a late-nineties Suzuki aren’t sitting in anyone’s service bay.
The Step Most Riders Skip: Reading the Wiring Diagram First
 Credit: Taverner Motorsports
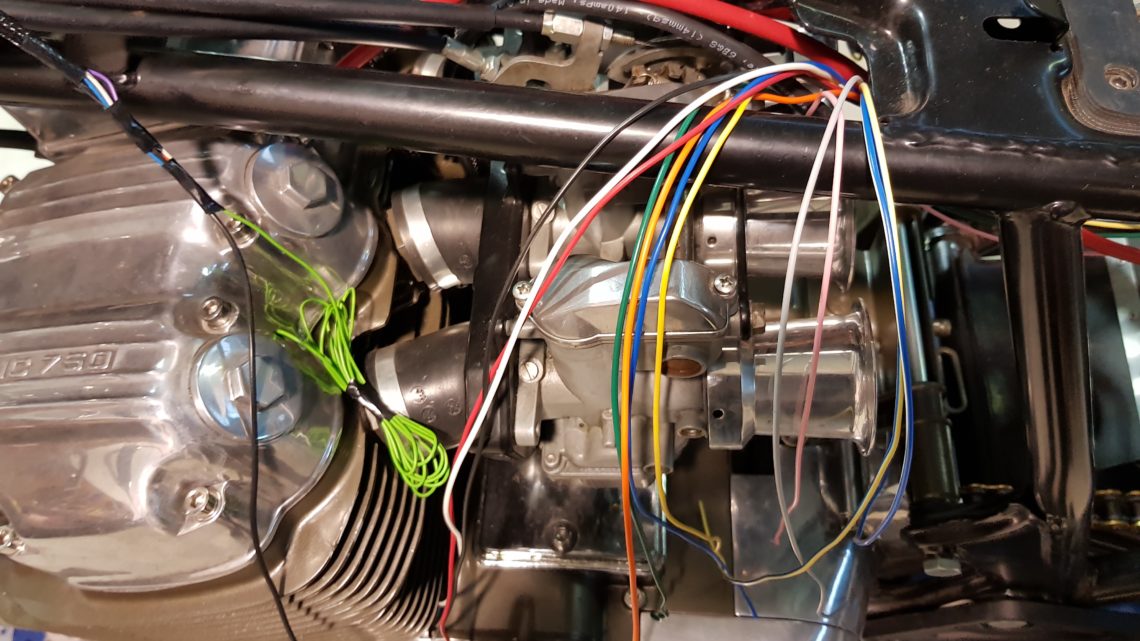
Before touching a single connector, pull up the wiring schematic for your bike’s charging circuit and trace it from the stator through the rectifier-regulator to the battery, then out to the loads, identifying every ground point along that path and writing them down.
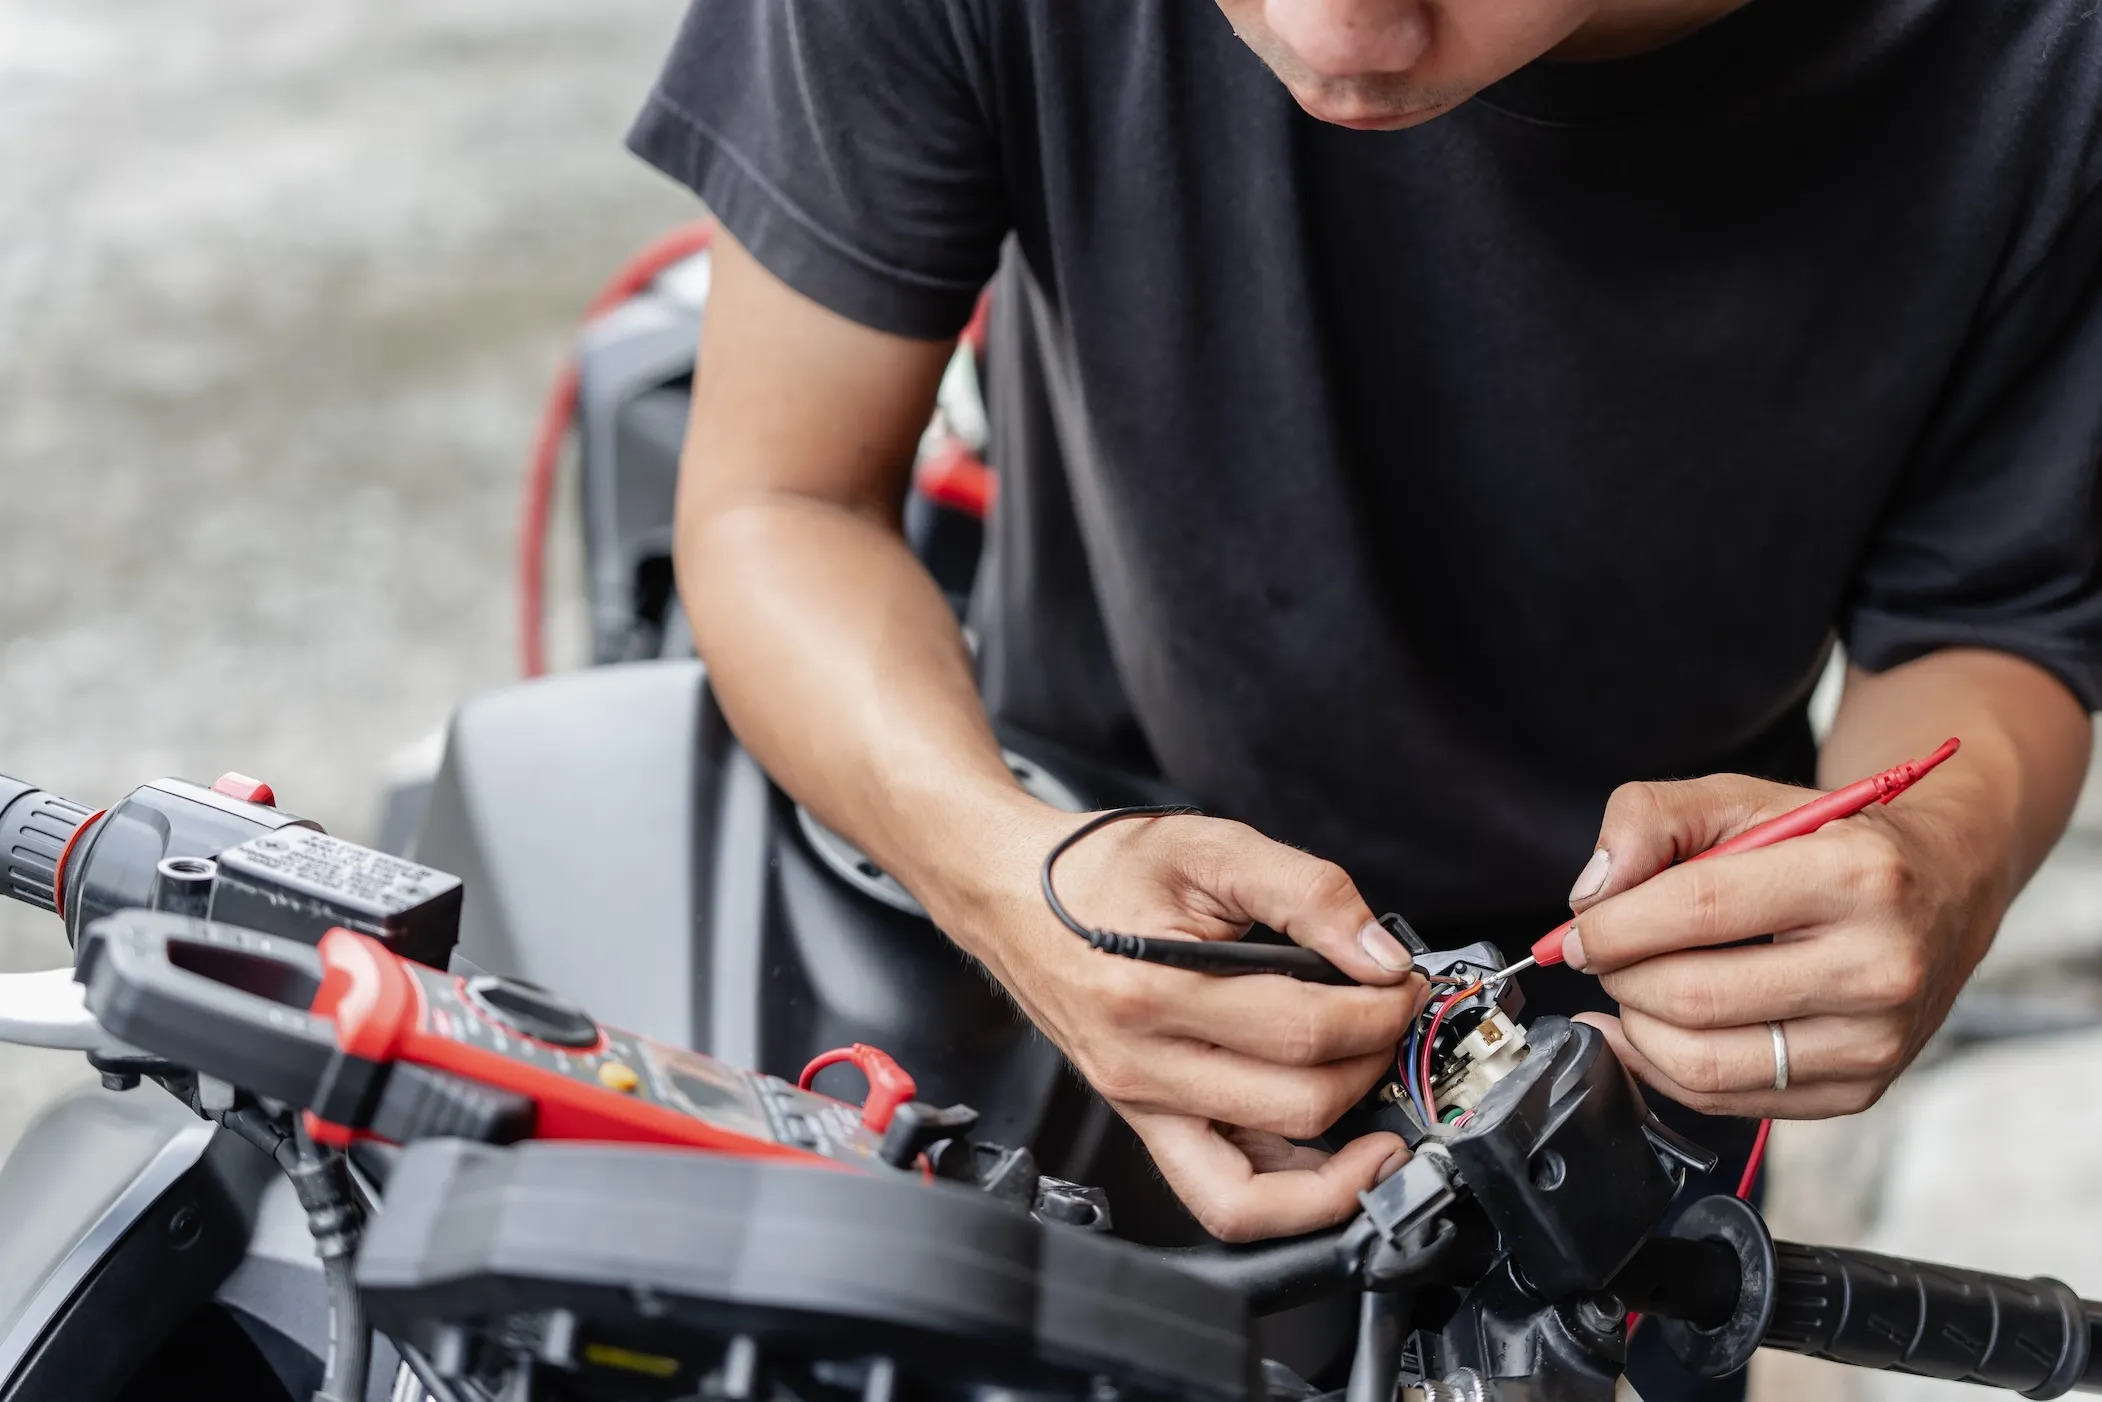
From there, grab a multimeter and start at the source. Your manual will list the AC voltage the stator should be producing above a certain RPM threshold, and if it’s within spec then the stator isn’t your problem, which alone can save you the cost of an unnecessary rebuild kit.
Move to the rectifier output and check DC voltage at the battery terminals with the engine running around 3,000 RPM, where most systems should land somewhere between 13.5 and 14.8 volts. Below that range and the charging system isn’t keeping up with demand, while anything above 15.5 suggests the regulator is overcharging and killing your battery from the other direction.
 Credit: Custom Bike Electrics
Then check the grounds, which is the part almost nobody does. A corroded ground can make a charging system read low with nothing actually wrong in the stator or rectifier, so find the main ground point for the charging circuit on your schematic, locate it on the bike and test resistance between that point and the battery negative. Near zero is what you want, and anything higher means you’ve found your fault, fixable with sandpaper and five minutes of your time.
A Kawasaki ZX-6 owner spent months throwing charging components at a battery-killing problem, replacing the stator when it tested borderline, only for the fault to persist. The main ground strap between the engine and frame had a corroded contact point under the bolt head, invisible from the outside, and the stator he’d bought was completely unnecessary. Following the schematic from the start would have found it on the first afternoon.
Stop Guessing, Start Reading
A lot of the mystery around motorcycle electrical diagnosis disappears once you stop swapping parts and start following a circuit, because the wiring diagram tells you what should be happening at every point in the system and your multimeter tells you what actually is. Get the right documentation before you buy anything, and what feels like black magic starts to look a lot more like a solvable problem.