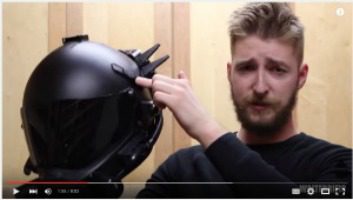
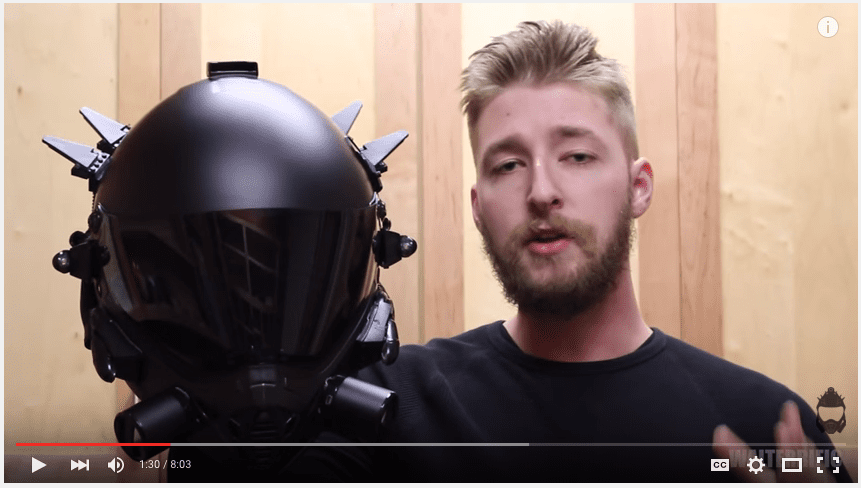
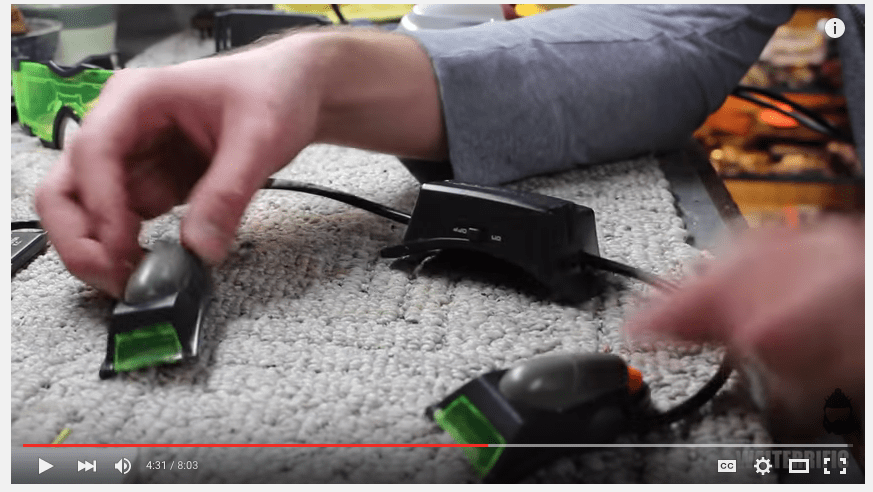
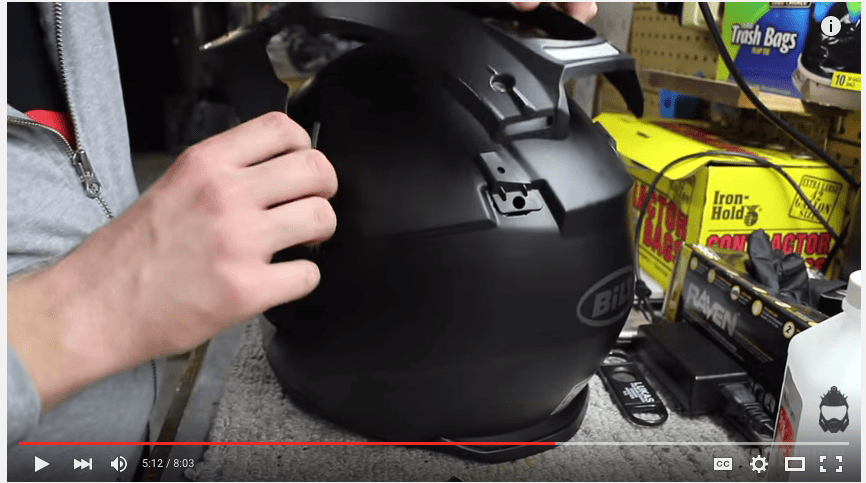
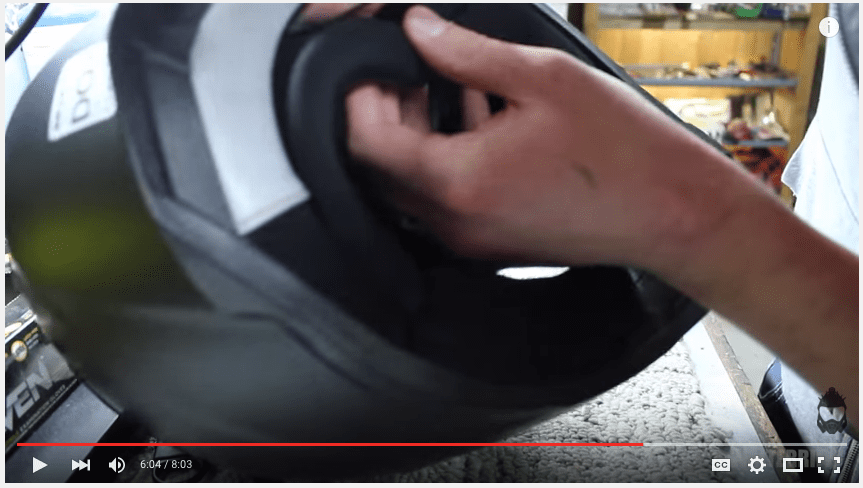
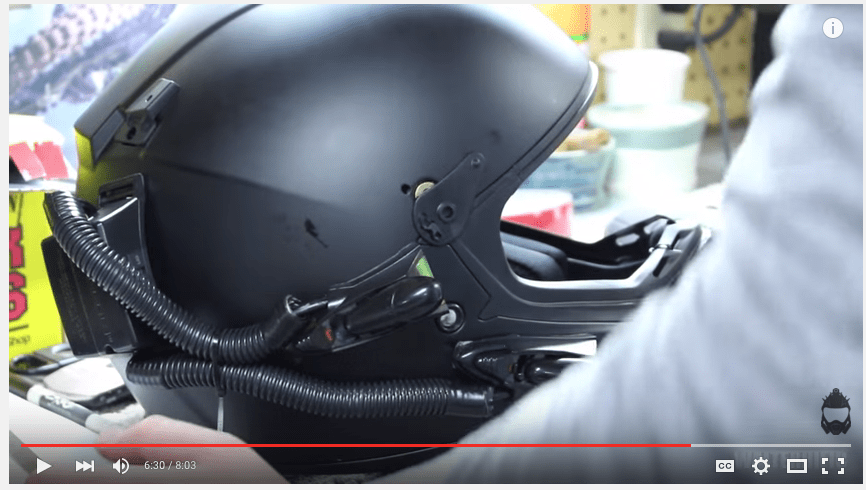
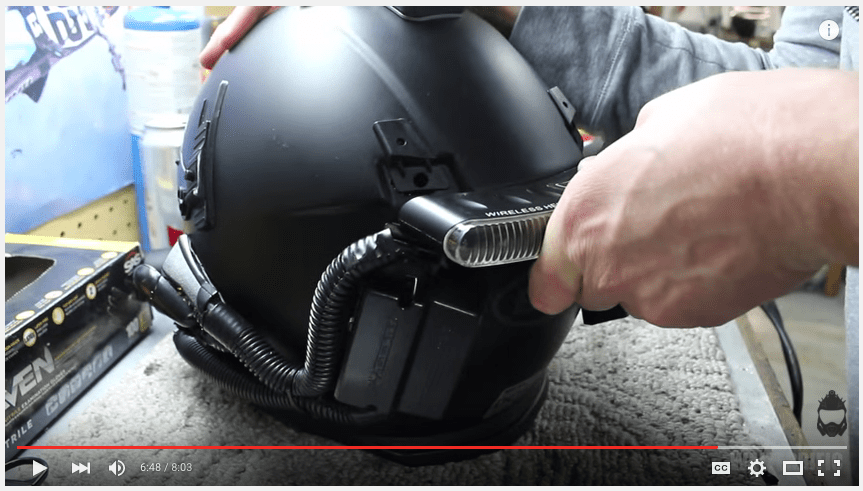
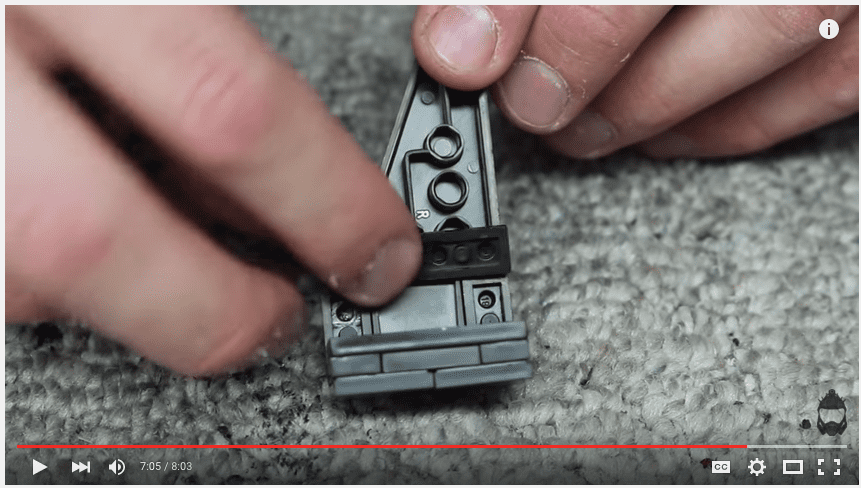
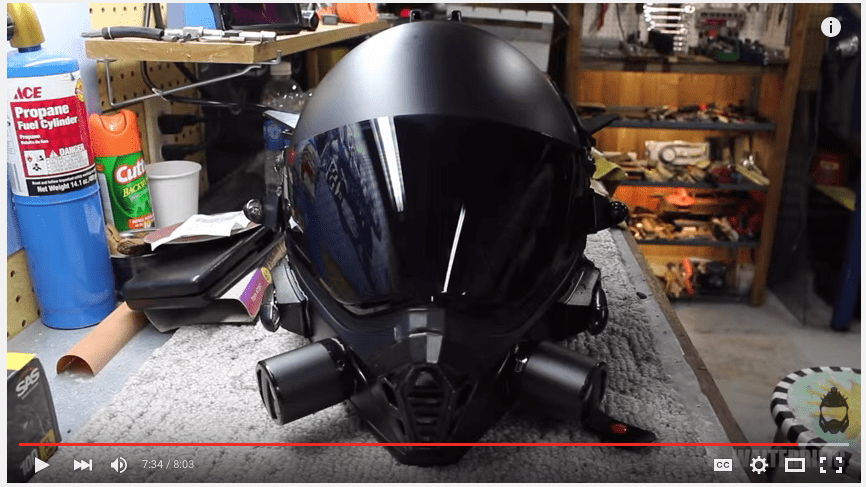
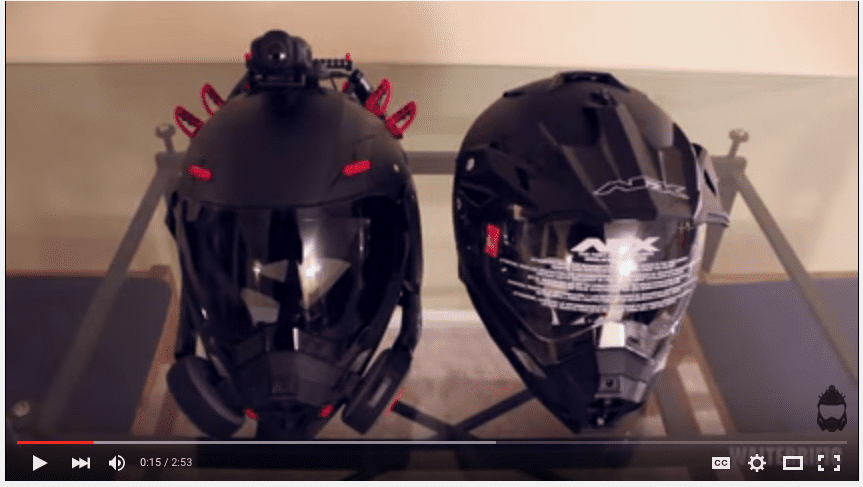
This Venator Mark I Helmet video by WALTERRIFIC walks you through what pieces are needed and how to do it for yourself. Being that I’m a fan of the Star Wars Helmets, it’s pretty cool. Here’s a quick step by step of what you need to do should you choose to take on making one for yourself.
Quick Overview of the Helmet:
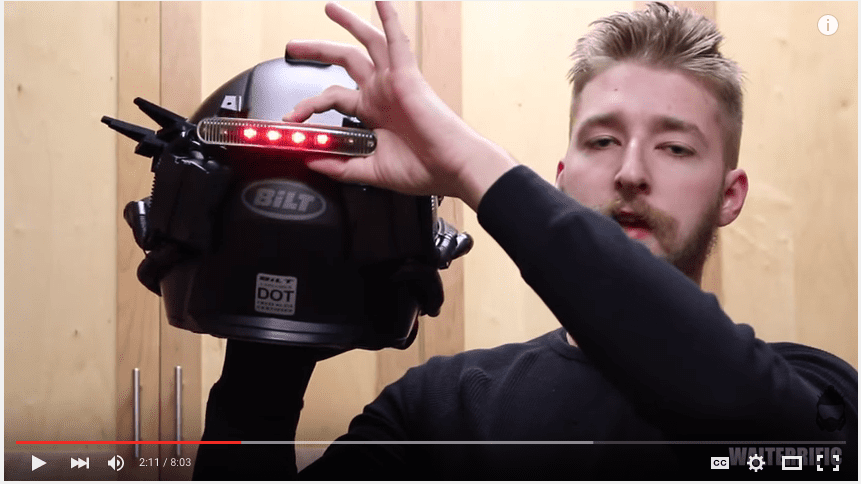
Brake Light and Turn Signal on the Back
All the parts are break away to maintain the structural integrity of the helmet during a crash.
Step-by-step
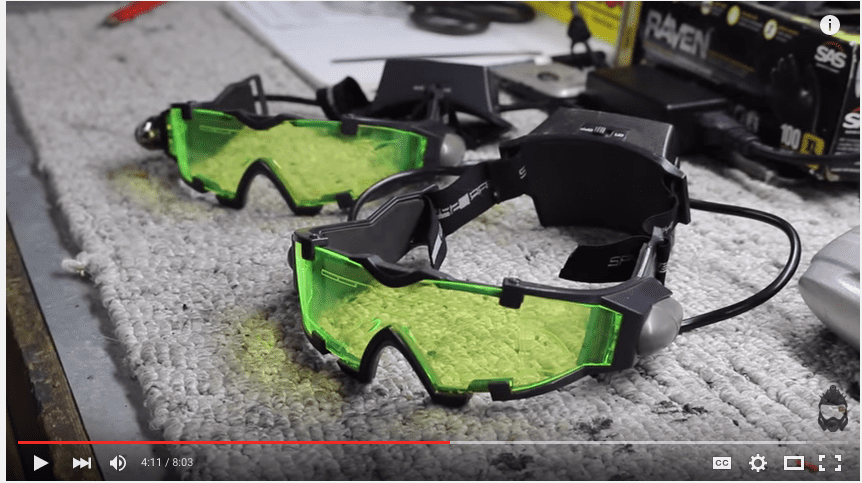
Start with the Spy Goggles – Cut out the goggles for the lights
Helmet Prep – remove top and paint front chin bar
Run microphone cable around inside of helmet
Attach components with double side tap – heating up tape will help with adhesion
Fix rear light on helmet and wire
Lego building sequence
Clean and Finish
Parts List:
- Bilt Explorer Helmet
- Shield
- Speakers
- Brake light
- Spy goggles
- Lego pieces
- Drift camera mic
- Drift camera + mount
Here’s how to build a Venator Mark II Helmet.
More from the site:
[pt_view id=”dd169a9cee”]


